There are many different tools available in Windows 10 with the help of which you can easily crop your images. However, when it comes to cropping the background of an image while retaining the actual image, then this sounds a bit tricky. Fortunately, Windows 10 presents you with an application with which you can easily achieve this goal. In this article, we will explain to you the method through which you can crop the background out of an image in Paint 3D in Windows 10.
Cropping the Background out of an Image in Paint 3D in Windows 10
In order to crop the background out of an image in Paint 3D in Windows 10, you will need to perform the following steps:
Type Paint 3D in the search section of your taskbar and click on the search results in order to launch a new Paint 3D window. The newly opened Paint 3D window is shown in the following image:
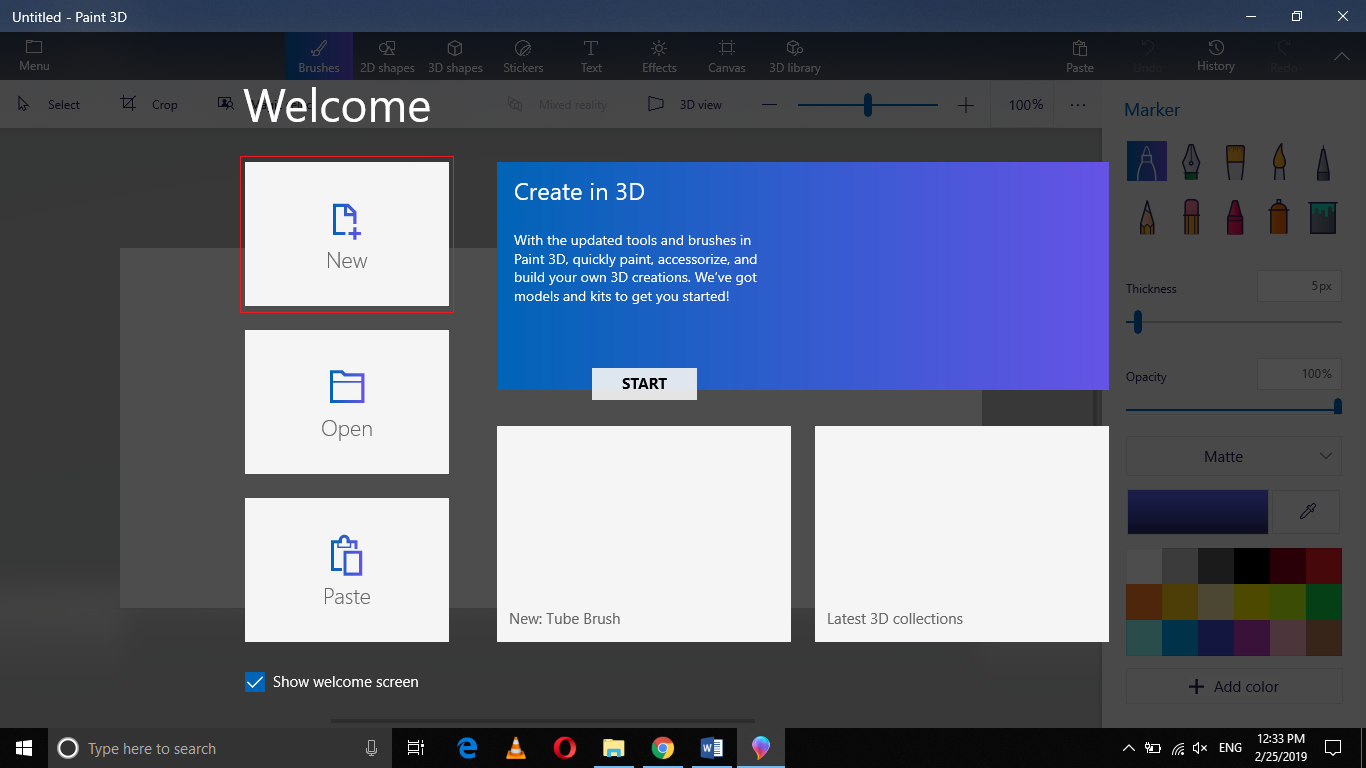
Click on the New icon in order to create a new Paint 3D project as highlighted in the image shown above.
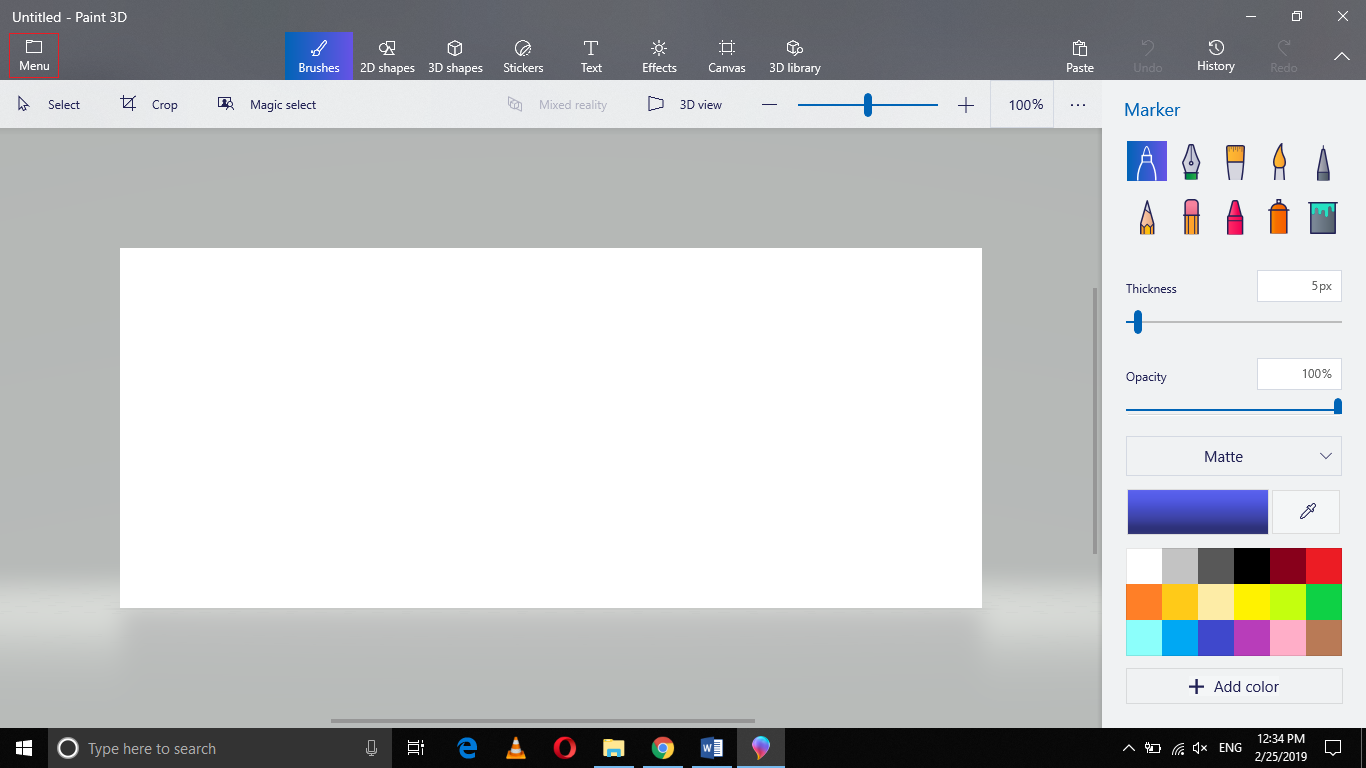
Now click on the folder icon labeled as Menu located on the Menu Bar of the Paint 3D window as highlighted in the image shown below:
As soon as you will click on it, a menu will be launched on your screen as shown in the following image:
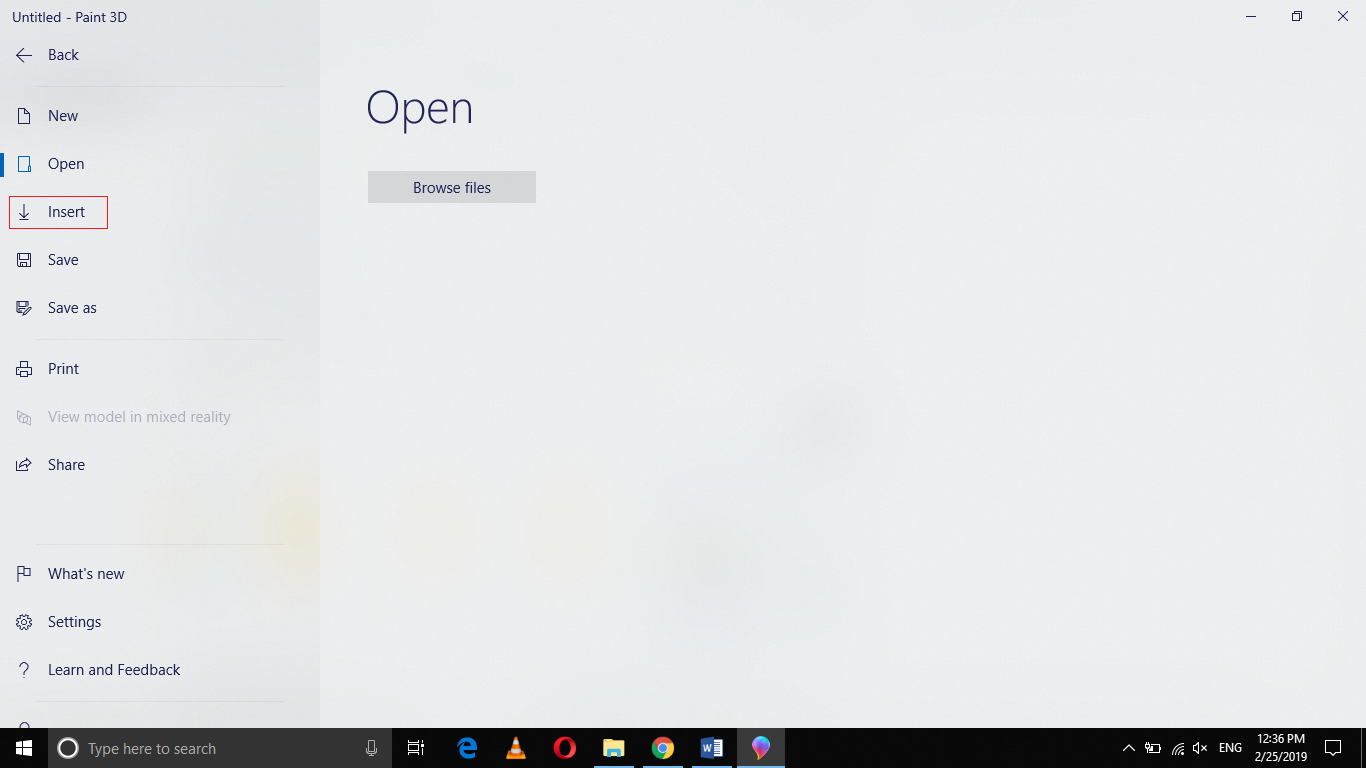
Select the Insert option from this menu as highlighted in the image shown above.
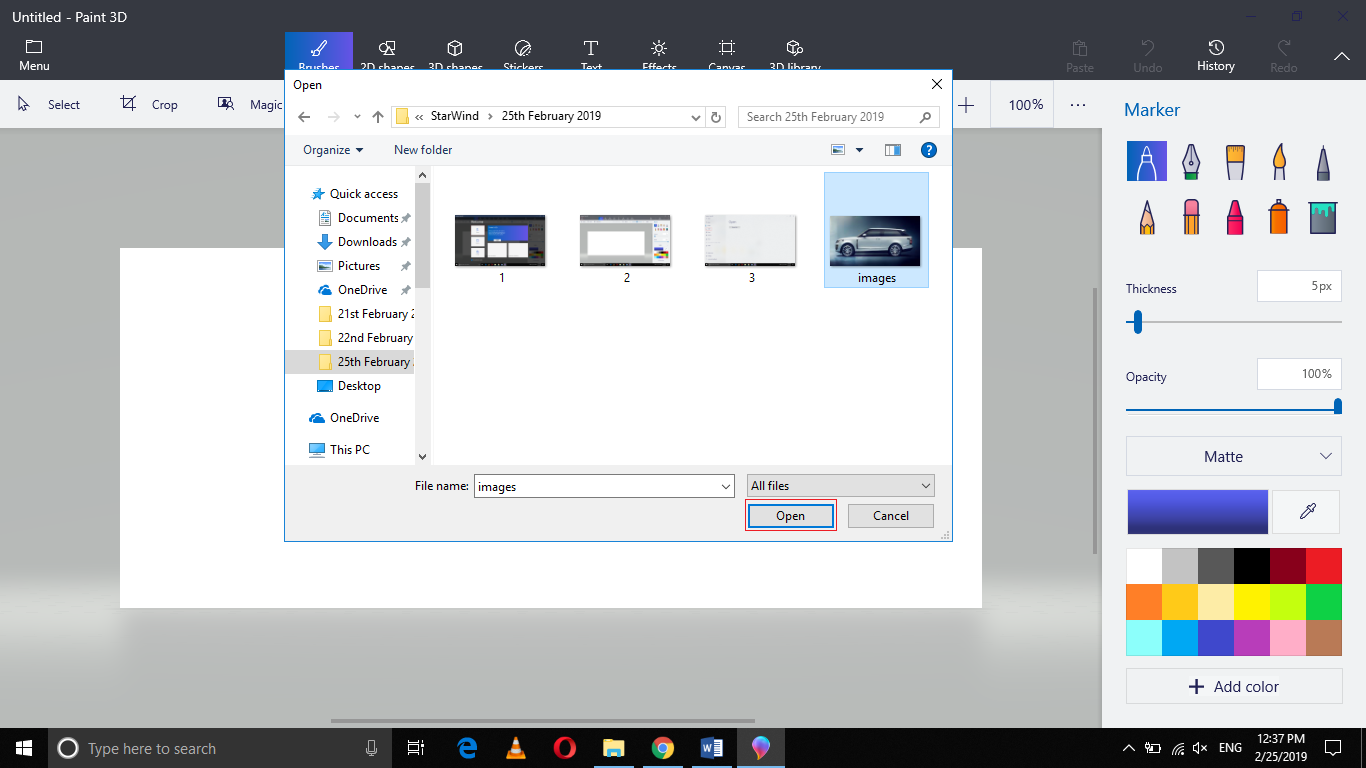
Now locate the image that you want to insert and then click on the Open button as highlighted in the image shown below:
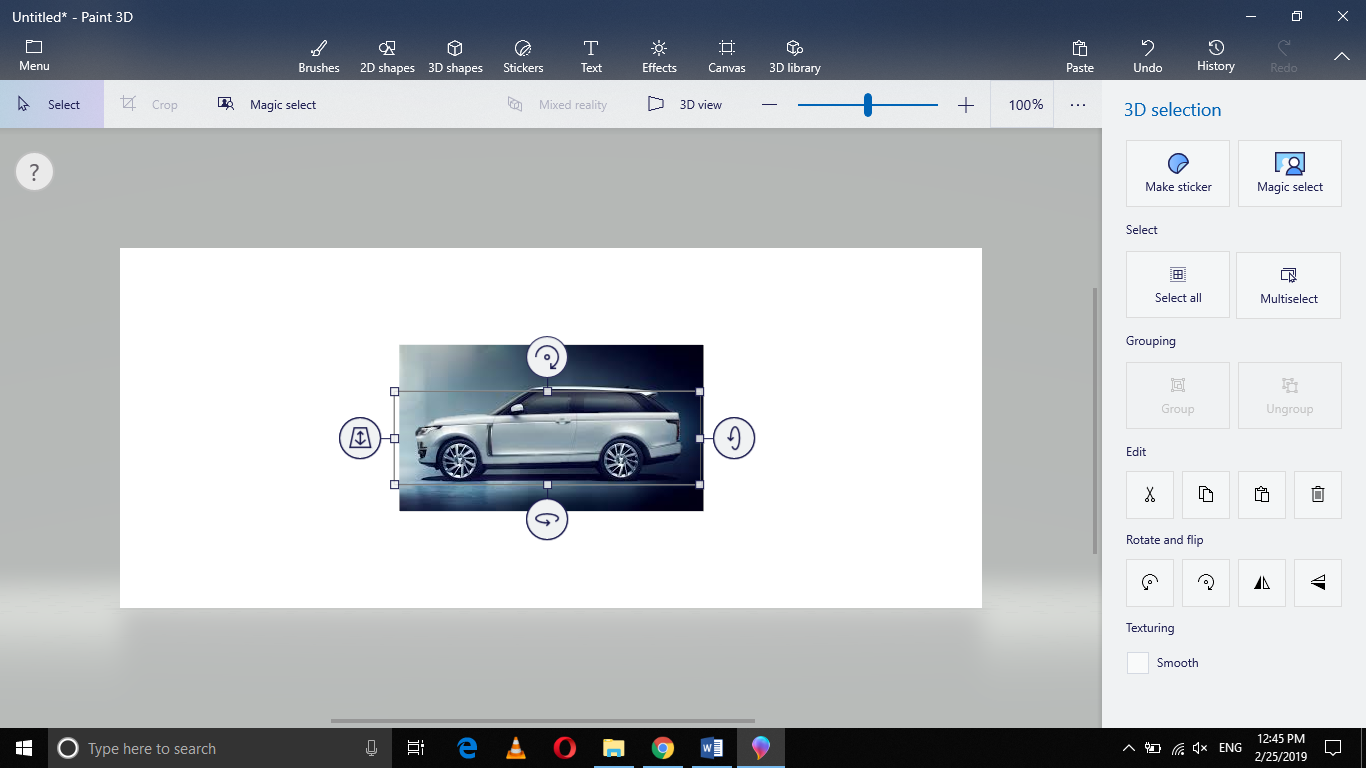
As soon as you will click on it, your desired image will automatically appear on your canvas as shown in the following image:
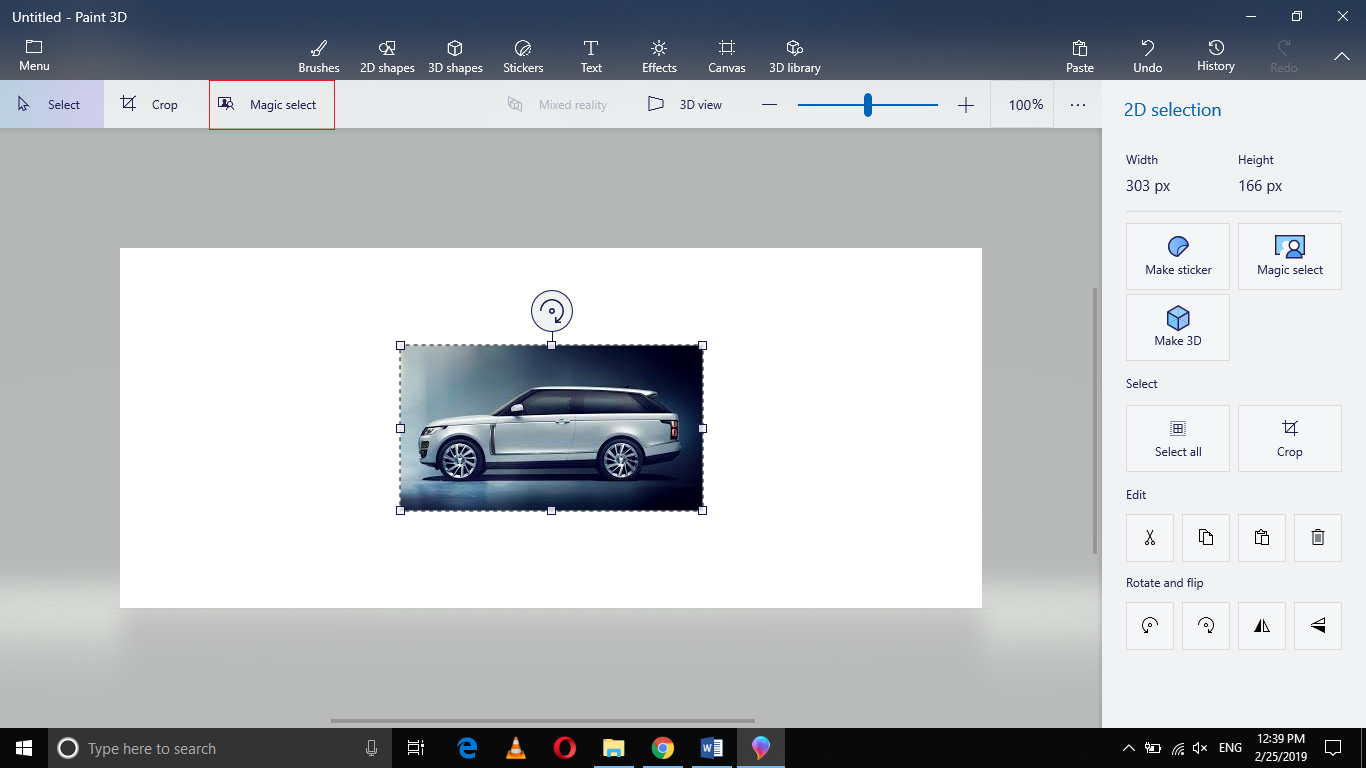
Now click on the Magic Select tool in order to use it for removing the background of your image as highlighted in the image shown above.
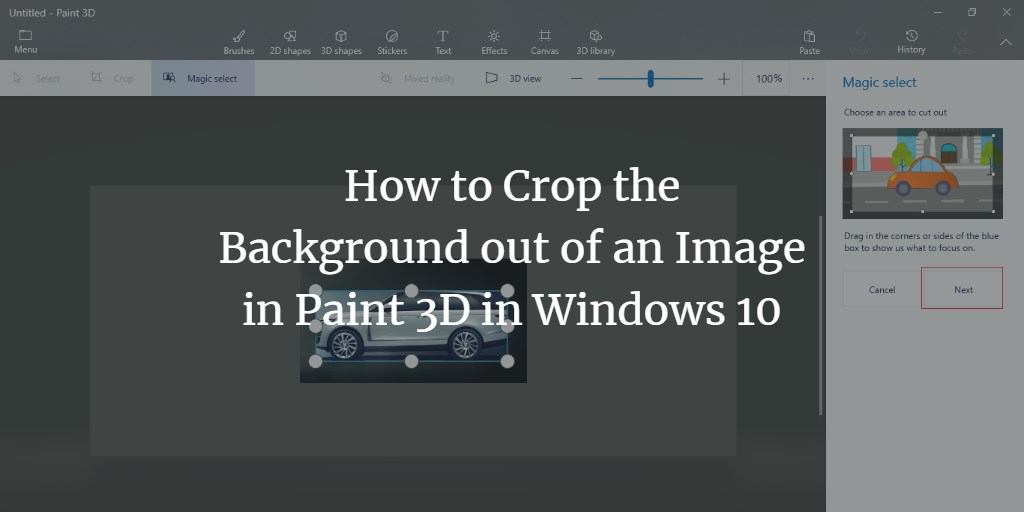
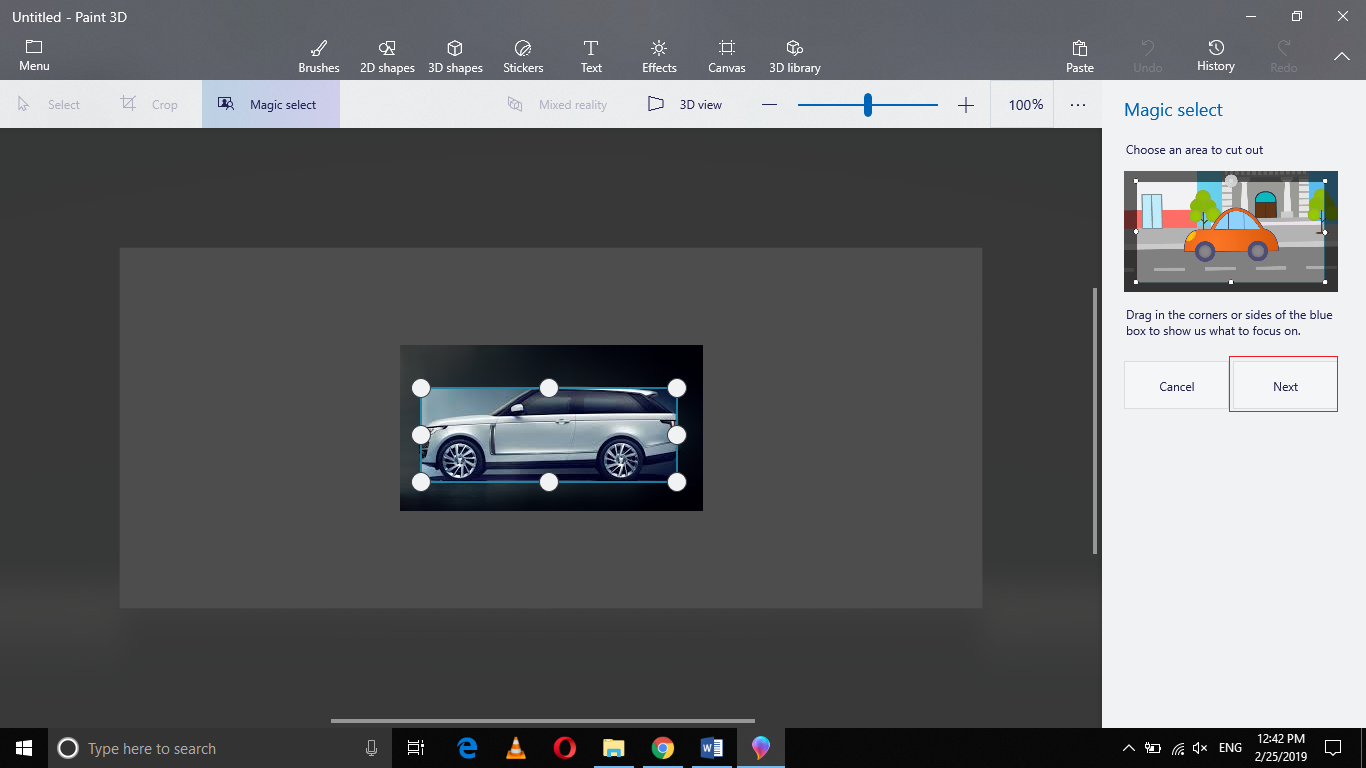
Drag the corners or sides of the blue box in order to crop out the background and then click on the Next button as highlighted in the image shown below:
After clicking on the Next button, if you still think that there are some traces of your background left or something is missing, then you can make use of the Add or Remove buttons in order to refine your cutouts as shown in the following image:
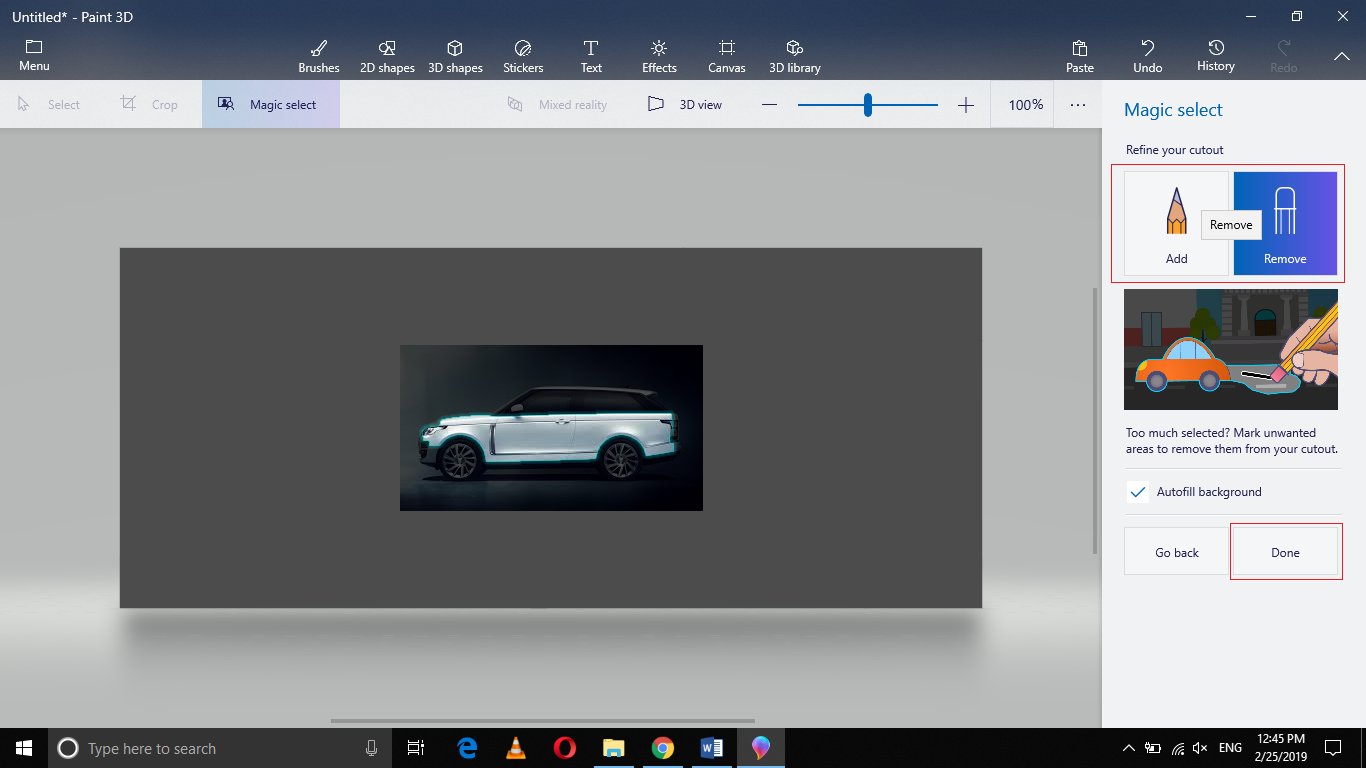
Finally, click on the Done button in order to save your settings as highlighted in the image shown above.
As soon as you will click on it, your image with a cropped background will appear on your screen as shown in the image below:
Conclusion
By following the method discussed in this article, you can easily crop the background out of an image using Paint 3D in Windows 10. This method is quite simple and convenient to use and anyone can remove the backgrounds of their images like a pro using this method.