
Paint 3D is indeed a very helpful and interesting application provided by Windows 10. It lets you create very exciting pictures, posters, banners, shapes etc. using its tremendous features. In this article, we will explain to you the method through which you can adjust the lighting effects in Paint 3D using Windows 10.
Adjusting the Lighting Effects in Paint 3D in Windows 10
In order to adjust the lighting effects in Paint 3D in Windows 10, you will need to perform the following steps:
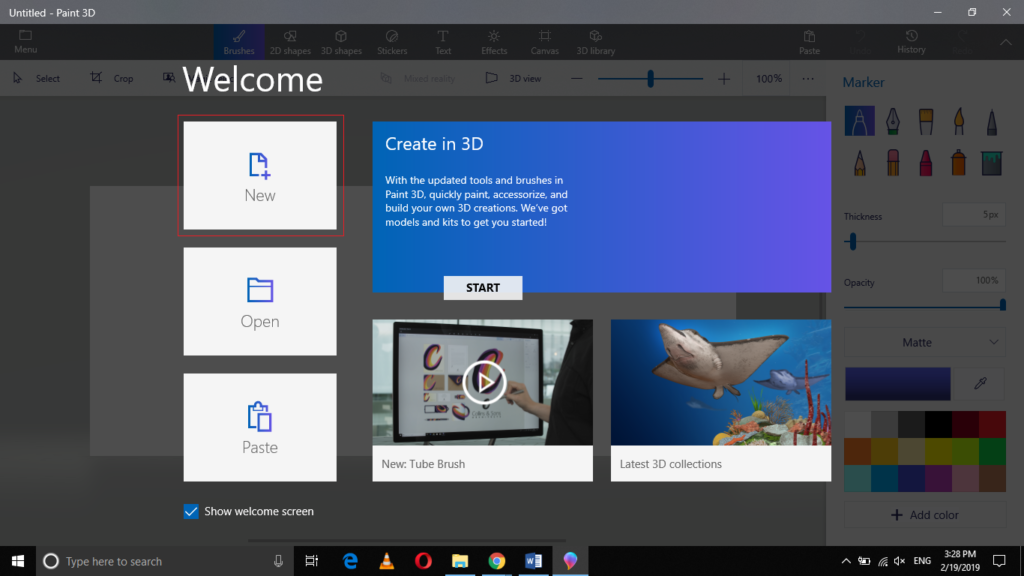
Type Paint 3D in the search section of your taskbar and click on the search results to launch the new Paint 3D window. The newly opened Paint 3D window is shown in the following image:
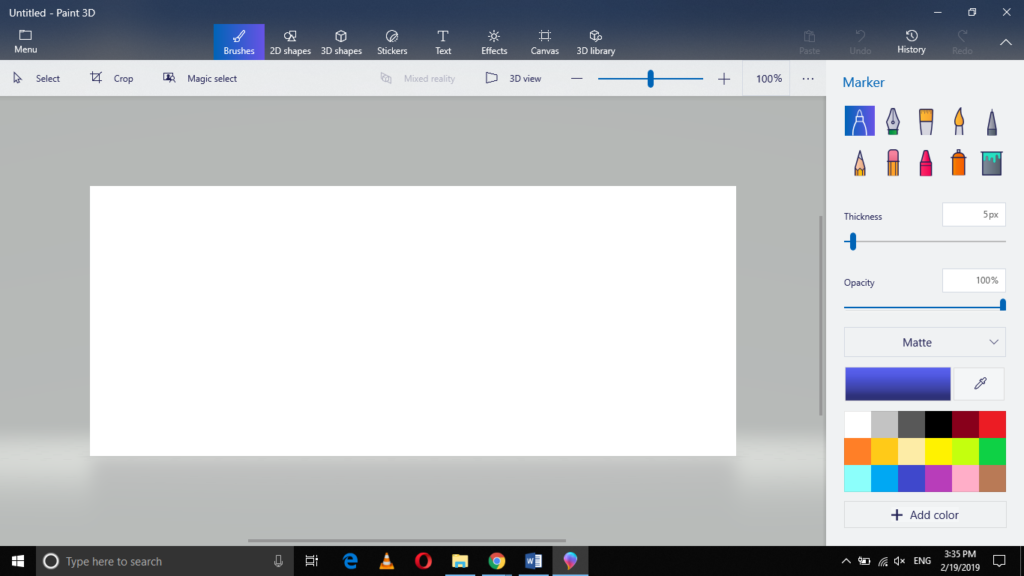
Now click on the New tab in order to create a new Paint 3D project as shown in the image below:
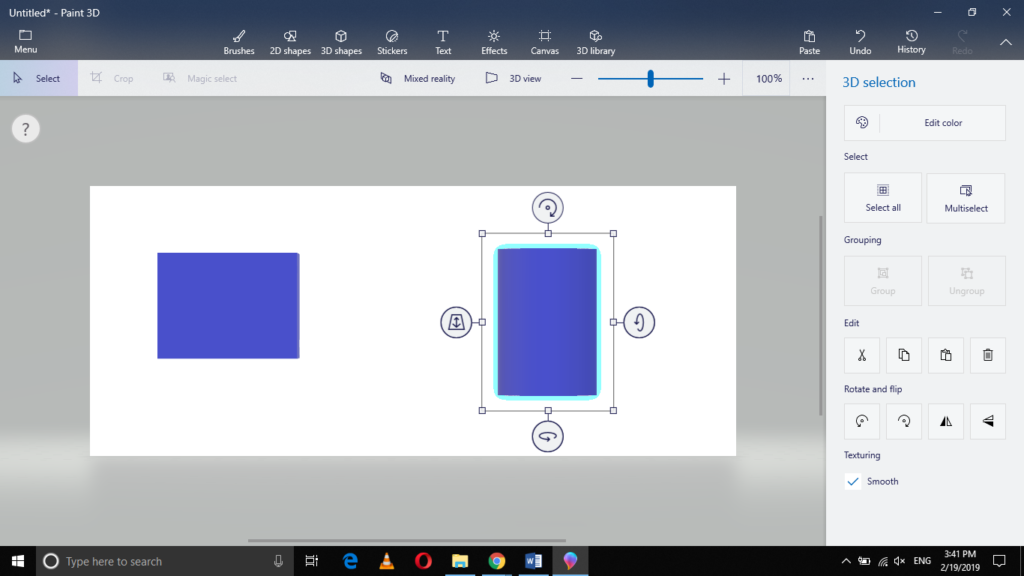
Now draw a shape or anything you want on the canvas. In this example, I am making some 3D shapes as shown in the following image:
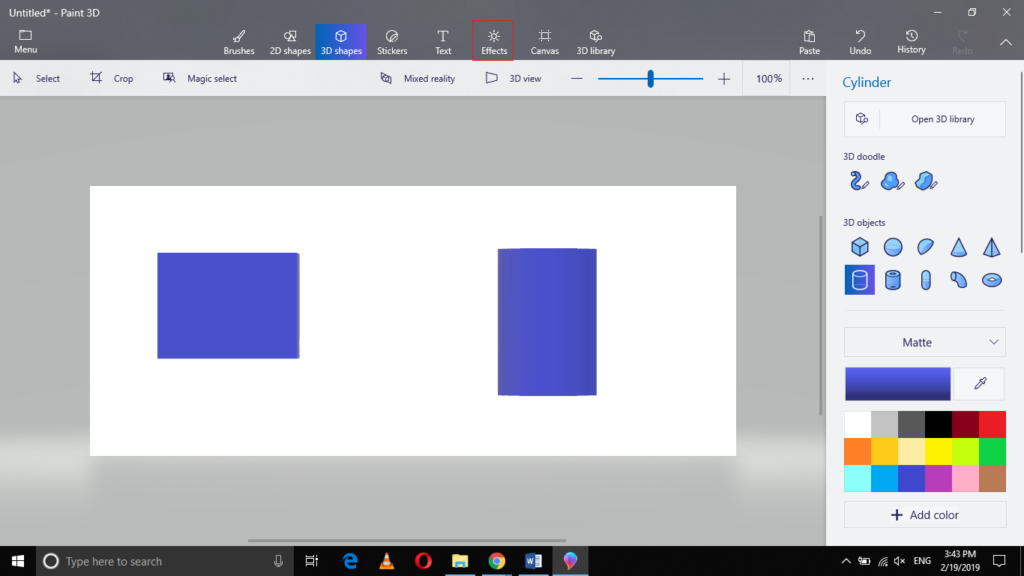
Click on the Effects tab located at the menu bar of the Paint 3D windows as highlighted in the image shown below:
Now choose any color of your choice from the color list given under the Effects tab as shown in the following image:
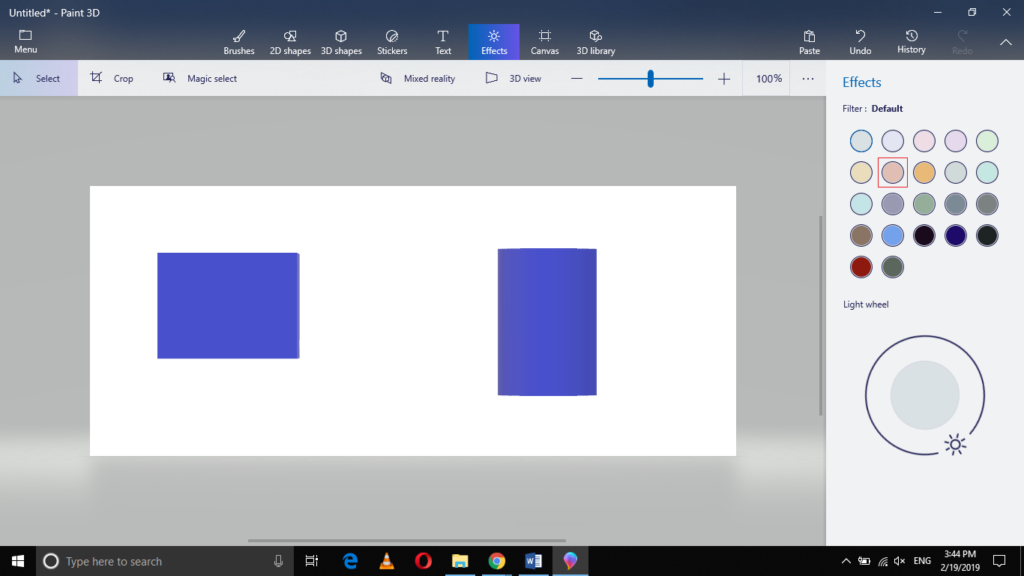
As soon as you will click on the selected color, your background will immediately change as shown in the image below:
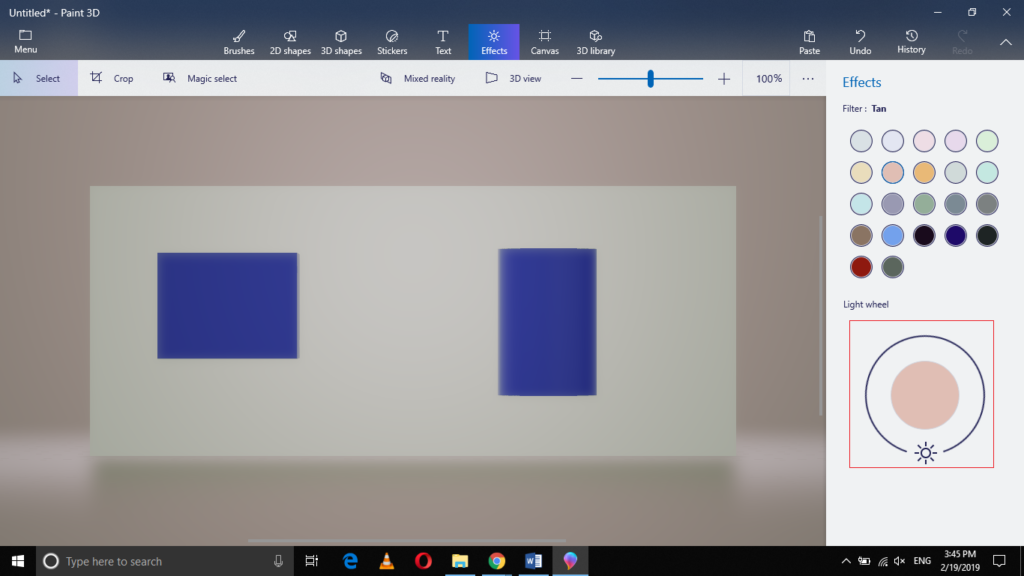
Now click and drag the light wheel in order to adjust the lighting effects according to your own desire as highlighted in the image shown above.
I have adjusted this wheel such that my canvas looks like the following image:
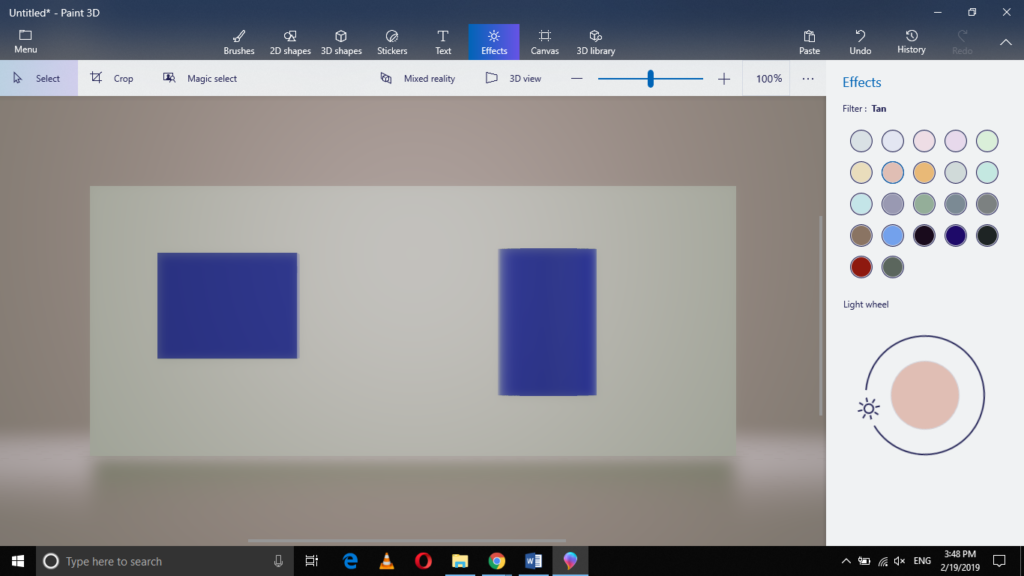
Here you can easily see the difference between the positions of the two light wheels.
Conclusion
By following the method discussed in this article, you can easily adjust the lighting effects in Paint 3D using Windows 10 and hence make your canvas look brighter or dimmer right according to your own choice.