Windows 10 is a new Microsoft operating system that brings an easy to use Settings application to look for and set up a different operating system’s options and features. An automatic spell checker that auto corrects and highlights misspells in applications is also a useful feature of the Windows 10 operating system. Although, this feature can be found in other different applications like Facebook, Internet Explorer, Xbox app and many more. This feature is an efficient tool for Windows 10.
Enable or disable a spell check in Windows 10
The Settings of Windows 10 provides the option to enable and disable a spell check. In this article, you will get to know how to enable and disable a spell check in Windows 10. You will need to follow the following procedure step by step if you want to enable or disable spell check in Windows 10:
Click the Search button. Type Settings in the search bar and select the Settings option as the following image is showing:

As you will select the Settings option, following screen of Settings will appear:
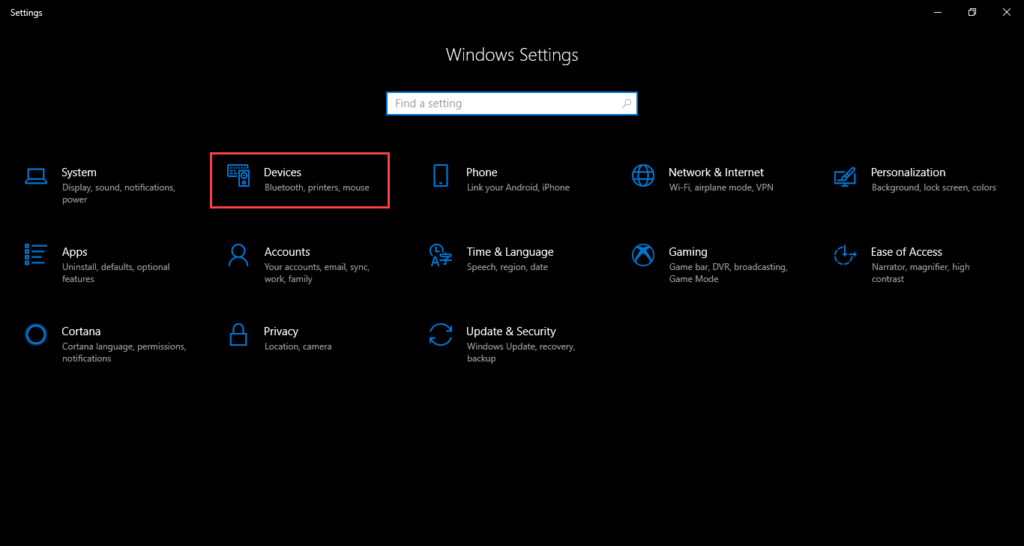
Select the Devices option if you want to be at the spell check settings. Devices option is highlighted in the above image.
As you will select the Devices option, the following screen will appear with all devices settings:
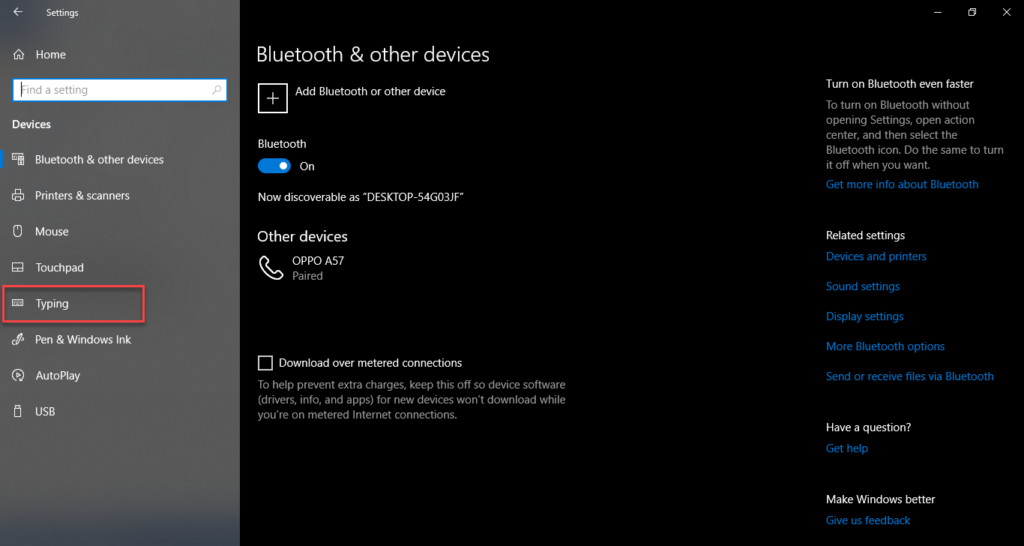
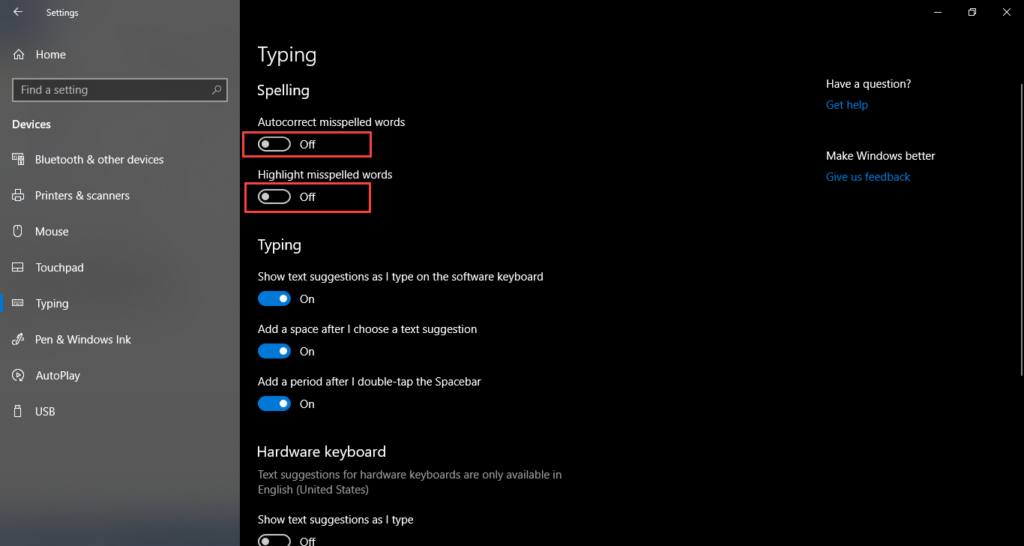
Once you are on the Device Settings screen, you need to select Typing option from the left side of the screen. The option is highlighted in the above image.
After clicking on Typing option, now you are on Spell Check settings and screen will look like this:
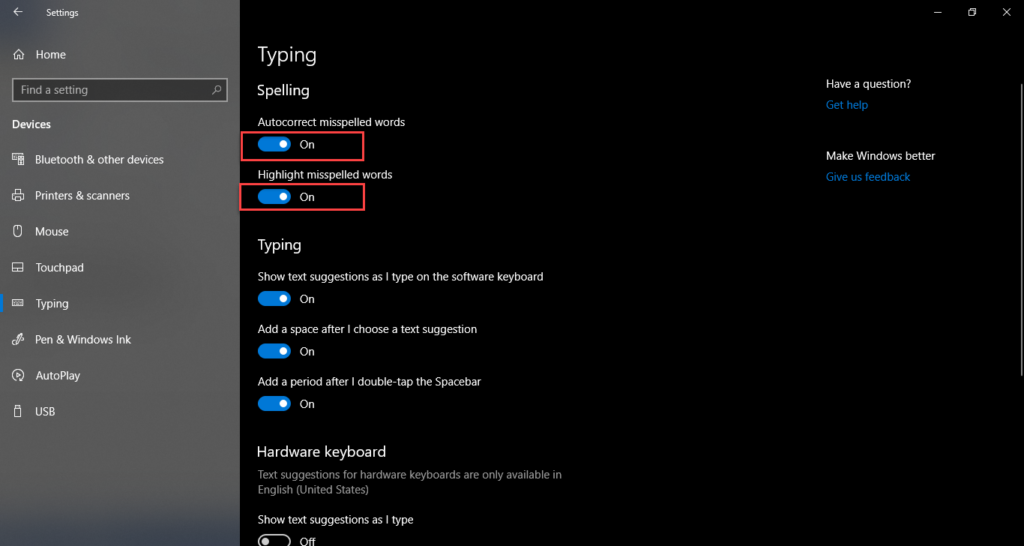
As you see that toggle buttons of both options Autocorrect misspelled words and Highlight misspelled words are On. It means that Spell check in Windows 10 is enabled, you can disable it by turning these toggle buttons off. Below the screen is showing Spell check disable in Windows 10:
You can enable Spell check by turning both toggle buttons On.
Now you can enable or disable spell check in Windows 10.
Note:
If you are going to disable the spell check in Windows 10 and your applications are running, you need to restart the applications if you want the feature to be disabled.
Conclusion
By following this procedure you can enable or disable a spell check in Windows 10. Despite changing the settings there are some applications that need their own settings of spell checking. For example, Windows 10 Mail app and OneNote etc., Application like these need their own settings of spell checking.
