In this article, I will demonstrate you how to configure a DNS forwarder in Windows Server 2012 R2. I assume you have already configured DNS on both servers. If you haven't, read my other article on configuring DNS on Windows Server 2012 R2.
Prerequisites
Following five are prerequisites:
- Ensure that the Administrator account has a strong password.
- A static IP is configured.
- Latest windows updates are installed.
- Firewall is turned off.
- DNS is already configured on both machines (primary DNS and secondary DNS servers).
Setting Up a DNS Forwarder in Windows Server 2012 R2
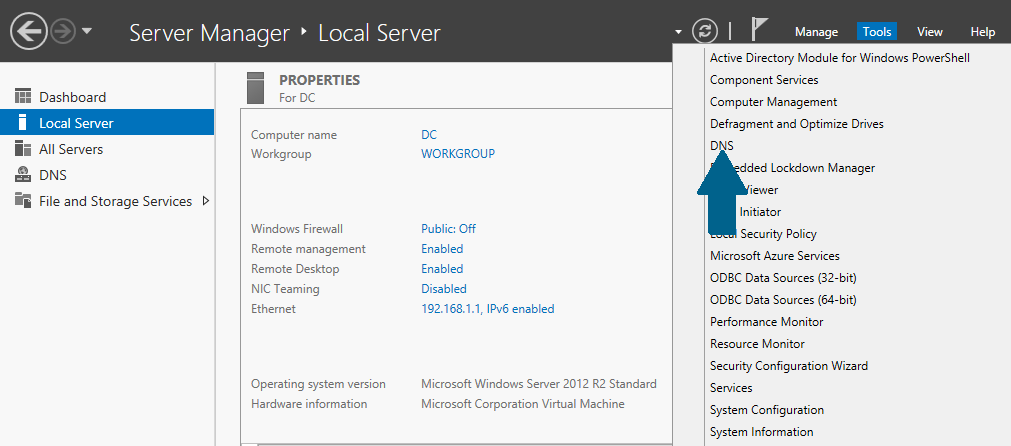
Step 1: Open server manager dashboard and click on Tools. Scroll down the menu and click on DNS .
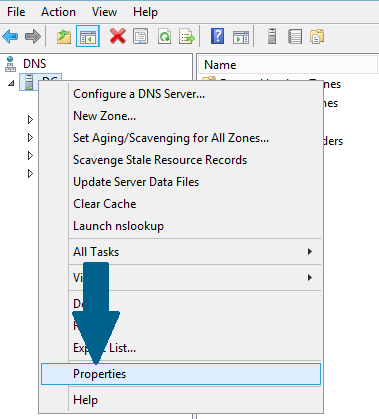
Step 2: In DNS manager, right-click and scroll down the menu. Click Properties
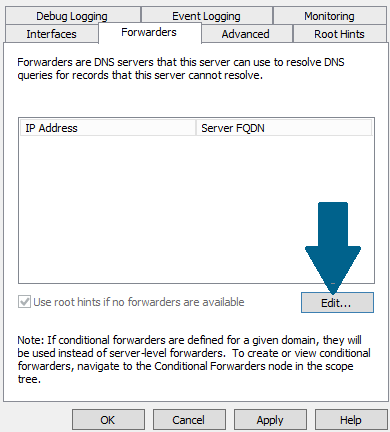
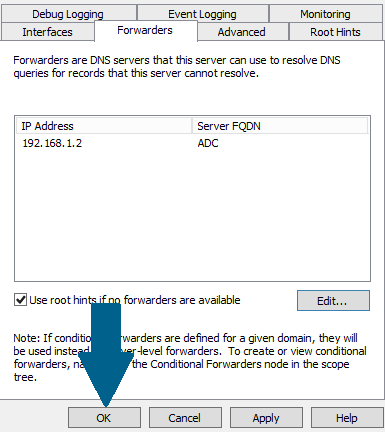
Step 3: Click Forwarders tab and then click Edit
Step 4: Enter the IP address of your secondary DNS server you want to forward DNS queries. Click OK
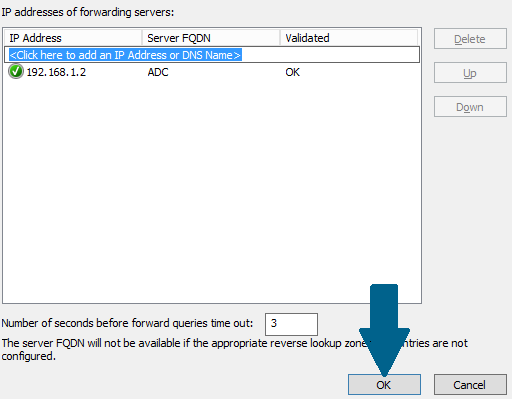
Step 5: Click OK
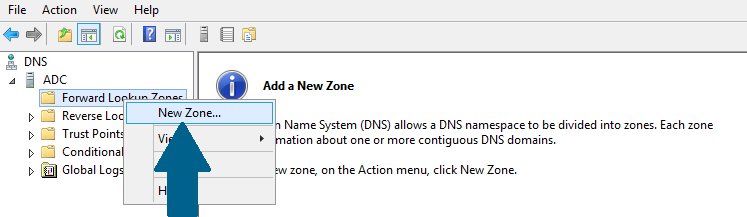
Step 6: Go to your secondary DNS server manager and expand the machine name. Right-click Forward Look Up Zones and scroll down the menu. Click New Zone
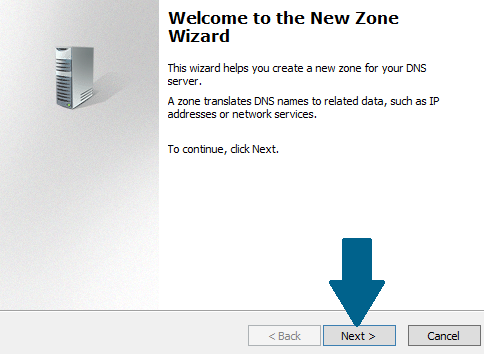
Step 7: Click Next
Step 8: Choose Primary zone and click Next

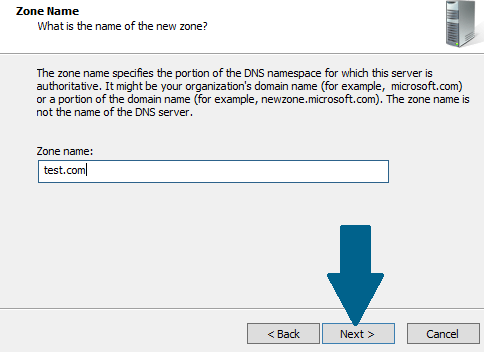
Step 9: Provide the zone name and click Next
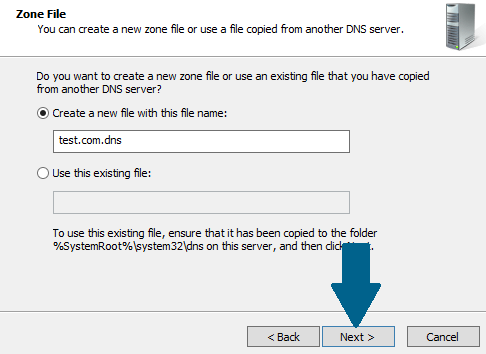
Step 10: Choose to create the zone file with the suggested name and click Next.
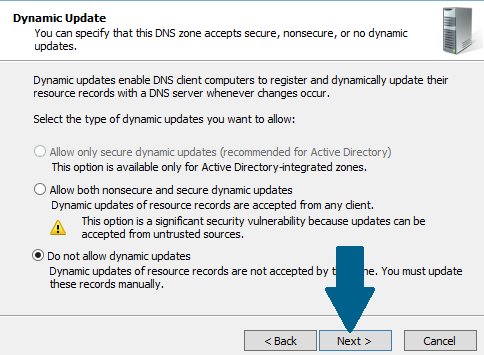
Step 11: Select "Do not allow Dynamic Updates" and click Next.
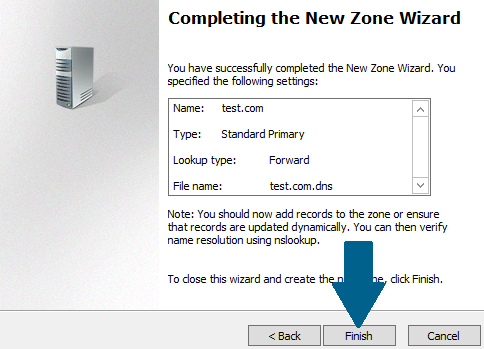
Step 12: Click Finish to create the new DNS zone.
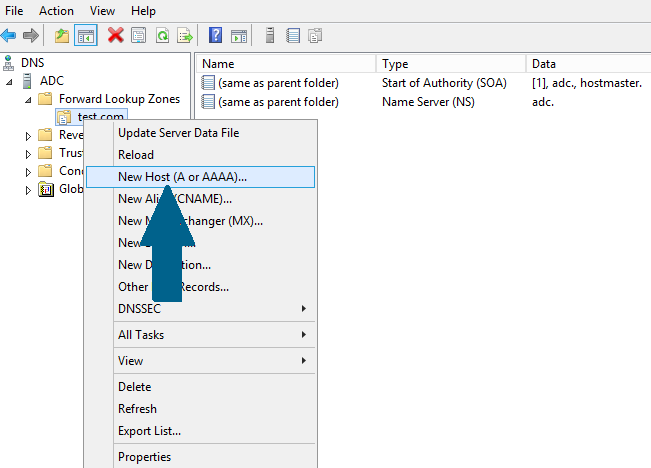
Step 13: Right-click the zone you just created and scroll down the menu. Click New Host (A or AAAA)
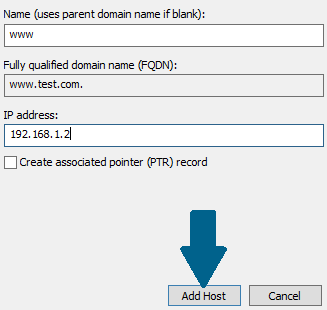
Step 14: Provide the name and IP address of this host and click Add Host
Step 15: Click OK to create the A-Record in the DNS zone.
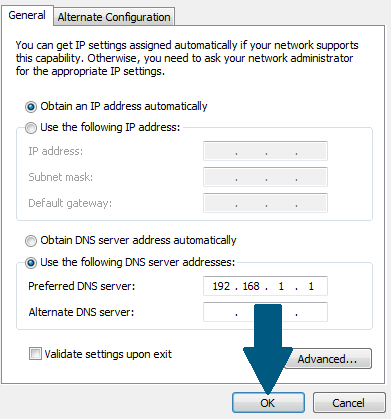
Step 16: Go to your client machine and configure the DNS settings. Provide the IP address of your primary DNS server in Preferred DNS server field
Step 17: Open Command prompt at your client machine and type nslookup www.test.com (the host you entered in test.com zone).

Conclusion
Great, you have setup a DNS forwarder and tested the configuration. If a domain name www.test.com is resolved successfully, then the DNS forwarder is working.