Many people these days are quite fond of listening to music and they create several playlists based on their tastes and then listen to different songs in their leisure time. The users can conveniently listen to the songs of any particular playlist but the question arises when they want to transfer this playlist to a different device. In this article, we will explain to you the method through which you can transfer a Windows Media Player playlist to a different computer in Windows 10.
Transferring a Windows Media Player Playlist to a Different Computer in Windows 10
In order to transfer a Windows Media Player playlist to a different computer in Windows 10, you will need to perform the following steps:
First, you will need to connect an external hard drive or a USB to your computer system so that you can copy your playlist to the external device.
After that, type windows media player in the search section of your taskbar and click on the search result to launch the windows media player window. The newly opened Windows Media Player window is shown in the following image:
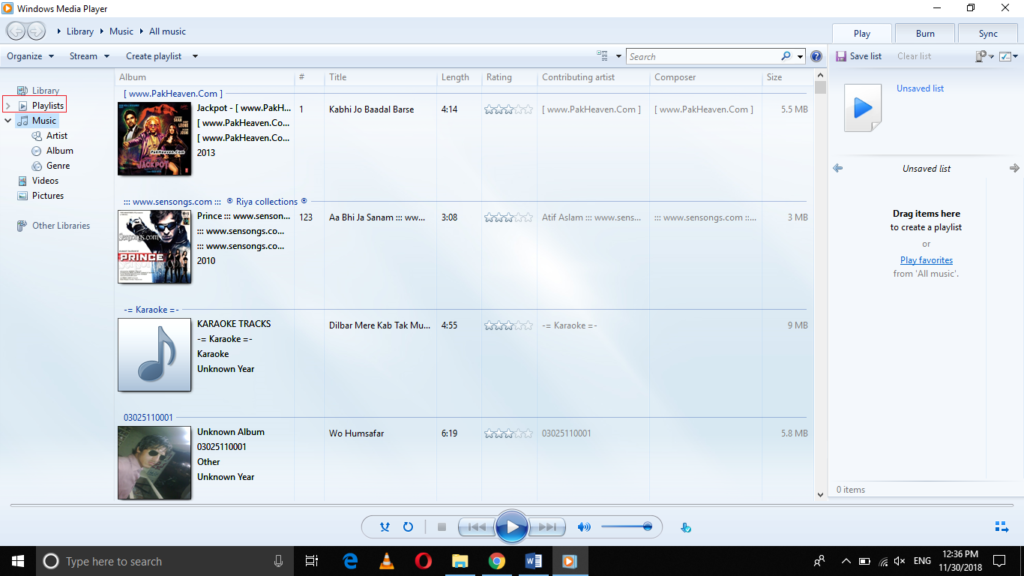
Now click on the Playlists tab in order to expand its dropdown list as highlighted in the image shown above.
After doing this, right-click on the playlist that you want to transfer to launch a menu as shown in the image below:
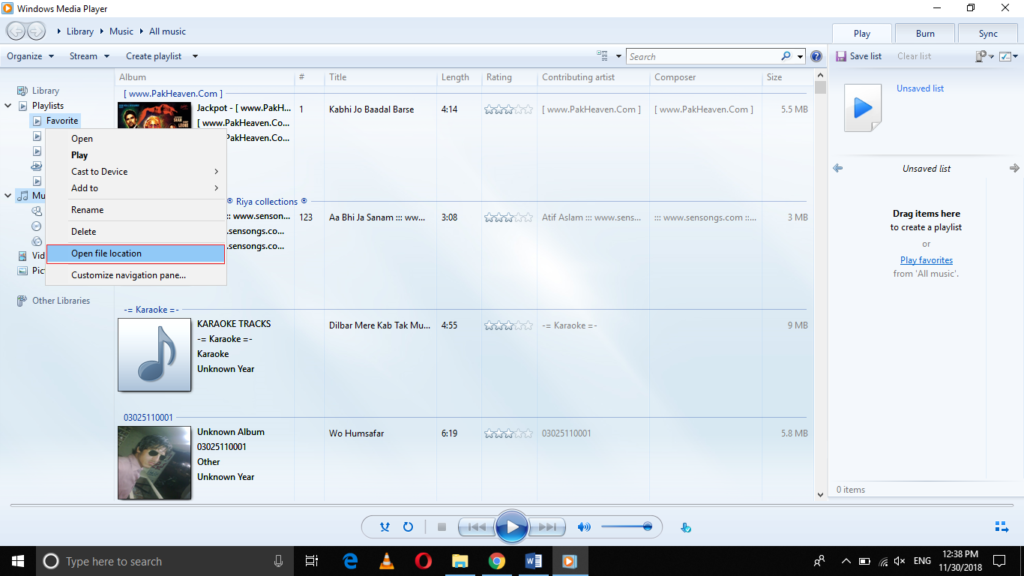
Click on the “Open file location” option from this menu as highlighted in the image shown above.
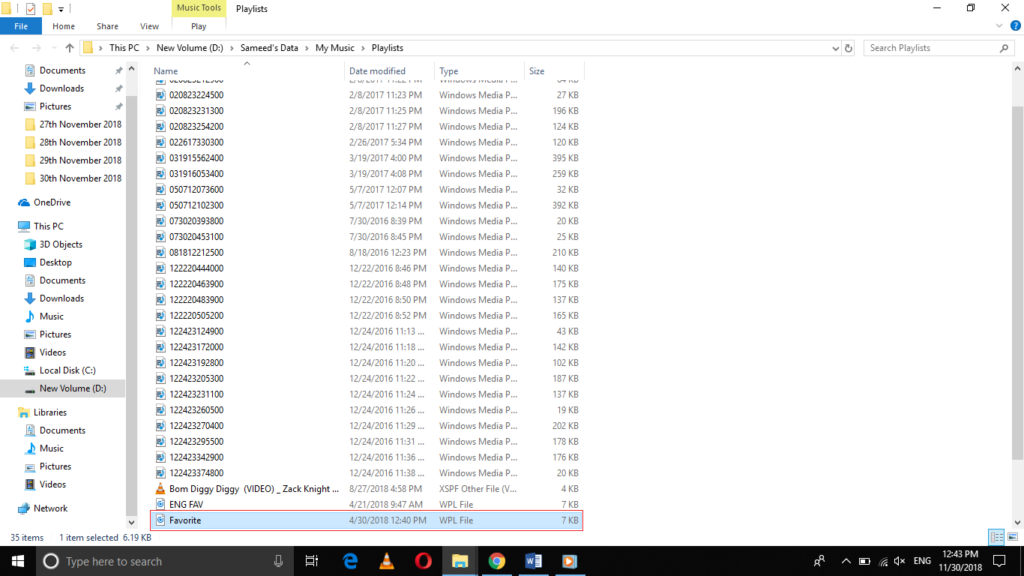
As soon as you will do this, your playlist will be displayed in the location where it is stored in your File Explorer as shown in the following image:
Now right-click on your playlist in order to launch a cascading menu as shown in the image below:
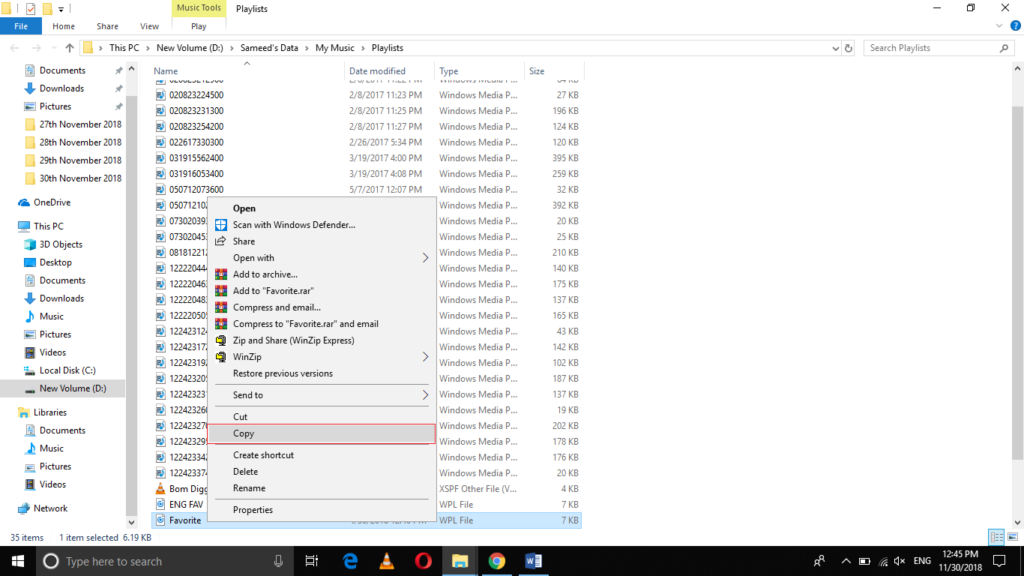
- Select the Copy option from the cascading menu as highlighted in the image shown above.
- After that, go to your external drive by double-clicking on its icon and then paste your recently copied playlist to your external drive.
- Now remove your external drive from your PC and then attach it to the PC to which you wanted to transfer this playlist.
- Once you successfully manage to connect the external drive to the other PC, just double-click on its icon and locate your playlist. Right-click on the playlist and choose the Copy option from the cascading menu.
- Finally, you can paste this playlist anywhere on the other PC.
Conclusion
In this way, you can easily transfer a Windows Media Player playlist to a different computer in Windows 10 using the method discussed in this article. This method is quite simple and convenient to use and by following it correctly, you can enjoy your favorite playlist on whichever device you want. That is how you will be able to listen to the songs of your choice even if any one of your devices stops working properly.