Windows Defender does not check it for viruses or malware by default during its scheduled scans if you have set up mapped network drives on Windows 10. In this article, we will guide you through the whole procedure to scan mapped network drives with Windows Defender on Windows 10.
Scan mapped network drives with Windows Defender on Windows 10
To scan mapped network drives with Windows Defender on Windows 10, follow any of these procedures step by step.
Method #1
Click the Search button on the taskbar. Type Run in the search box and then click the Run option as the following image is showing.
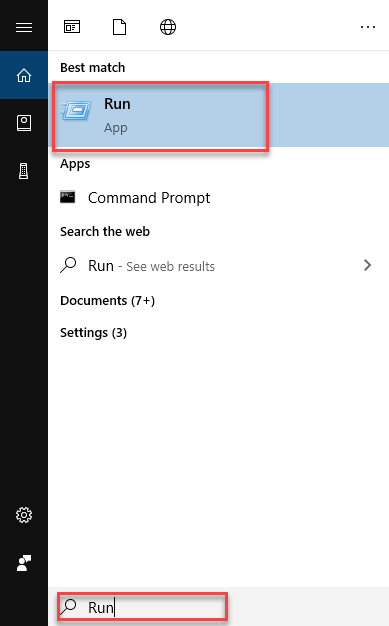
As soon as you click the Run option, the following dialogue box will appear.

Type Regedit in the Open textbox and then click the OK button as highlighted in the above image. When you will click the OK button, the Registry Editor will open as the following image is showing.

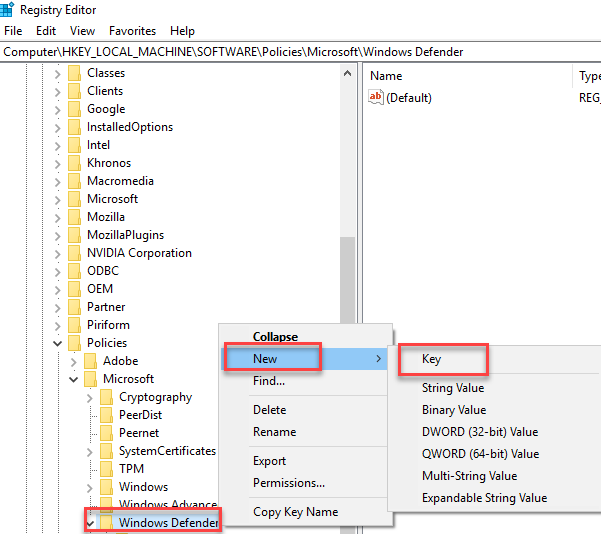
Navigate through the following path from the left side of the screen.
Computer\HKEY_LOCAL_MACHINE\SOFTWARE\Policies\Microsoft\Windows Defender
Then right click on the Windows Defender option and choose the New -> Key option as the following image is showing.
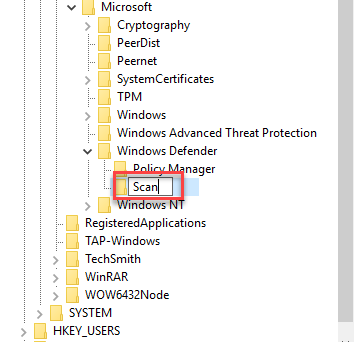
Rename the newly created key as Scan as the following image is showing.
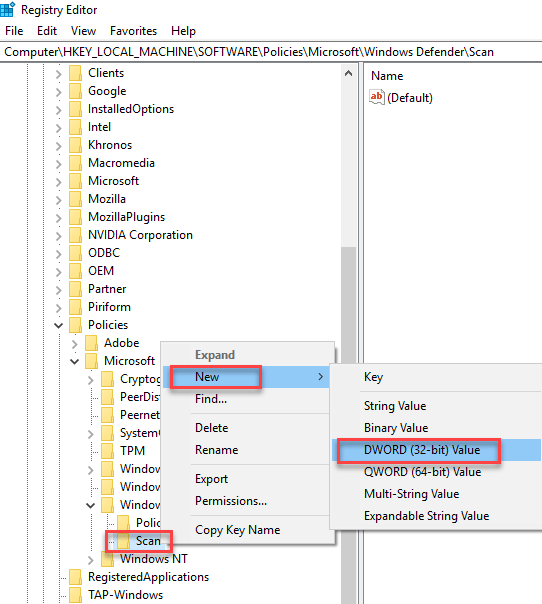
Right click on the Scan option and choose the New -> DWORD (32-bit) Value as the following image is showing.
Now rename the newly created word as the DisableScanningMappedNetworkDrivesForFullScan as the following image is showing.

Now double click on the DisableScanningMappedNetworkDrivesForFullScan option and the following dialogue box will appear.
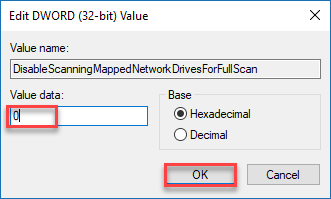
Put 0 in the Value data textbox and then click the OK button as highlighted in the above image. Now close the Registry Editor screen and restart the computer to apply the changes.
Method #2
Click the Search button on the taskbar. Type Run in the search box and then click the Run option as the following image is showing.

As soon as you click the Run option, the following dialogue box will appear.
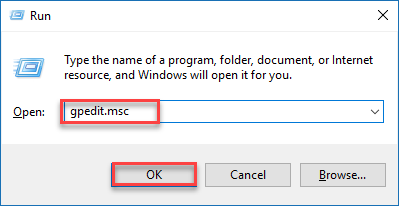
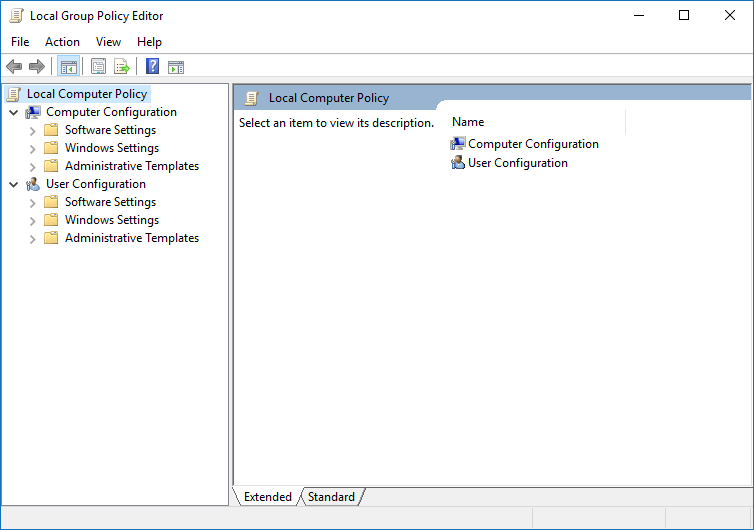
Type gpedit.msc in the Open textbox and then click the OK button as highlighted in the above image. The Local Group Policy Editor screen will open as the following image is showing.
Navigate to the following path from the left side of the screen.
Computer Configuration -> Administrative Templates -> Windows Components -> Windows Defender Antivirus -> Scan
The following image is showing the same.
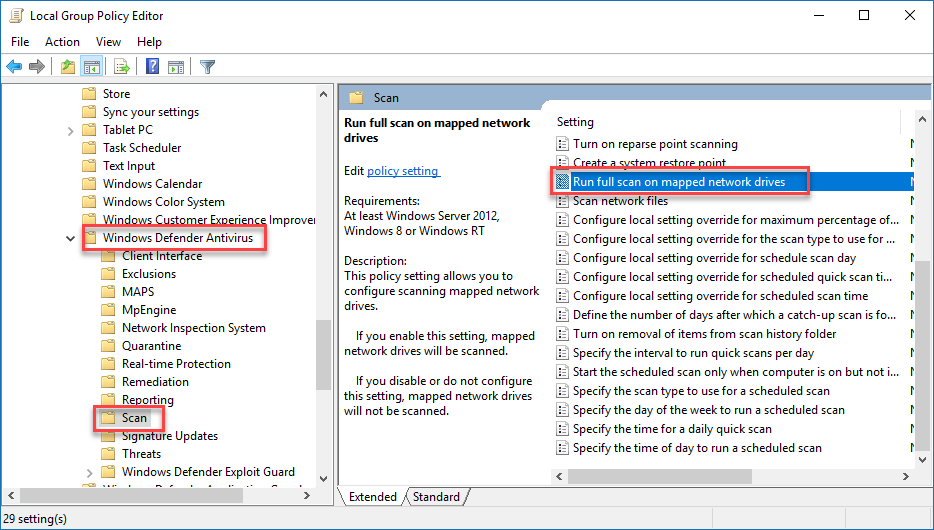
As you click the Scan option from the left side of the screen, the right side will show a lot of options. Locate the Run full scan on mapped network drives option and double click on it as highlighted in the above image. When you will double click the Run full scan on mapped network drives option, the following dialogue box will appear.
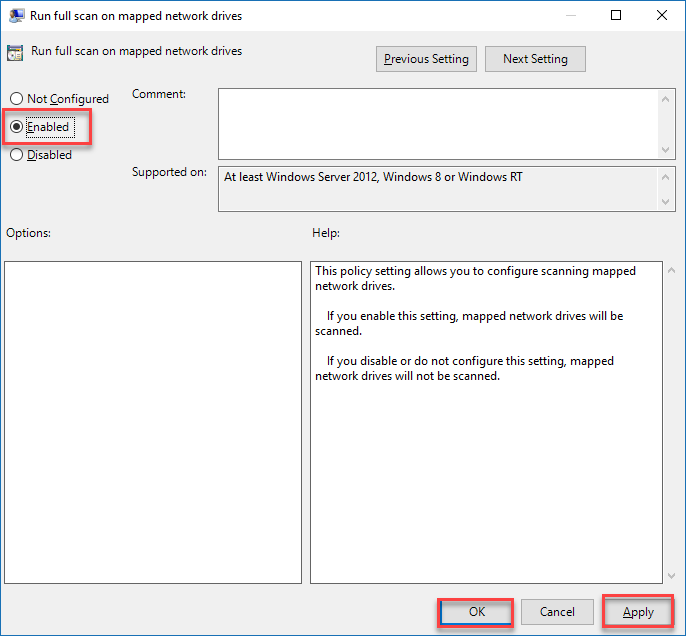
Click the Enabled radio button. After that, click the Apply and then OK button as highlighted in the above image. Close the Local Group Policy Editor and changes will be applied instantly. There is no need to restart the computer.
Conclusion
By following any of these procedures, you will be able to scan mapped network drives with Windows Defender on Windows 10.