As with removing your browser’s cache, clearing Windows cache is a good start for troubleshooting system problems, enhancing the performance of the system, and freeing up disk space. In this article, we will guide you through the whole procedure to clear the cache for your PC in Windows 10.
Clear the cache for your PC in Windows 10
To clear the cache for your PC in Windows 10, follow any of these procedures step by step.
Method #1
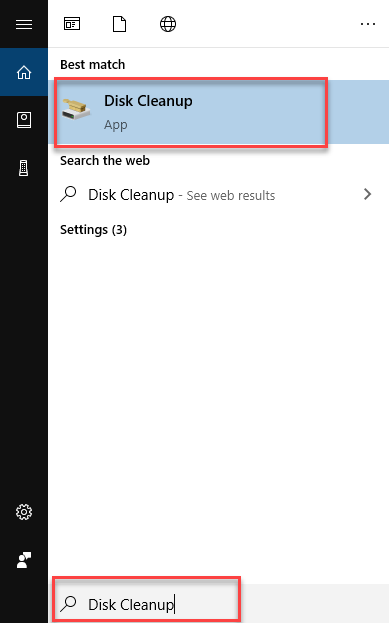
Click the Search button on the taskbar. Type Disk Cleanup in the search box and then click the Disk Cleanup option as the following image is showing.
As soon as you click the Disk Cleanup option, the following dialogue box will appear.
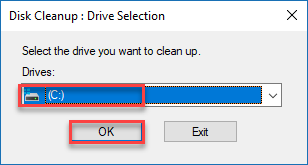
Choose the drive which you want to clean up and then click the OK button as highlighted in the above image. Now the following dialogue box will appear.
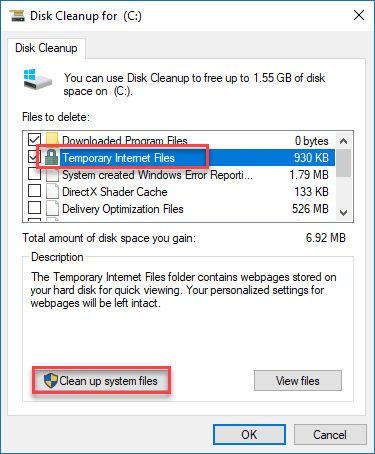
Now check the checkboxes of which you want to delete the files e.g. Temporary Internet Files, Recycle bin or downloads. Then click the Clean up system files button as highlighted in the above image. Now it will start calculating the space which will be free after deleting the selected files as the following image is showing.

After the calculation, it will be back to the previous dialogue box as the following image is showing.
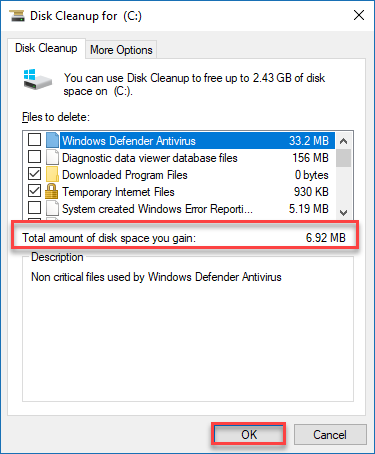
Now if you want to delete some other files check their check boxes and then click the OK button as highlighted in the above image. After that, the following alert will generate.
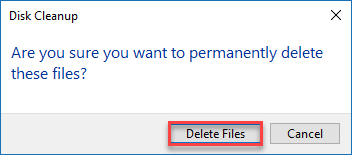
Click the Delete Files button as highlighted in the above image. Now the selected files will be deleted. This procedure will take some time.
Method #2
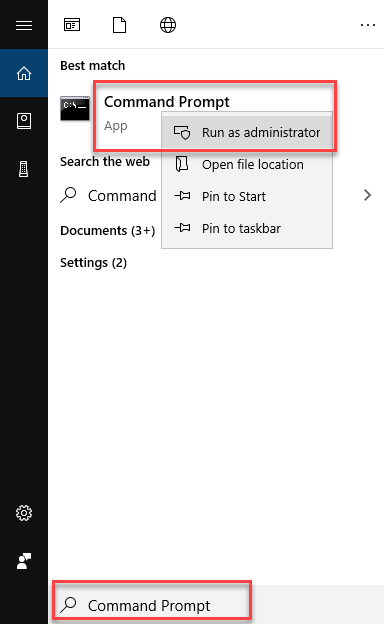
Click the Search button on the taskbar. Type Command Prompt in the search box and then right click on the Command Prompt option, a menu will pop out. Click the Run as administrator option as the following image is showing.
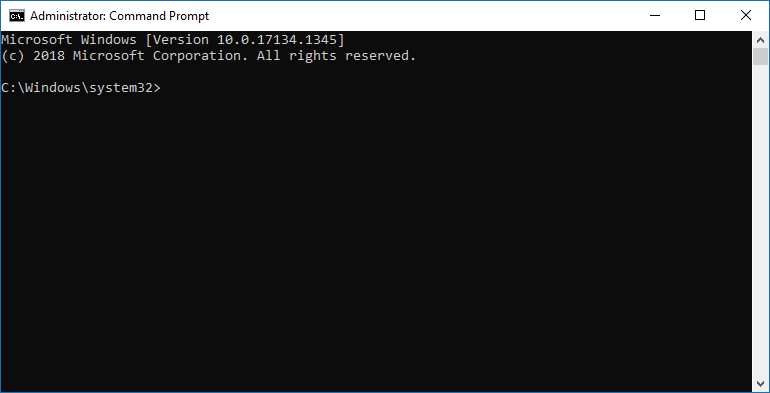
As you click the Run as administrator option, the following editor will appear.
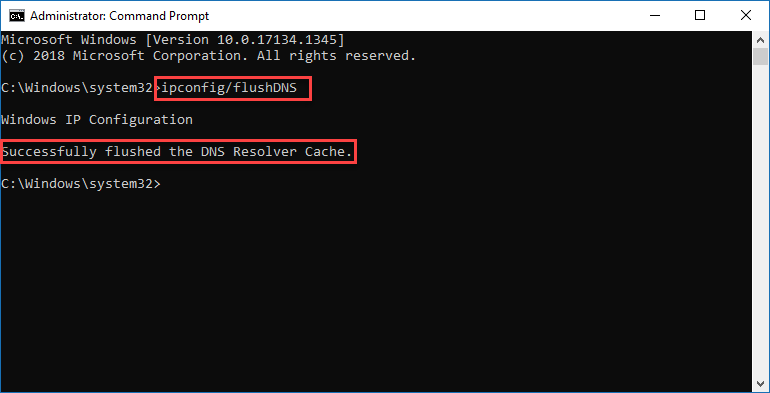
Type the following command into the Command Prompt editor.
ipconfig/flushDNS
When you enter the command, it will clear the cache as the following image is showing.
Method #3
Click the Search button on the taskbar. Type Run in the search box and then click the Run option as the following image is showing.
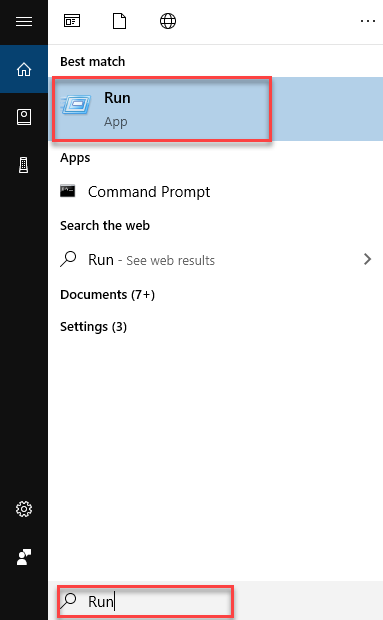
As you click the Run option, the following dialogue box will appear.

Type the WSReset.exe in the Open textbox and click the OK button as highlighted in the above image. As you click the OK button, the subsequent screen will appear.
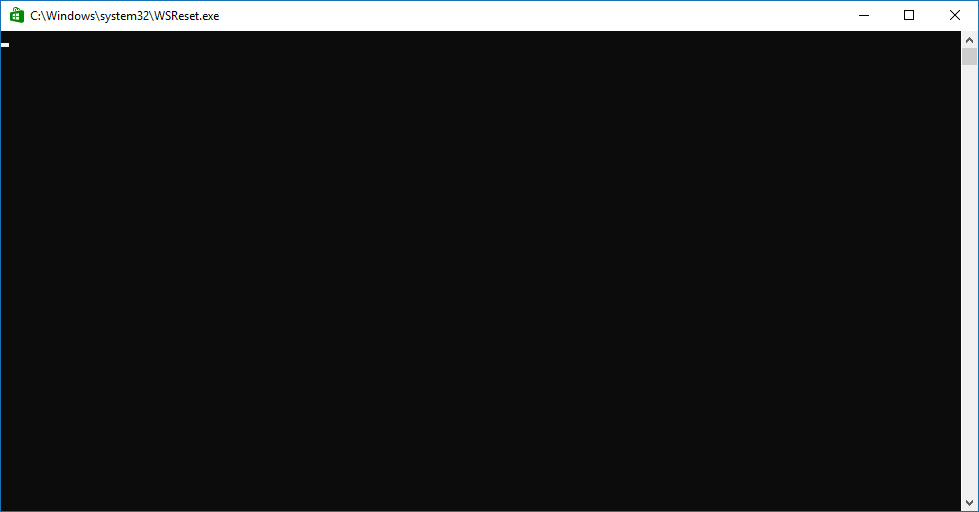
Now, wait for a moment while it is clearing the cache. When the cache will be cleared, it will open the Windows Store application. Close the application.
Method #4
Click the Search button on the taskbar. Type Settings in the search box and then click the Settings option as the following image is showing.
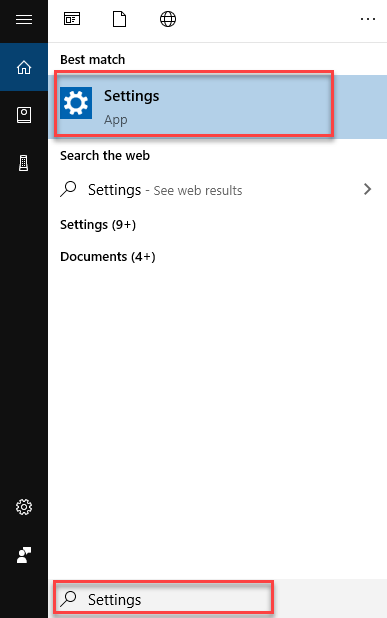
As soon as you click the Settings option, the Windows Settings will appear as the following image is showing.
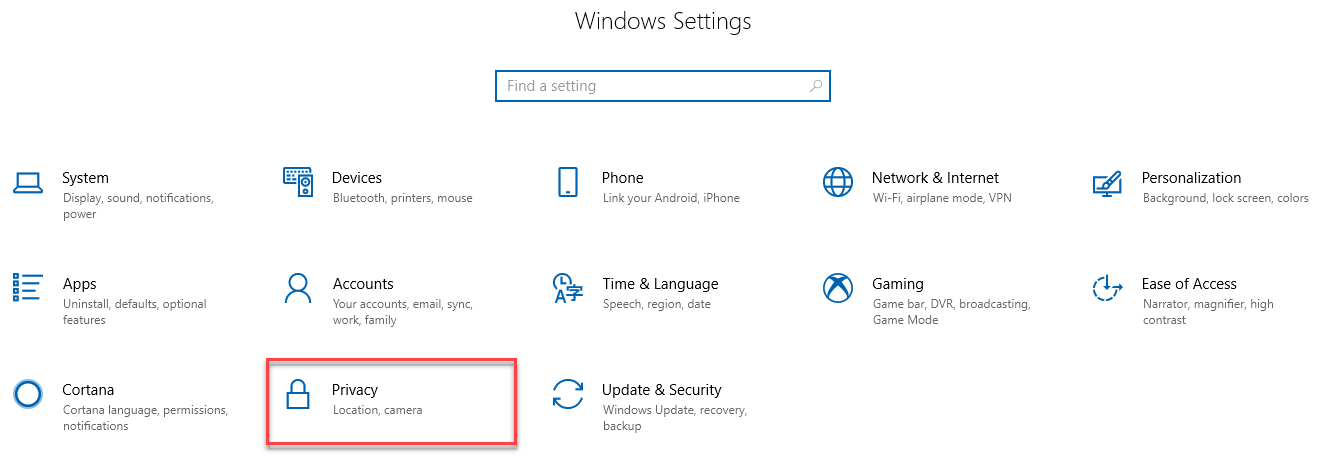
Click the Privacy option as highlighted in the above image. When you will click the Privacy option, the following screen will appear.
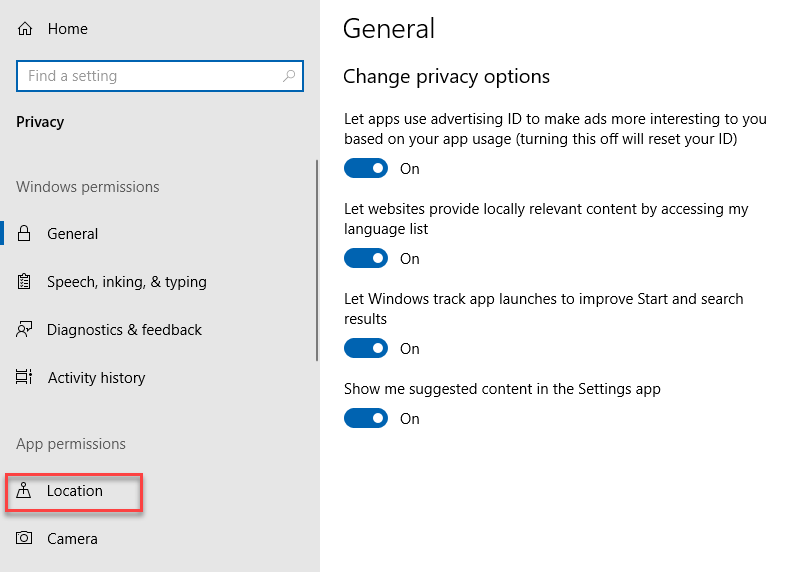
As you can see that the screen is divided into two sides. Choose the Location option from the left side of the screen as highlighted in the above image. As soon as you click the Location option from the left side of the screen, the right side will show the following options.
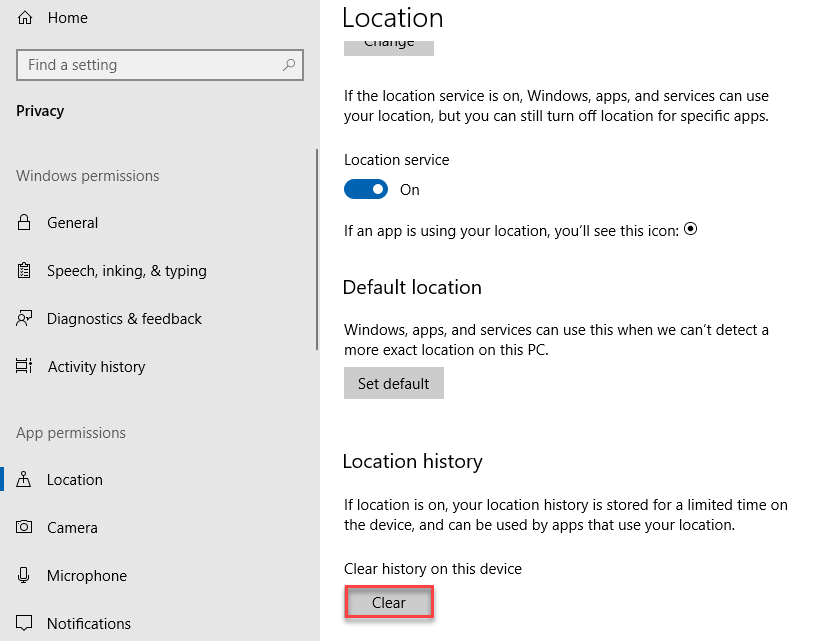
Now scroll down the screen and locate the Location history option. After that, click the Clear button as highlighted in the above image. It will clear the Windows 10 cache.
Conclusion
By following this procedure, you will be able to clear the Cache for your PC in Windows 10.