
While ease of access center offers increase accessibility on Windows 10 computer with its various features like narrator on-screen keyboard, optimizing visual displays, etc. Some users liked these features and some considered them as an annoying one.
In this article, I will discuss the feature of Windows ease of access center that is Sticky keys and I will show how to enable/disable the sticky keys.
What are sticky keys?
You have noticed that if you accidentally press Alt key 5 times while playing a game or doing some other thing, a box pop-ups asking you to turn on sticky keys.
Sticky keys cause some specific keys to remaining active after they have been pressed a once. It allows for easier to do windows shortcuts.
For instance, you press Alt+Tab at once to move between different windows. Using sticky keys, you can achieve the same result by pressing Alt and Tab key one by one instead of at once. This feature is useful for a person with some disabilities.
Enable/disable the sticky keys
1. Through Control Panel
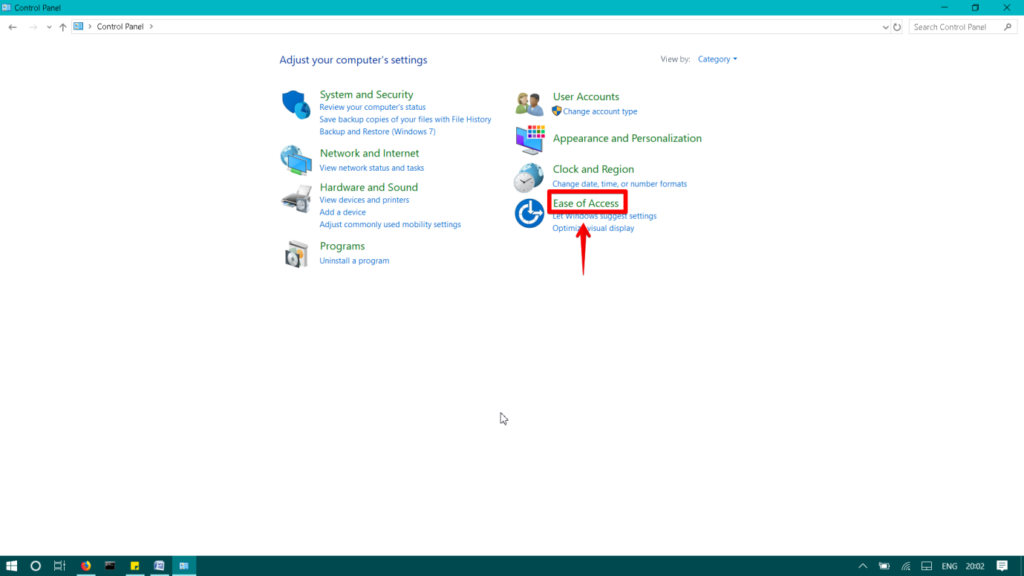
Open Control Panel and navigate to Ease of Access.
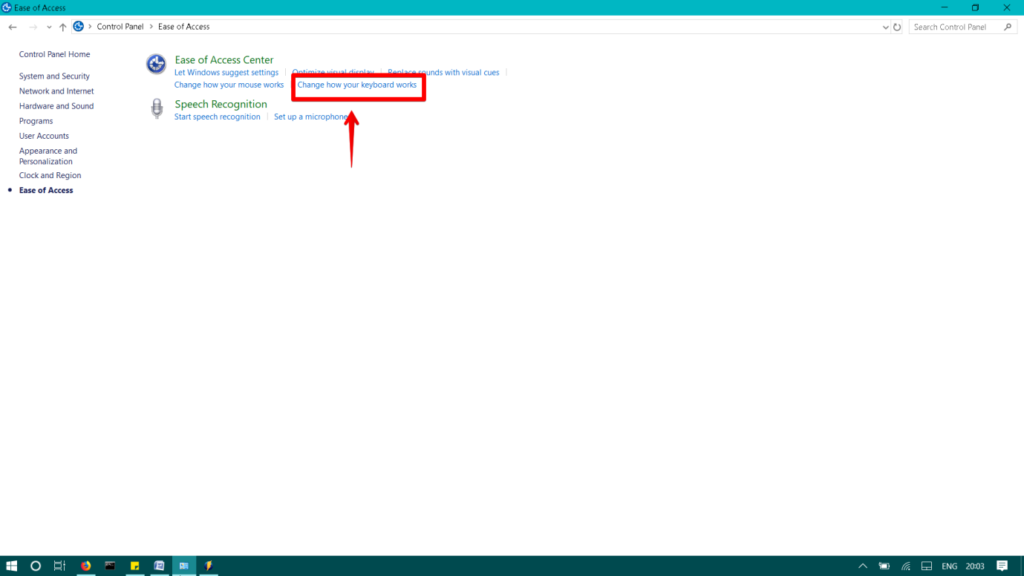
Then click on Change how your keyboard works.
Check the box named Turn on Sticky Keys. Then click on Set up Sticky Keys. Change the settings as per your preferences. Then click on Apply to save the changes.
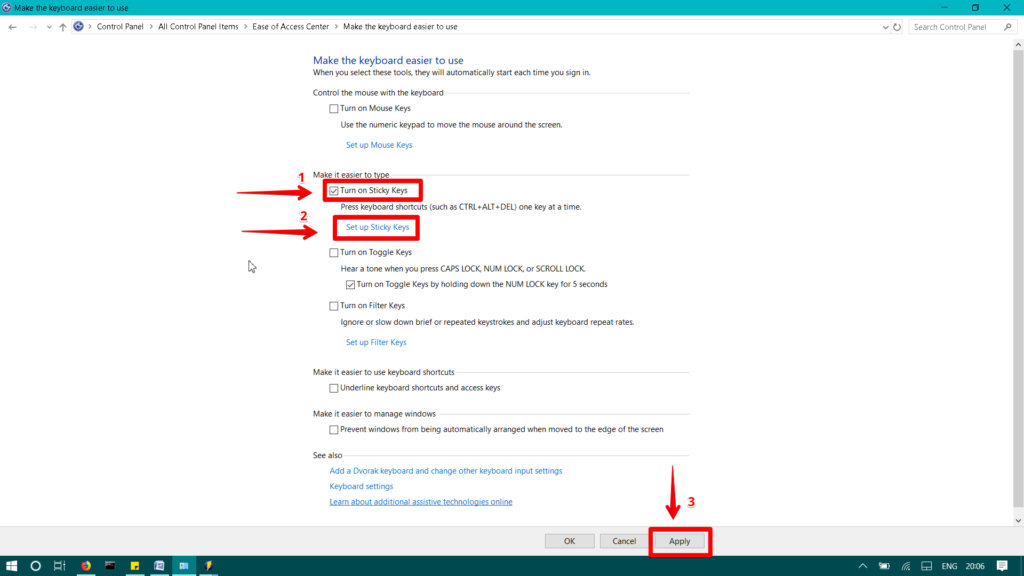
To disable the sticky keys, uncheck the box, Turn on Sticky Keys.
2. Through Windows 10 Settings app
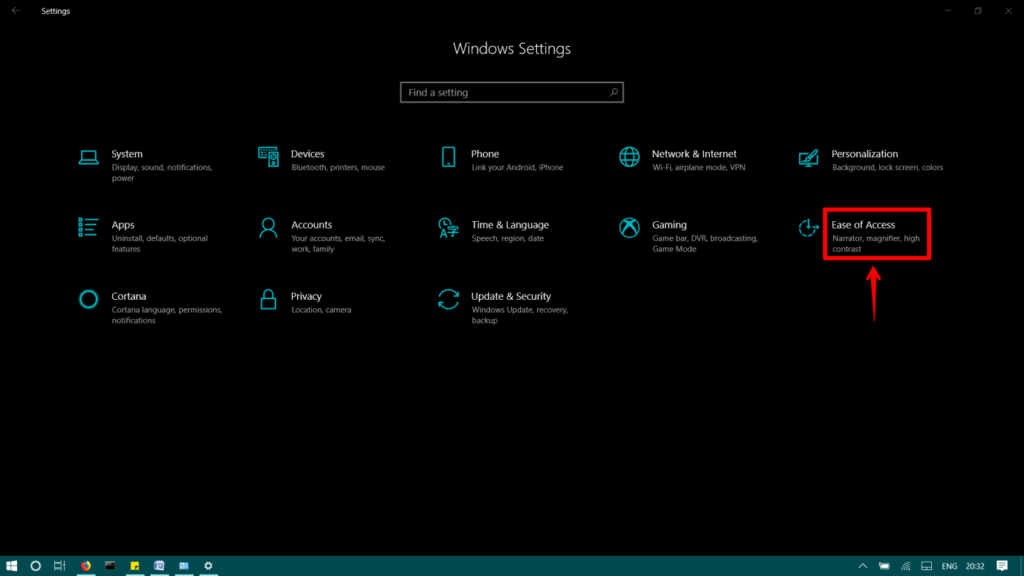
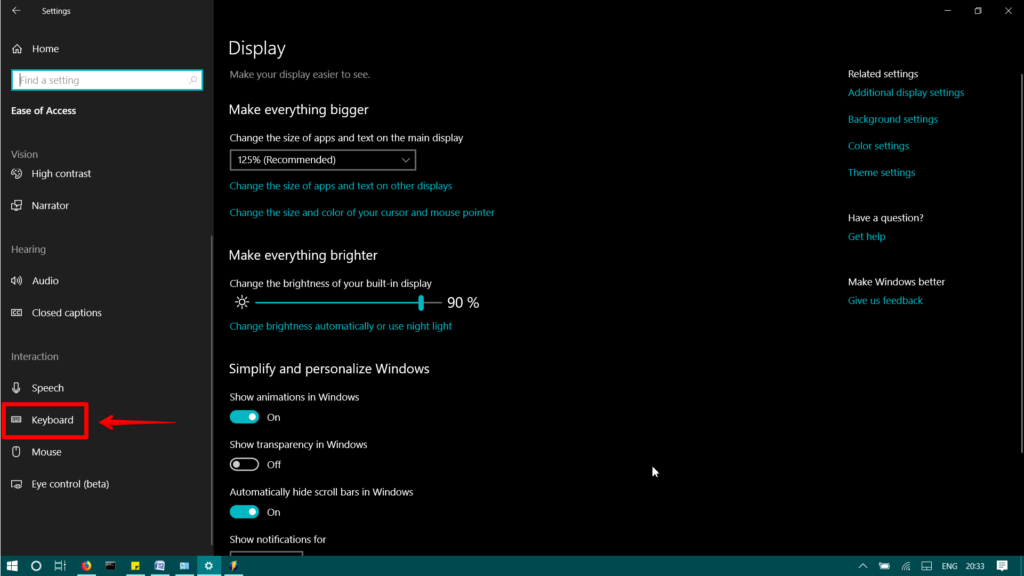
Launch Windows 10 settings app. Then click on Ease of Access.
Scroll down and select the Keyboard from the left pane.
Turn the toggle switch to the right to enable the sticky keys as highlighted below.
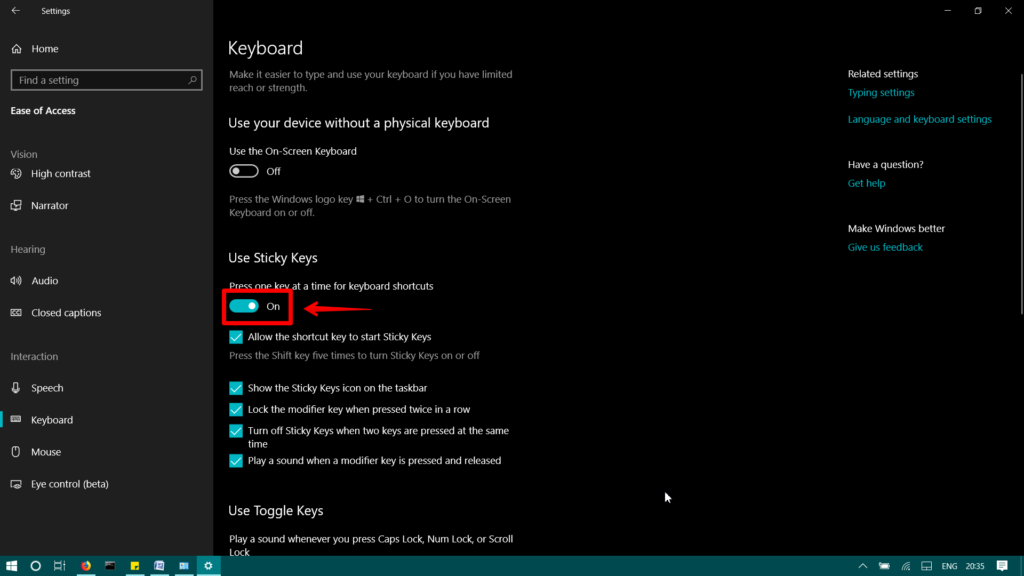
You can also check the box before Allow the shortcut key to start the Sticky Keys option. This allows you to use a shortcut key to enable the sticky keys. That means you can enable the sticky keys by pressing the Shift key five times.
That is how you can easily enable/disable the sticky keys.