Before the colorful screens became popular, the appearance of screens used to be grayscale or in simple words, they used to be black and white. Some people still prefer the same old ambiance and do not like the catchy colors that much. For such users, Windows 10 offers a great customizability feature. In this article, we will explain to you how you can disable or enable the grayscale mode in Windows 10.
Enabling Grayscale Mode in Windows 10
In order to disable or enable the gray scale mode in Windows 10, you will need to perform the following steps:
Type settings in the search section of your taskbar and click on the search result to launch the settings window. The newly opened Settings window is shown in the following image:
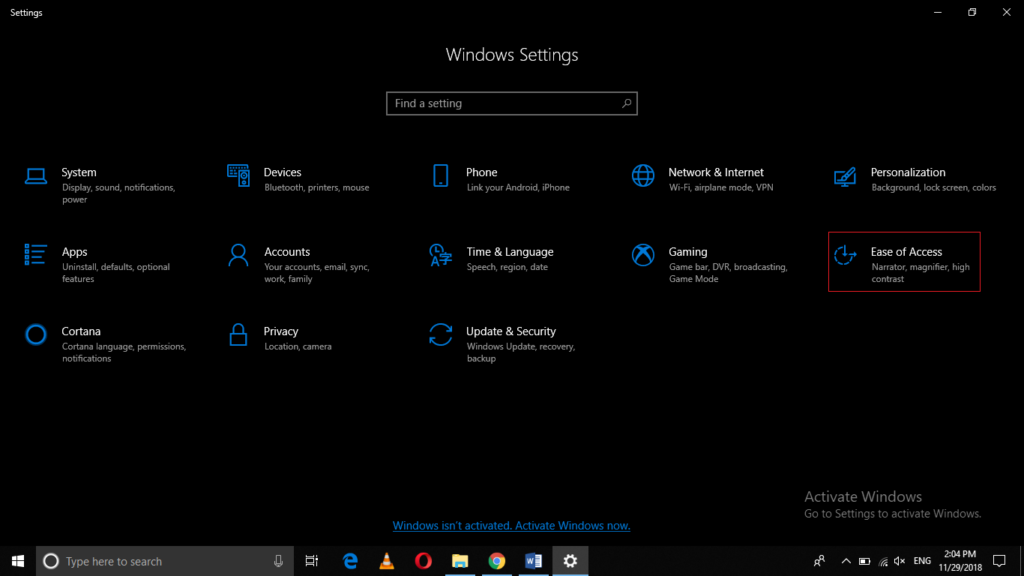
Click on the Ease of Access tab as highlighted in the image shown above.
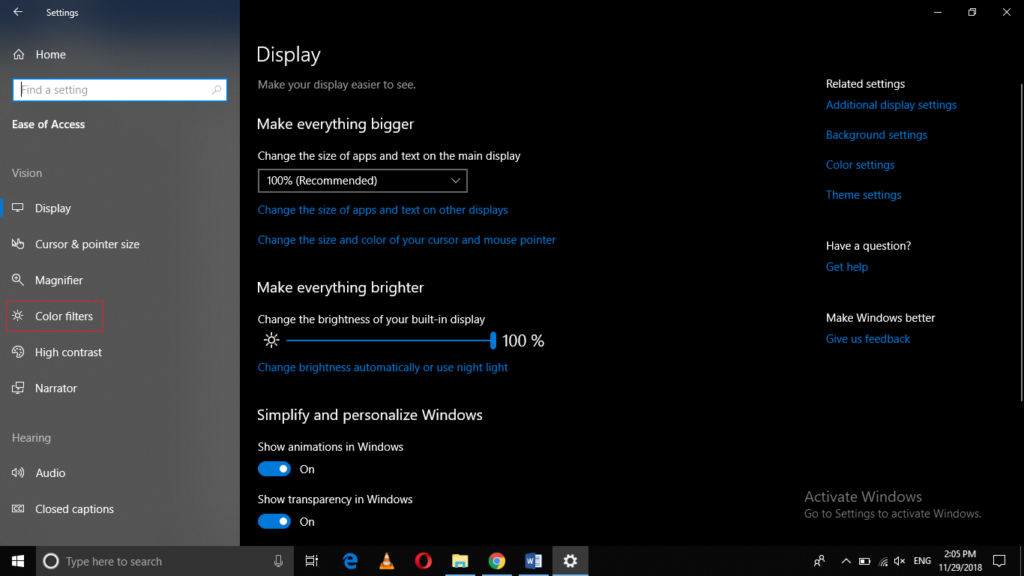
In the Ease of Access Settings window, click on the Color Filters tab as highlighted in the image shown below:
Now turn on the toggle button corresponding to the field saying, “Turn on color filters” and then choose the grayscale filter from the Filters list as highlighted in the following image:
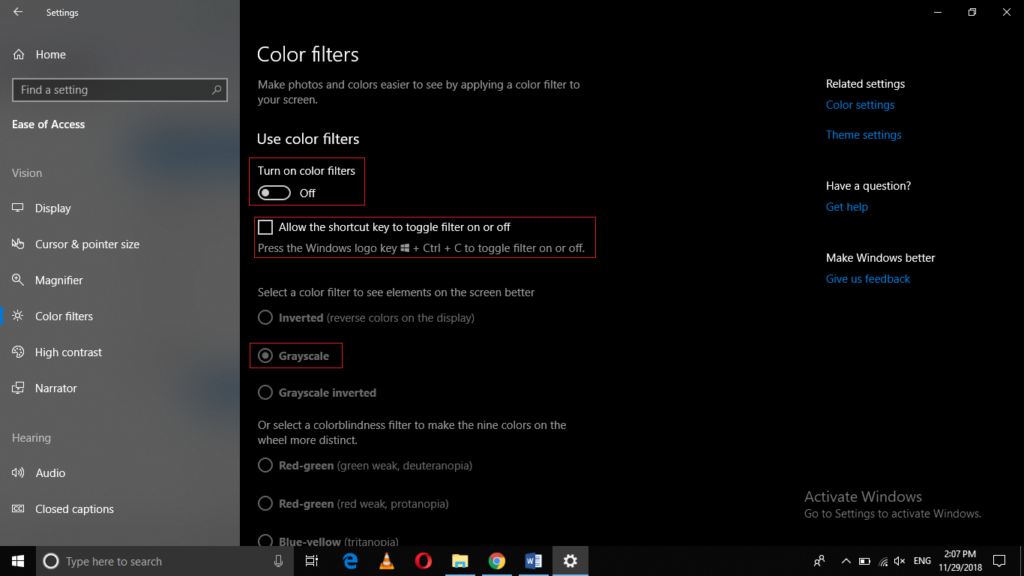
Also, check the checkbox corresponding to the field of “Allow the shortcut key to toggle filter on or off” by clicking on it. After doing this, you will be able to enable or disable the grayscale filter just by pressing Win + Ctrl + C as highlighted in the image shown above.
Conclusion
In this way, you can easily enable or disable the grayscale mode in Windows 10 by following the method discussed in this article and can experience the old environment while using Windows 10. Moreover, you can easily toggle between the regular and the grayscale filters simply with the help of a keyboard shortcut and can get your work done within seconds.