When you are done with configuring windows deployment services on your server, the next step is to add images to your WDS for the client machines. There are two types of images that you need to add: one is install.wim (the actual Windows installation files) and the other one is boot.wim (used to boot the client machine).
Add a Windows Install Image
Step 1. Open windows deployment services console.
Step 2. Expand your server.
Step 3. Right-click on Install Images and then click Add Install Image.
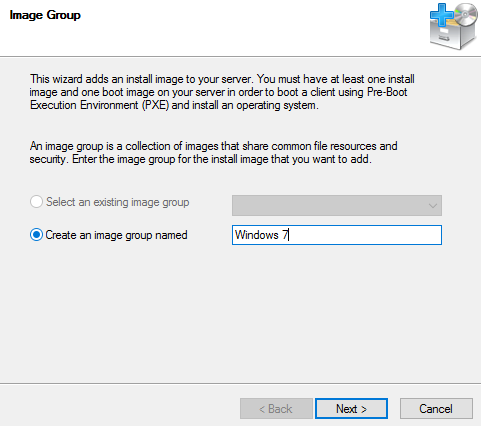
Step 4. Provide an image group name and then click Next.
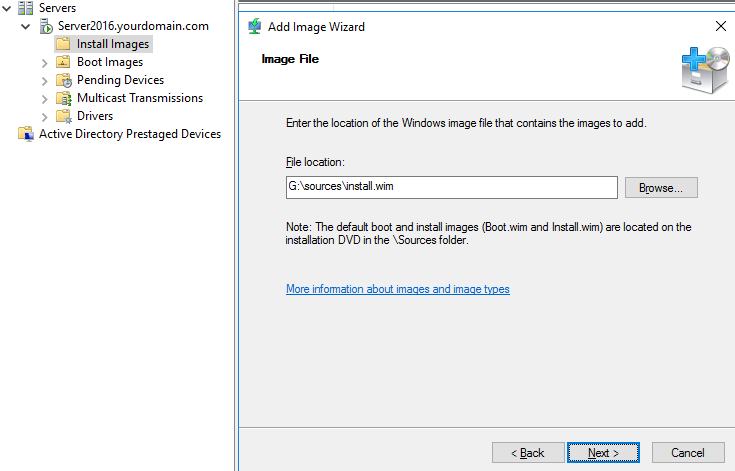
Step 5. Browse to the source folder (located on your windows installation CD/DVD or local hard drive).
Step 6. Choose the install.wim file and click Next.
Step 7. Click Next.
Step 8. Click Next.
Step 9. Wait for the file to be copied. (This can take several minutes to complete).

Add Windows Boot Image
Step 1. In the Windows deployment services console, right-click boot images.
Step 2. Click on Add boot image.
Step 3. Browse to source folder of your CD/DVD and locate boot.wim.
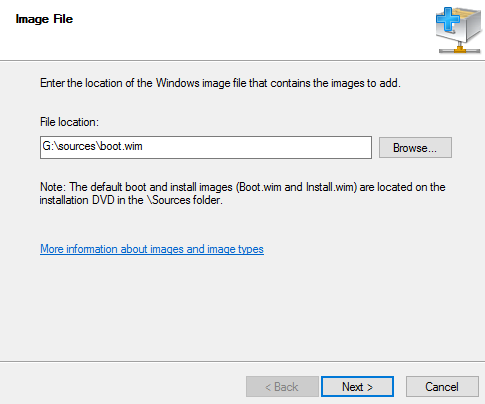
Step 4. Click Next.
Step 5. Click Next.
Step 6. Click Next.
Step 7. Wait for the image to be copied (This can take several minutes to complete).
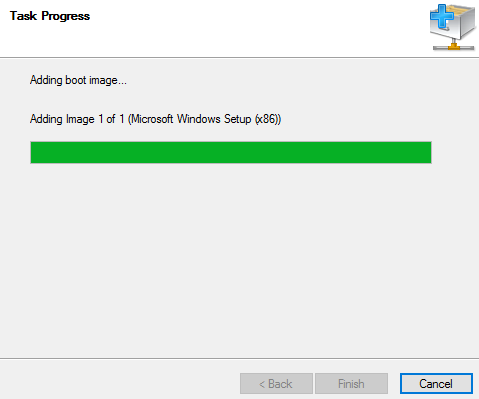
Step 8. When done, click Finish.