You can use capture image to create a reference image of a sysprepped Windows operating system, this task is also known as image capture or creating boot images to deploy them on your network. This tutorial will walk you through the steps to create a capture image from an existing boot image in Windows deployment services in Windows Server 2016.
Create a Windows Boot Image
Step 1. Right-click on your boot image and then click on Create Capture Image.
Step 2. Provide a capture image name, image description, file name, and location where you would like to place this file
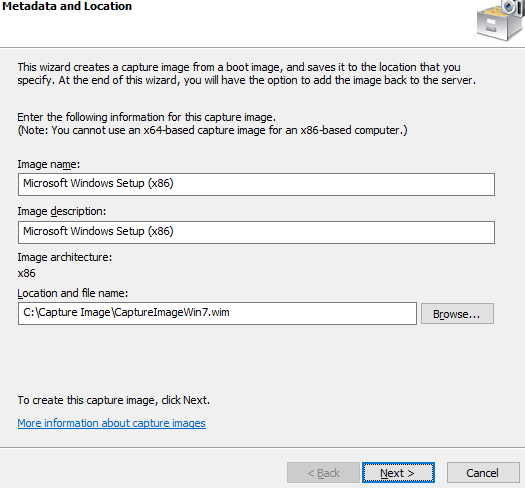
Step 3. Click Next.
Step 4. Wait for the wizard to be completed (This can take several minutes to complete, so be patient).
Step 5. When the operation is completed, enable 'Add image to the Windows Deployment Server now' checkbox and click on the Finish button.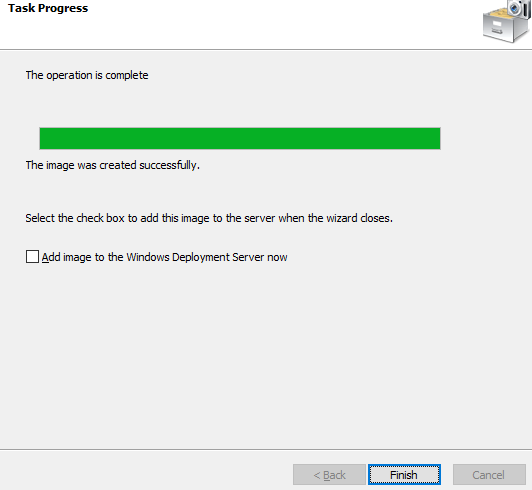
Frequently Asked Questions
Here I'll answer some of the most frequently asked questions on this topic.
What is a capture image?
A capture image is a specialized form of a boot image.
Where to find the create capture image wizard?
The wizard to create capture images is part of the WDS (Windows Deployment services). Open the WDS Console, click on the server name, and there you select "Boot Images". Right-click on Create Capture Image to start the capture image wizard.
How to select create capture image?
Use the WDS console to create a Capture Image, the steps are:
- Go to the Server Manager Console on your WDS server
- Next, choose Windows Deployment Services, you can find it in the Tools section.
- There you click on the Server Name > Boot Images
- Finally, right-click on the Boot image that shows up in the list and choose to Create Capture Image from the menu.
What is the Windows Deployment Services Server
The Windows deployment services server helps Administrators to deploy prepared operating system images in their local network domain.