Windows Deployment Services is a technology for deploying Windows on multiple computers without using CD/DVD on each computer. If you have already configured WDS on server 2012 R2, configuring it on WDS on server 2016 can be a piece of cake for you.
Following are step-by-step instructions.
Installation of WDS
Step 1. Open server manager.
Step 2. Click on Add roles and features.
Step 3. Read important prerequisites and try to meet them (This includes a strong password for the administrator account, static IP configuration, and installation of the latest security updates). Click Next to continue.
Step 4. Choose Role-based or feature-based installation and click Next.
Step 5. Choose a destination server for WDS from server pool and click Next.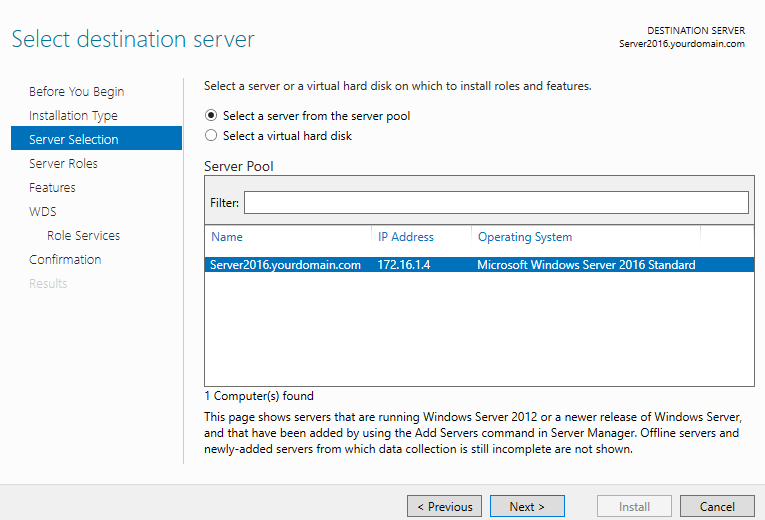
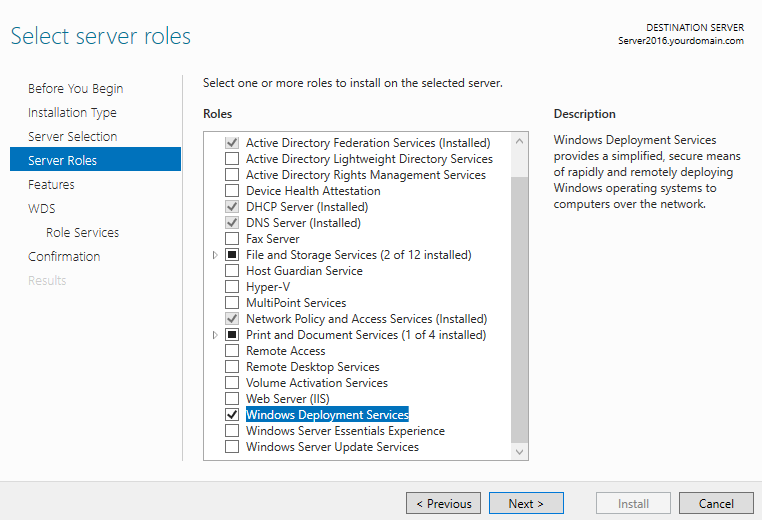
Step 6. Choose Windows Deployment Services from server roles. As soon as you check that option, a new window will pop up. Click on Add features.
Step 7. Click Next
Step 8. Click Next two times.
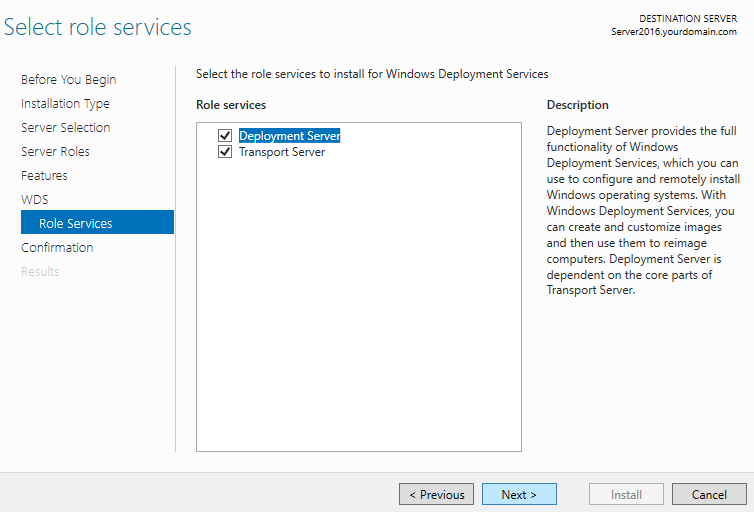
Step 9. Click Next (Leave default selection of both deployment and transport server)
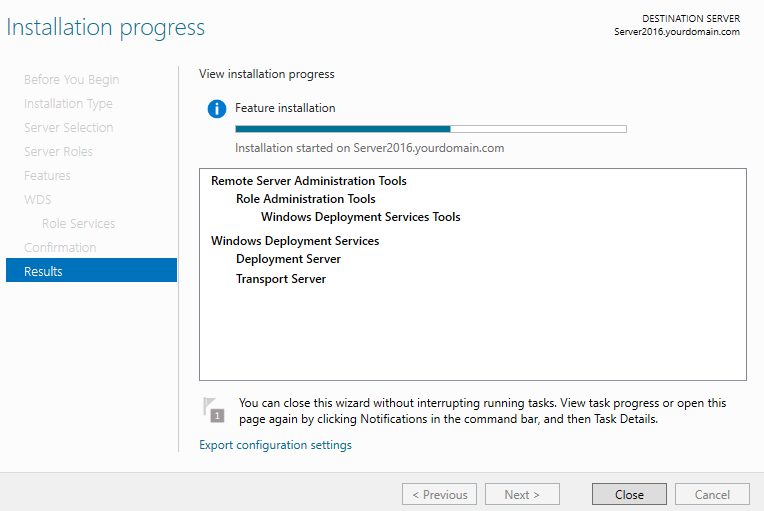
Step 10. Click Install (Wait for the installation to finish. This can take several minutes to complete).
Configuration of WDS
Step 1. Open server manager dashboard. Click Tools -> Windows Deployment Services.
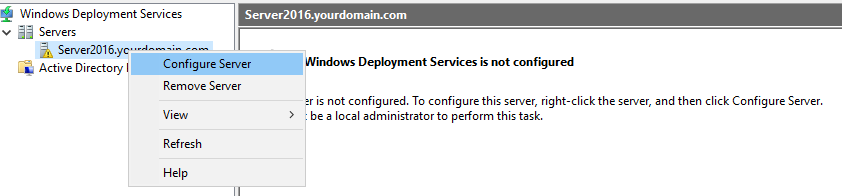
Step 2. Right-click your WDS server and then click on Configure Server.
Step 3. Read important pre-requisites and click Next.
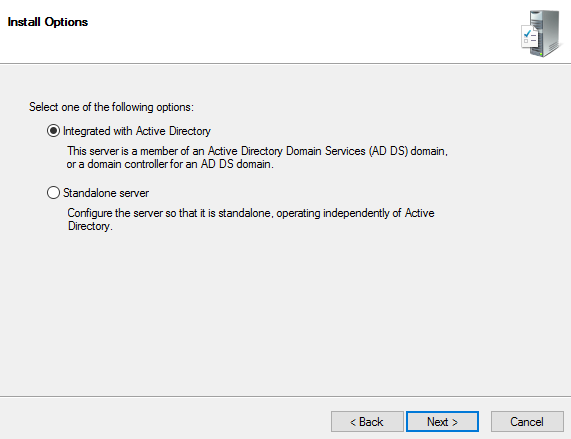
Step 4. Choose "Integrated with Active Directory". I have an AD configured on my network. If you don't have an AD configured and you are configuring WDS in standalone mode, choose standalone server. Click Next.
Step 5. Provide the path on your NTFS drive where you would like to store boot images, install images, PXE boot files and WDS management tools. Click Next.
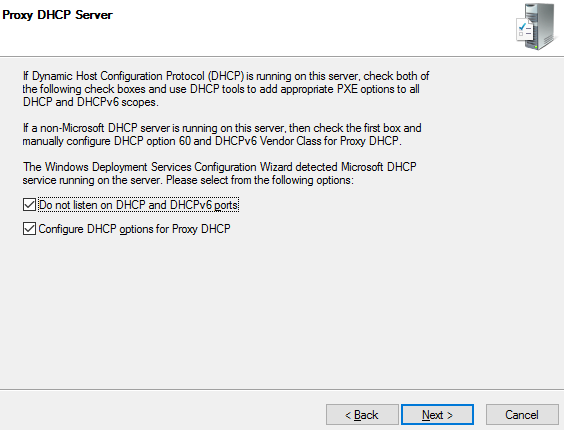
Step 6. I have configured DHCP on the same WDS server. So check both boxes and click Next.
Step 7. Choose 'Respond to all client computers' (known and unknown).
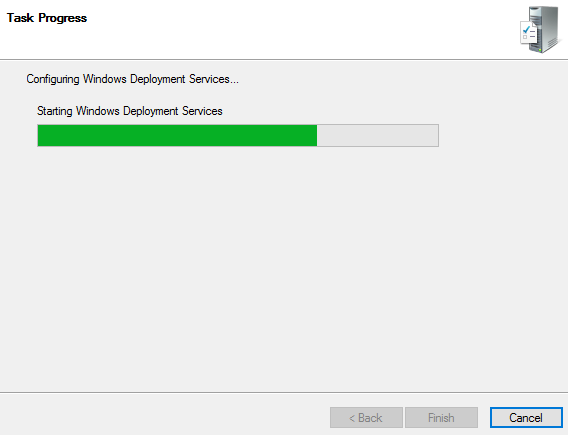
Step 8. Wait for the wizard to finish (This can take several minutes to complete).
Step 9. Click Finish.
Now your WDS is configured. Read my next article on how to add windows images to WDS for deployment on client computers.
