If you are an individual using different network connecting technologies such as Wi-Fi or a 3G/ 4G with a wireless controller then you must have seen the network metered warnings. That essentially means you have a small bandwidth when your link is metered. So, some apps like Outlook won’t connect automatically and will display you a metered warning of the connection. So there is an option to disable or turn off the metered connection. In this article, we will guide you through the whole procedure to turn off a Windows 10 Metered Connection.
Turn off a Windows 10 Metered Connection
To turn off a Windows 10 Metered Connection, follow any of these procedures step by step.
Method #1
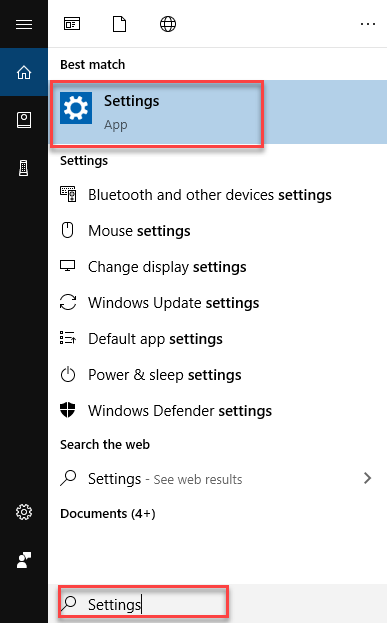
Click the Search button on the taskbar. Type Settings in the search box and then click the Settings option as the following image is showing.
As soon as you click the Settings option, the Windows Settings screen will appear as the following image is showing.
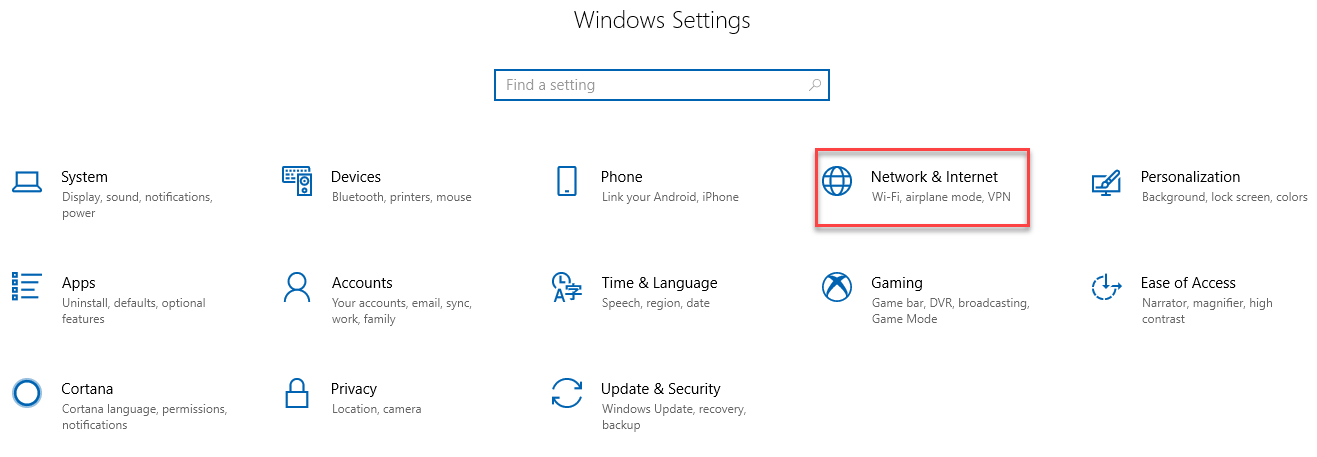
Click the Network & Internet option as highlighted in the above image. After clicking the Network & Internet option, the following screen will appear.
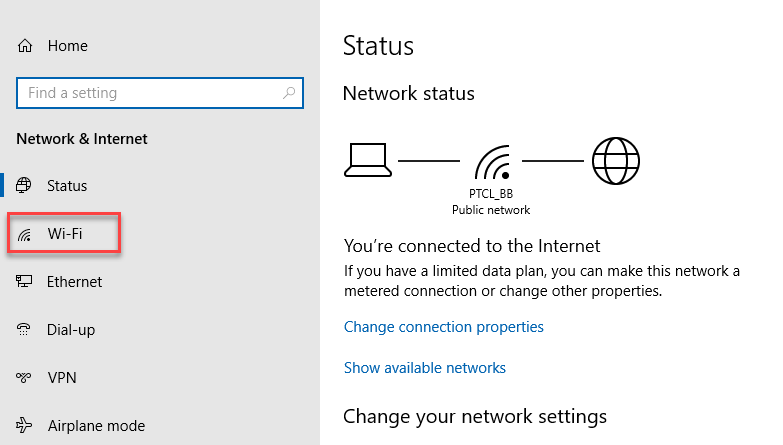
As you can see that the screen is divided into two parts. Choose the Wi-Fi option from the left side of the screen as highlighted in the above image. As soon as you click the Wi-Fi option, the following options will appear on the right side of the screen.
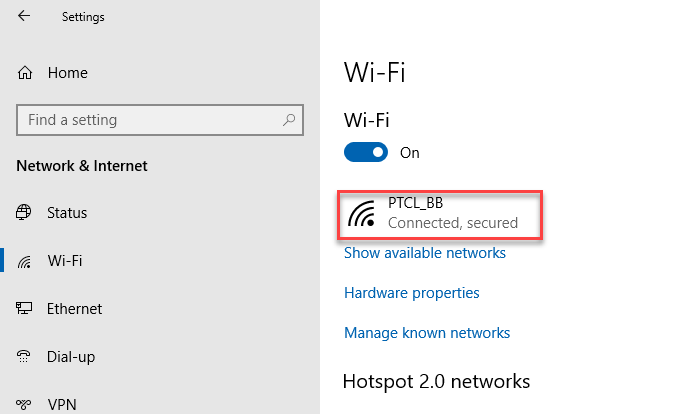
Click on the Network with which you are connected as highlighted in the above image. As you click on the connected network, another screen will appear as follows.
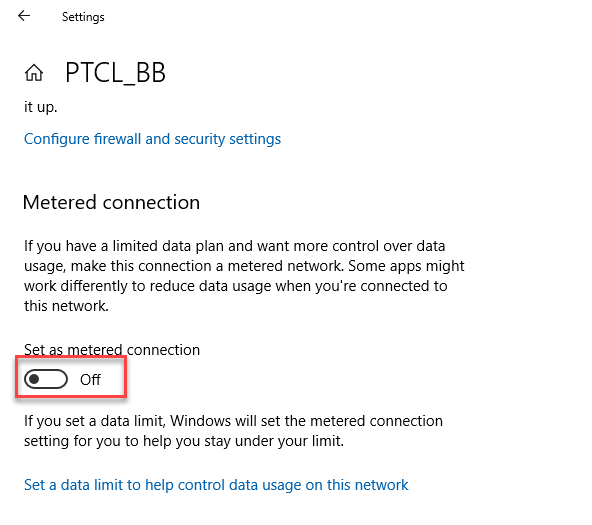
Now scroll down the screen and locate the Metered connection section. Then turn off the Set as metered connection toggle button as highlighted in the above image. Close the Settings and your connection is not metered anymore.
Method #2
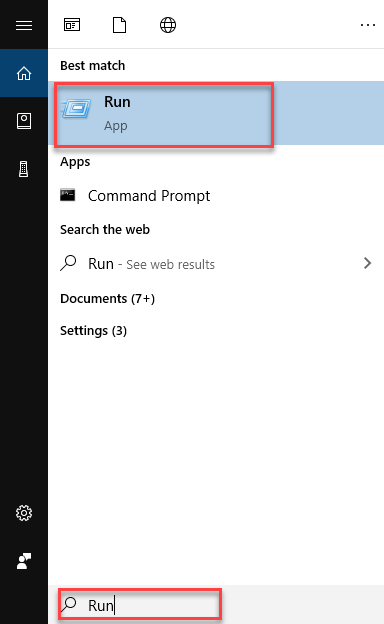
Click the Search button on the taskbar. Type Run in the search box and then click the Run option as the following image is showing.
As soon as you click the Run option, the following dialogue box will appear.
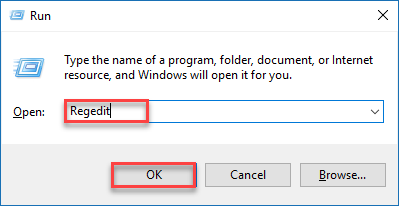
Type Regedit in the Open textbox and then click the OK button as highlighted in the above image. As you click the OK button, the Registry Editor screen will appear as the following image is showing.
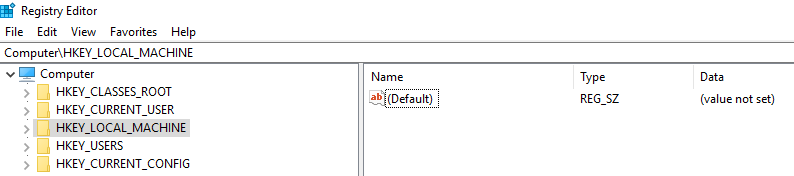
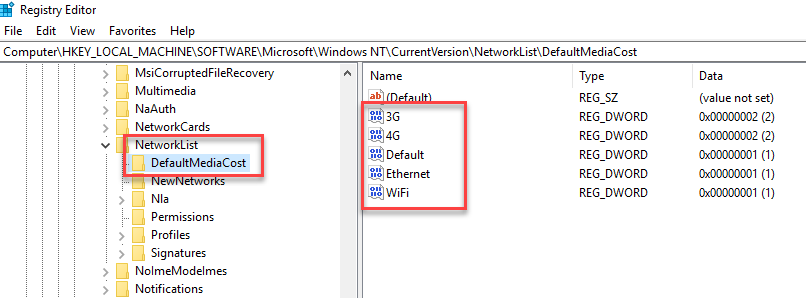
Navigate through the following path from the left pane of the screen.
HKEY_LOCAL_MACHINE\SOFTWARE\Microsoft\WindowsNT\CurrentVersion\NetworkList\DefaultMediaCost
As you click the DefaultMediaCost option, the right pane of the screen will show some options as the following image is showing.
Double click on any of the key and the following dialogue box will open.
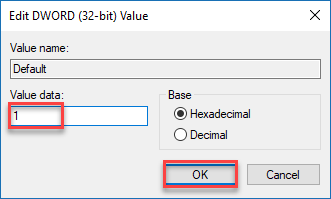
Set the Value data as 1 to turn off the metered connection and then click the OK button as highlighted in the above image. Close the Registry Editor and connect to your Wi-Fi. Your connection will not be metered anymore.
Note: If you want your connection as metered then put the Value data as 2. Your connection will be set as metered.
Conclusion
By following any of these procedures, you will be able to turn off a Windows 10 Metered Connection.