Many people may prefer using a third-party camera rather than the internal camera that comes with laptops, computers and tablets etc. However, certain applications sometimes overlook this third party camera and instead use the internal camera. In this article, we will guide you through the whole procedure to change the default camera on Windows 10.
Change default camera on Windows 10
To change the default camera on Windows 10, follow these procedures step by step.
Method#1
Right-click on the Start button from the left corner of the screen and the following menu will appear.
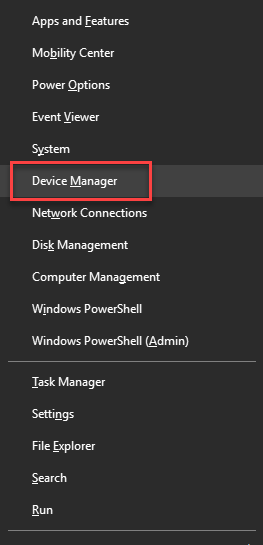
Click the Device Manager option from the appeared menu as highlighted in the above image. Then the following screen will appear on your screen.
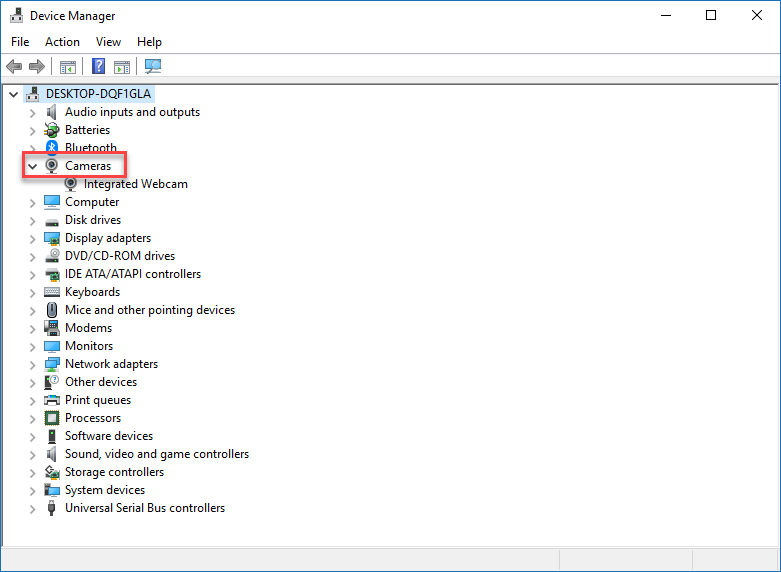
Click the down arrow of the Camera as highlighted in the above image. Then you will see an option of Integrated Webcam option, right click on it and the following menu will appear.
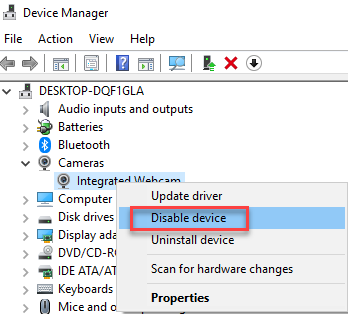
Click the Disable device option as highlighted in the above image.
Method #2
Click the Search button on the taskbar. Type Control Panel in the search box and then click the Control Panel option as the following image is showing.
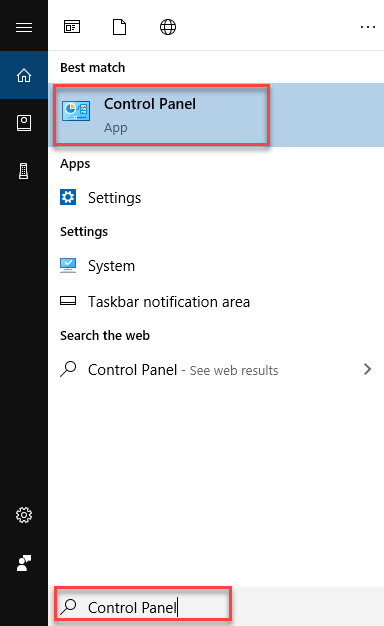
As soon as you click the Control Panel option, the following screen will appear.
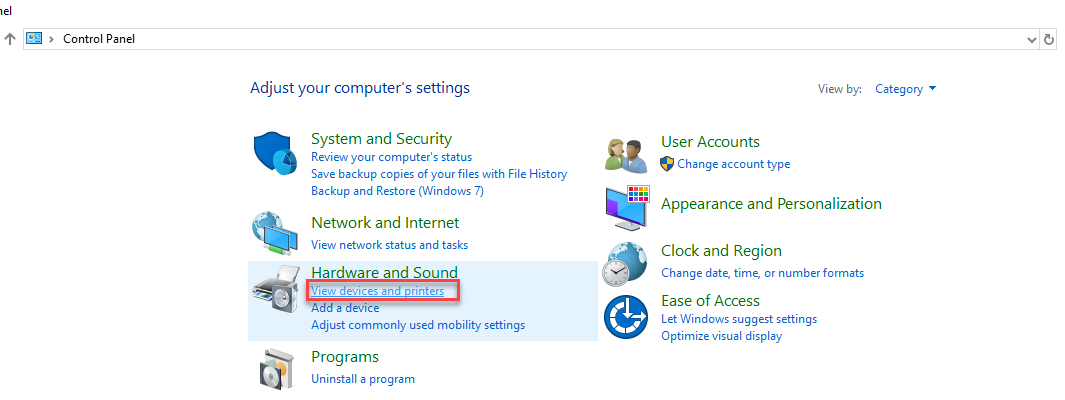
Click the View devices and printers option under Hardware and Sound option as highlighted in the above image. Now check that the webcam has appeared on the screen. If it is there, then click on it and select the Set this device as Default option.
Conclusion
By following any of these procedures, you will be able to change the default camera on Windows 10.
