Have you ever thought of having the same hardware device installed on your computer system twice with different settings? Well, this surely sounds very surprising. However, Windows 10 has the ability to do this magic for you. You can have the very same printer having the same port and the same driver installed twice on your computer system with different settings. In this article, we will explain to you the method through which you can install the same printer twice with different settings in Windows 10.
Installing the Same Printer Twice
In order to install the same printer twice with different settings in Windows 10, you will need to perform the following steps:
Type control panel in the search section of your taskbar and click on the search result to launch the control panel window. The newly opened Control Panel window is shown in the following image:
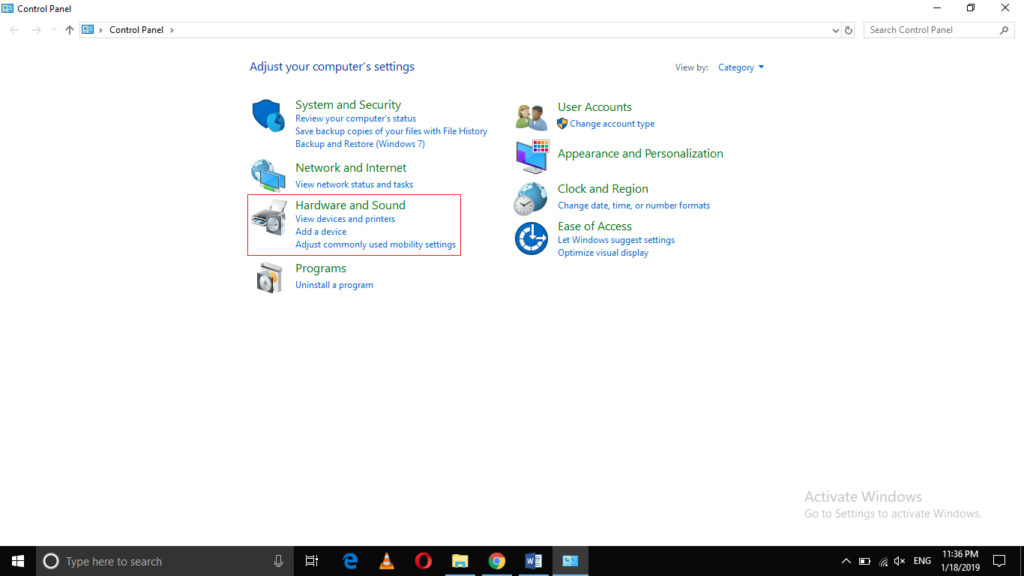
Click on the Hardware and Sound tab as highlighted in the image shown above.
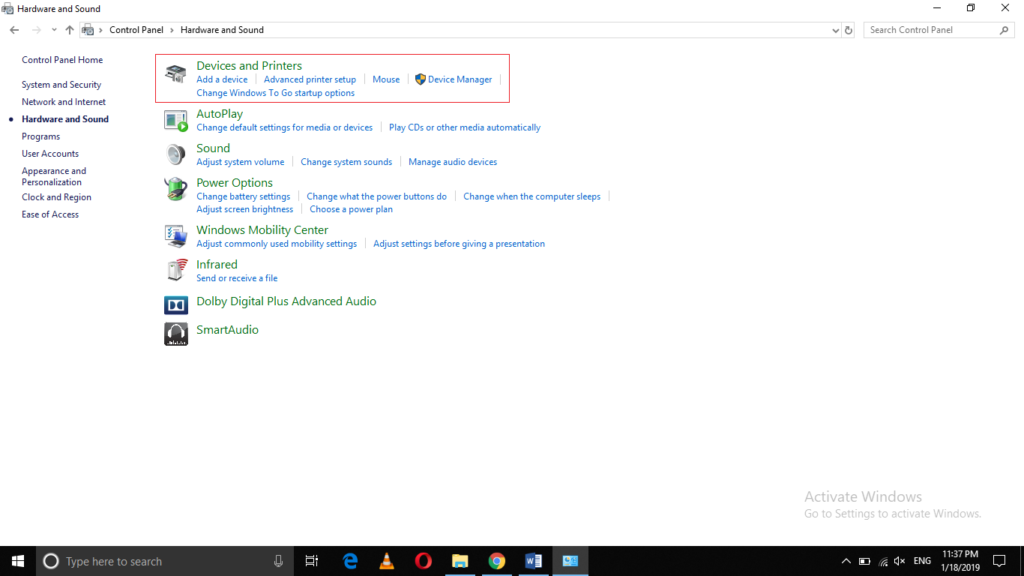
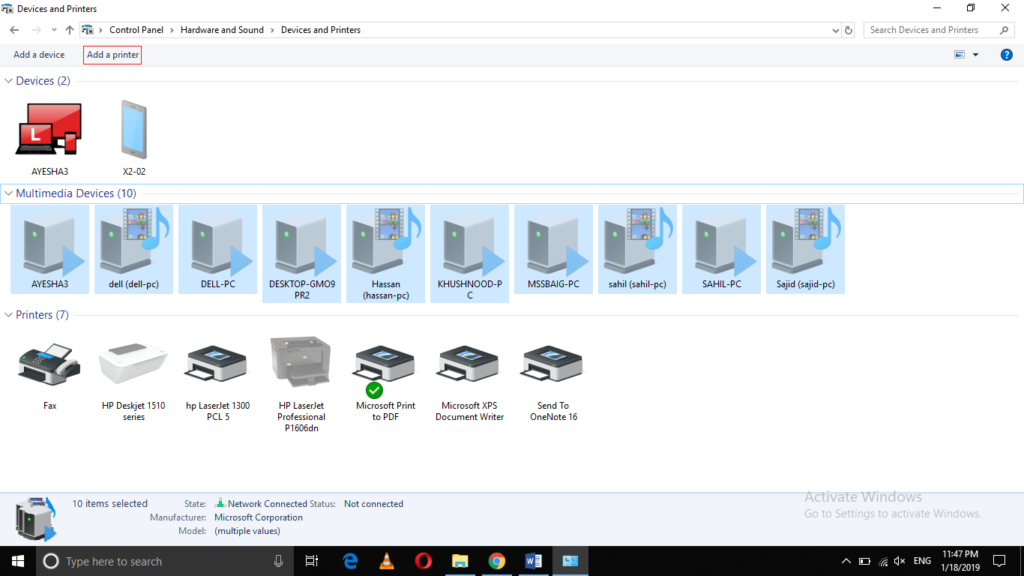
Now click on the Devices and Printers tab as highlighted in the image shown below:
Right click on any of the installed printers that you want to install twice in order to launch a pop-up menu as shown in the following image:
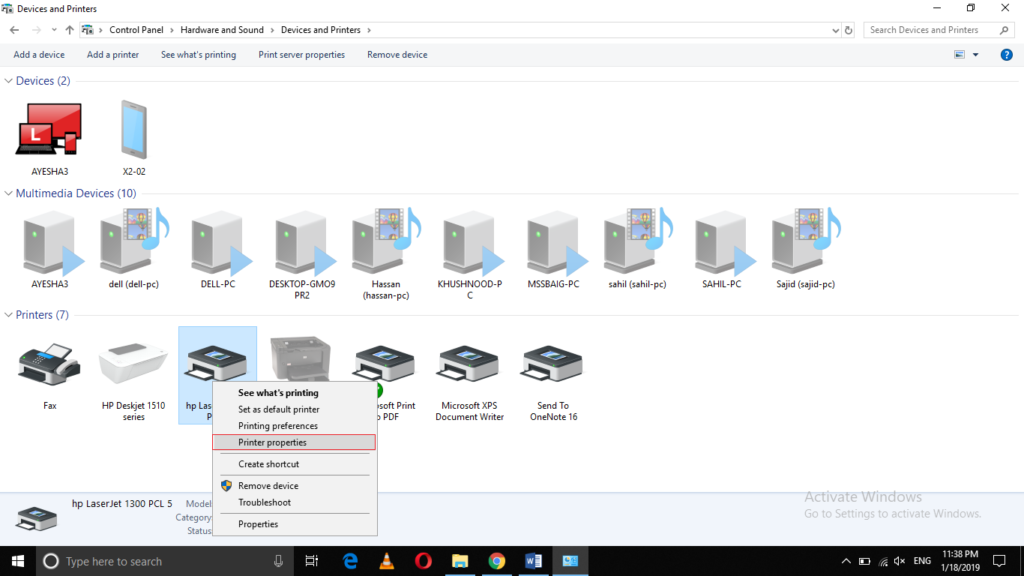
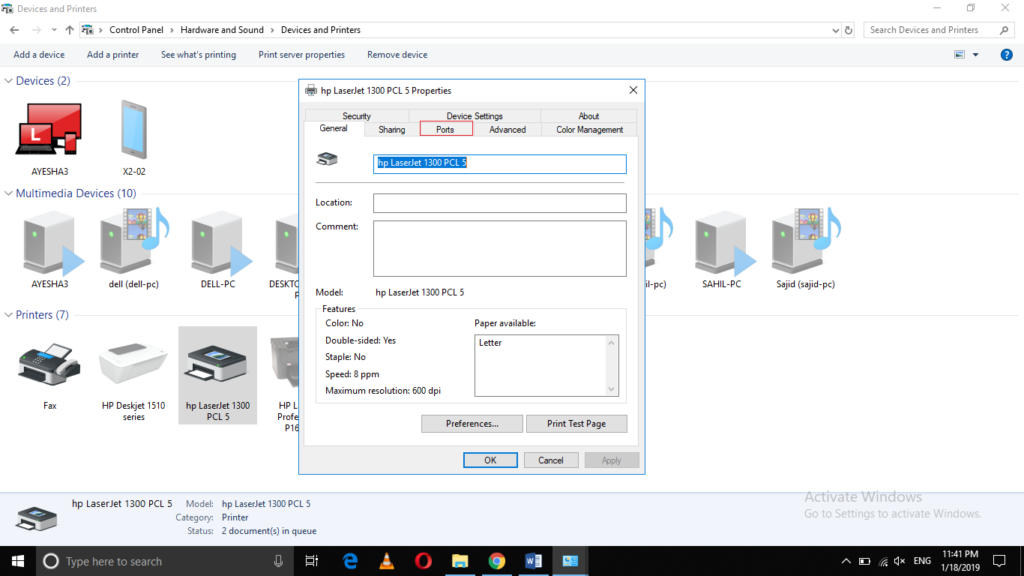
Now click on the Printer Properties option from the pop-up menu as highlighted in the image shown above.
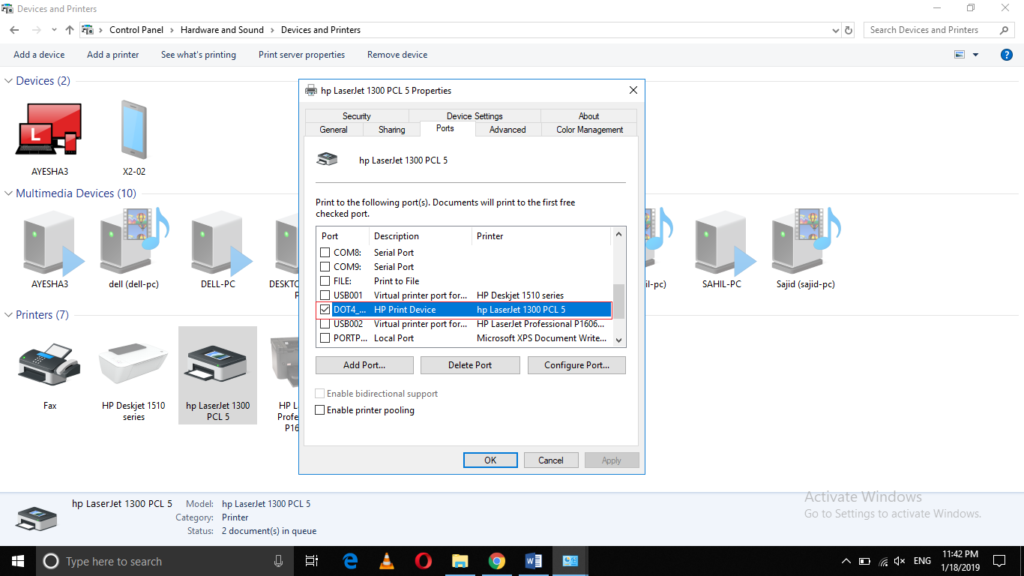
From the Printer Properties window, click on the Ports tab as highlighted in the image shown below:
Now note down the port of your desired printer as highlighted in the following image:
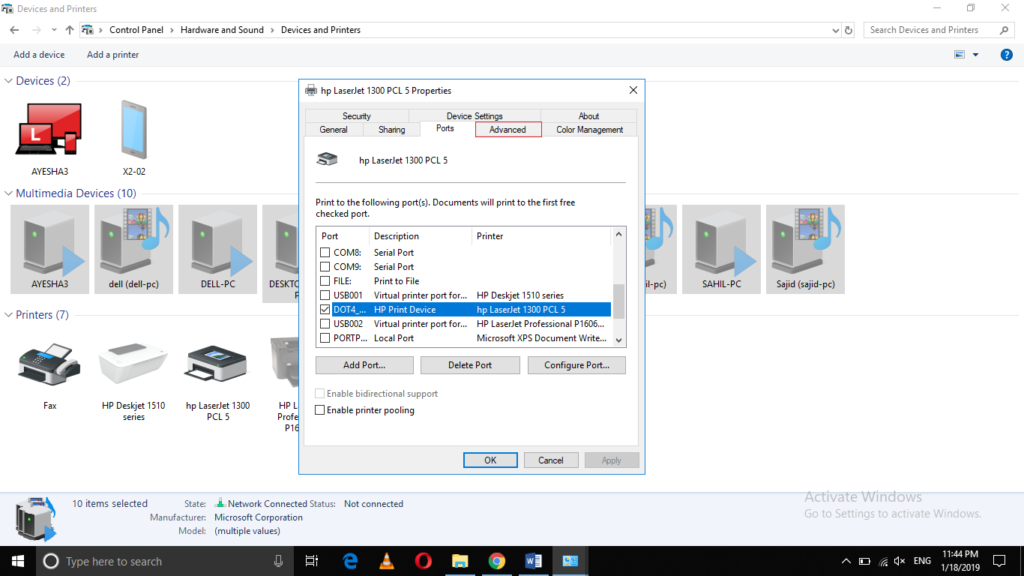
Click on the Advanced tab from this window as shown in the image below:
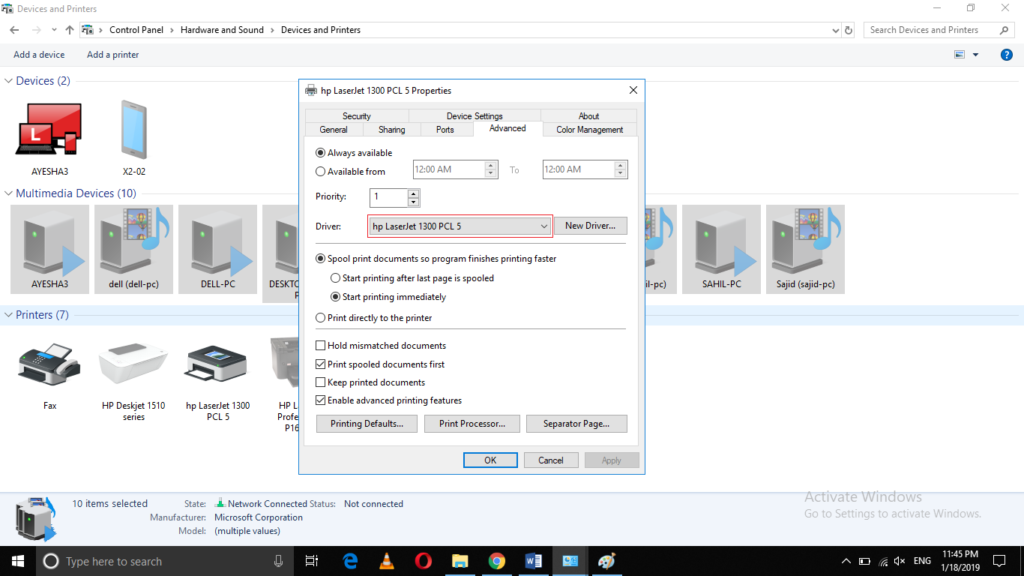
Now note down the name of the driver from the Advanced tab as highlighted in the following image:
After noting down these specifications, just close the Printer Properties window.
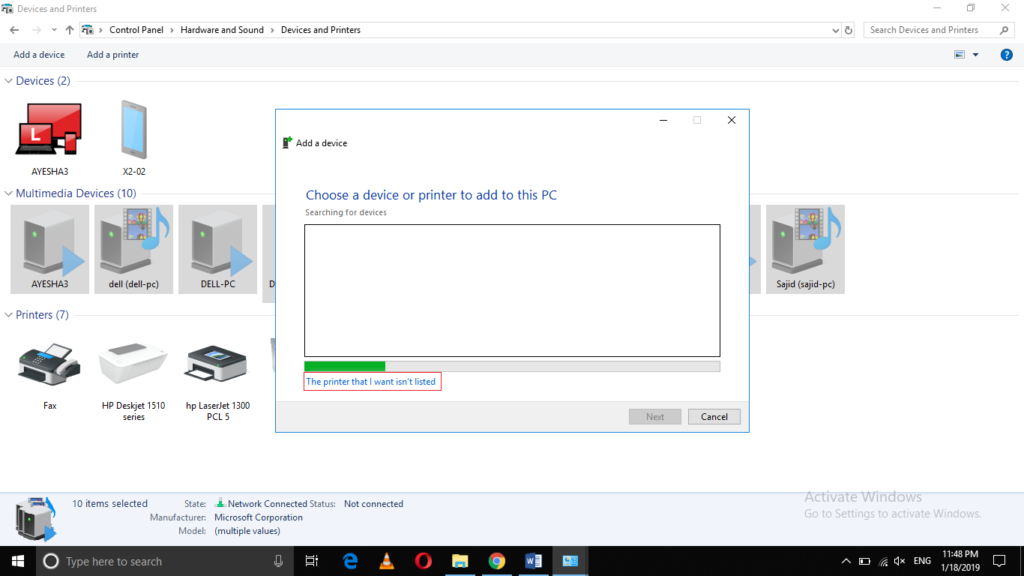
Now click on Add a Printer link from the Devices and Printers window as highlighted in the image shown below:
Click on the link saying, “The printer that I want isn’t listed” as highlighted in the following image:
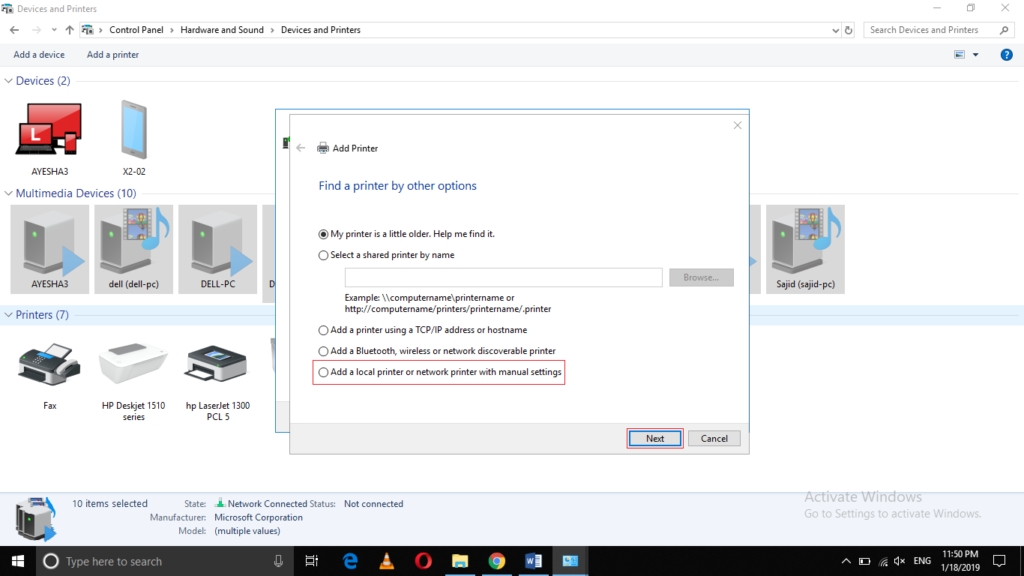
Now select the radio button corresponding to the field saying, “Add a local printer or network printer with manual settings” and click on the Next button as highlighted in the image shown below:
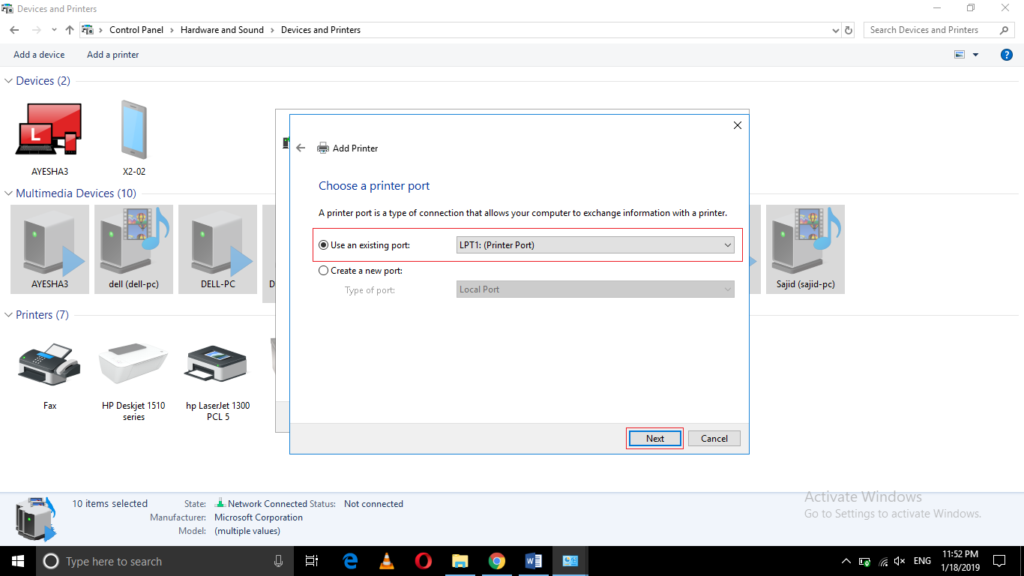
Choose an appropriate port for your printer or write down the one that you have noted down earlier and click on the next button as shown in the following image:
Now choose a driver for your printer or select the driver of your previously installed printer as highlighted in the image shown below and click on the next button:

Write any name for your new printer according to your own choice as shown in the following image and then click on the Next button:
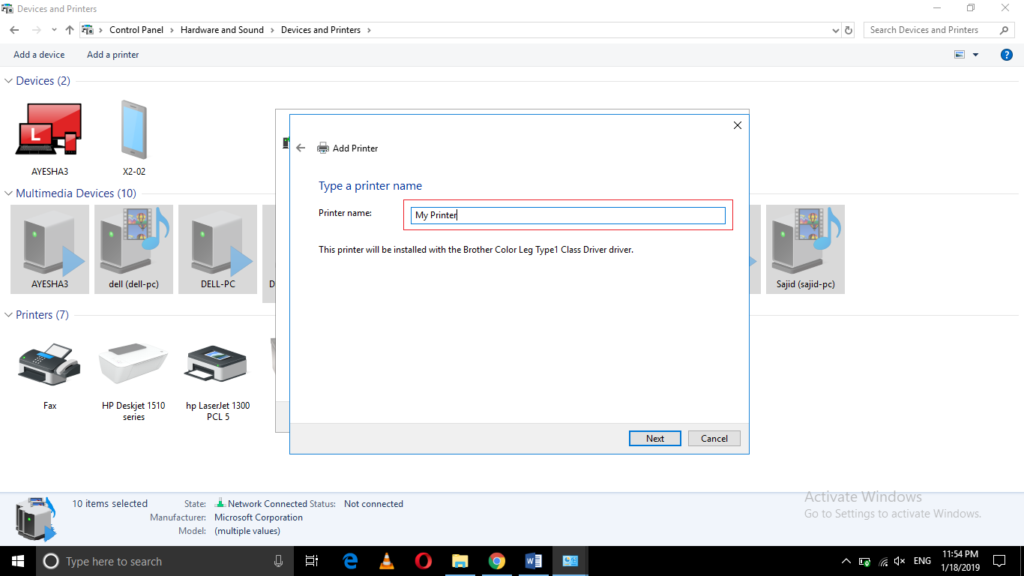
As soon as you will set the name of your new printer, the installation process will start.
Once your new printer is installed, you will be displayed with a success message as shown in the image below:
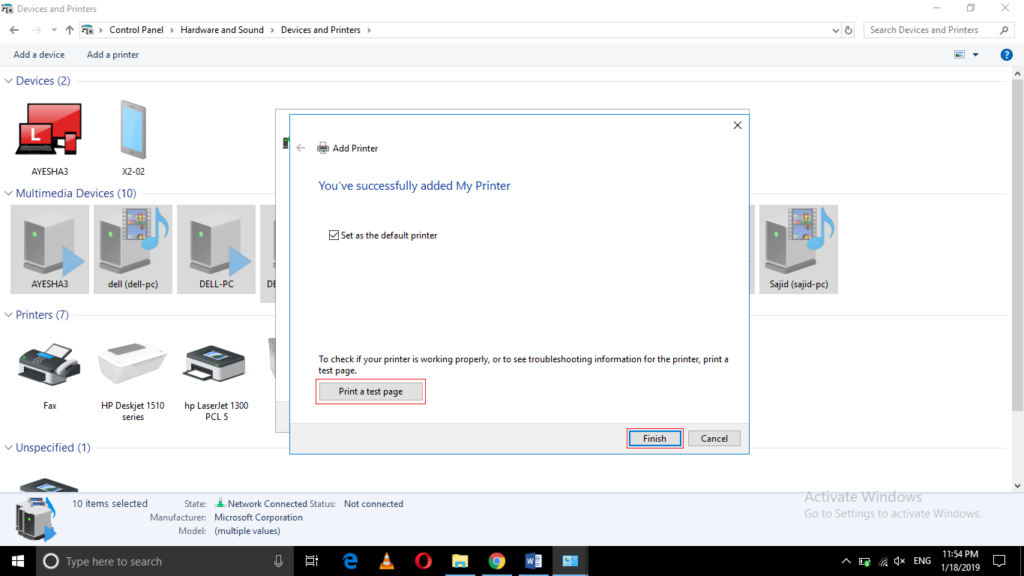
You can either print a test page or close the print dialogue box by clicking on the Finish button as highlighted in the image shown above.
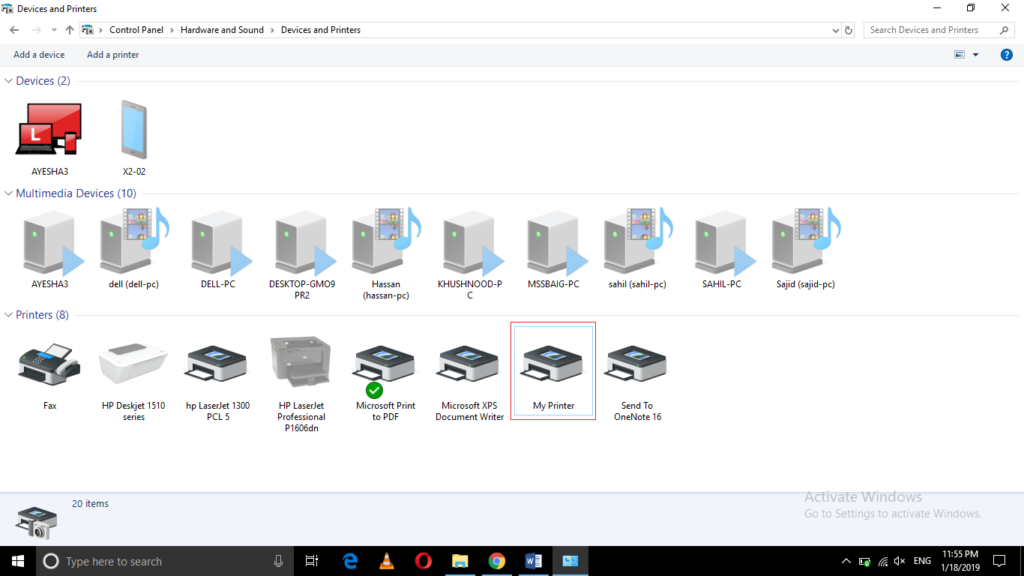
Now you will be able to see your newly installed printer with different settings in your already installed printers list as shown in the following image:
Conclusion
By following the method discussed in this article, you can easily install the same printer twice with different settings in Windows 10. You can install as many copies of the same printer as you want to have distinct settings by making use of the steps mentioned in this article. All you need to know is the port and driver of the printer whose copies you want to create. Once you know these specifications, you are all set to install more printers having the same port and driver but different settings. This method is quite simple and convenient to use and you can get your work done just within a few minutes by following this method correctly.