
.With the increase in the storage capacity of our computer systems, the amount of digital media stored on our computer systems is increasing drastically. Digital media includes files such as images, videos, audio, presentations, games, etc. We store these files at various different locations and at times, the number of those locations is so large that we even forget where we have stored our pictures. Sometimes, we even forget that a certain picture exists on our computer system or not. In this situation, there should be adequate ways through which we can collectively see all the photos saved on our PCs so that we can easily locate them whenever we want. In this article, we will explain to you the different methods through which you can find out all the photos stored on your Windows 10 PC.
Two Ways for Finding All Photos Stored on Your Windows 10 PC
In order to find out all the photos stored on your Windows 10 PC, you can make use of any of the two methods listed below:
Method # 1: The manual way of finding Photos
In this method, we will tell you how you can manually find out all the photos stored on your computer system. For doing this, you will need to perform the following steps:
Type file explorer in the search section of your taskbar and click on the search result to launch the file explorer window. The newly opened File Explorer window is shown in the following image:
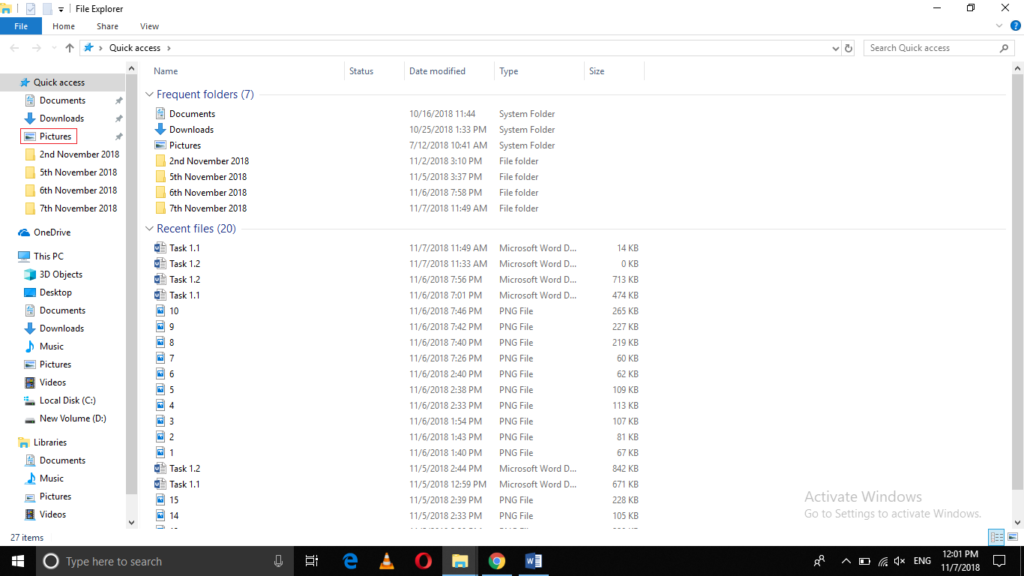
Click on the Pictures tab as highlighted in the image shown above. As soon as you will click on it, you will be able to see all the photos stored in different sub-folders of the Pictures folder of Windows 10 as shown in the image below:

Now click on the Downloads folder as highlighted in the following image:

After clicking on it, you will be able to see all the photos that you have downloaded from the Internet.
Now click on all the drives of your computer system one by one and locate all your photos stored in those drives.
Method # 2: Automatically search for Photos stored on your PC
In this method, we will tell you how you can automatically search for all the photos stored on your Windows 10 PC. For doing this, you will need to perform the following steps:
Type file explorer in the search section of your taskbar and click on the search result to launch the file explorer window. The newly opened File Explorer window is shown in the following image:

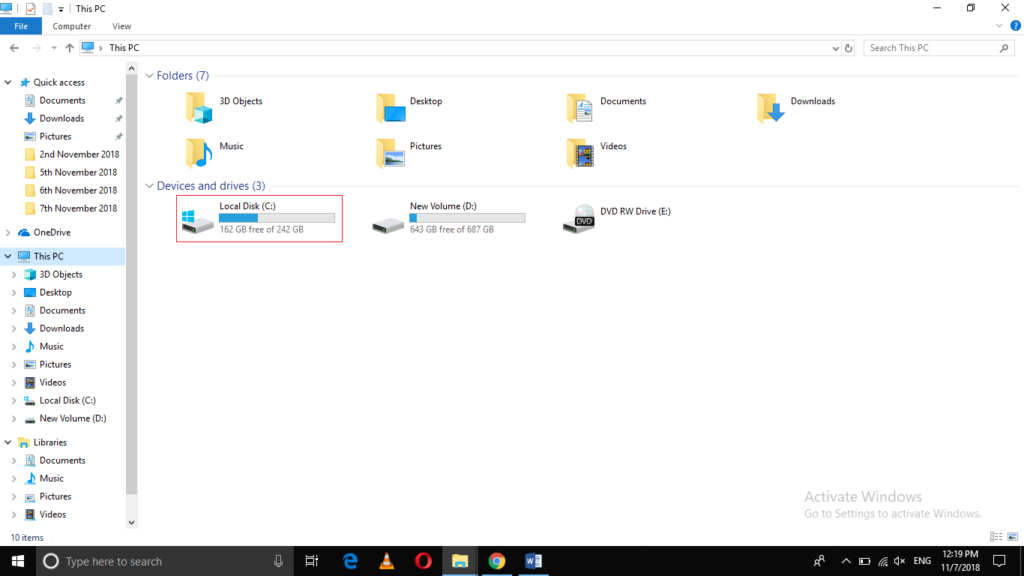
Click on This PC as highlighted in the image shown above.
Now click on any of the drives whose photos you want to find out. In this example, I will try to find out all the photos of the C drive as highlighted in the image shown below:
After clicking on it, the interface of the window will change as shown in the following image:

Click on the Search tab as highlighted in the image shown above.
On the Search ribbon, click on the dropdown list corresponding to the field of Kind as highlighted in the image shown below:

Select Picture from the Kind dropdown list as shown in the following image:

As soon as you will click on it, the command kind:=picture will be inserted in the search bar of the File Explorer window as highlighted in the image shown below:

This command will start executing soon after being inserted into the search bar and it will return all the images stored in different formats such as png, jpeg, gif, etc. on your C drive as shown in the following image:

In the same manner, you can view the photos stored in any of the drives of your Windows 10 PC.
Frequently Asked Questions
How do I locate all the photos stored on my Windows 10 PC?
To find all your photos, use the search bar in the taskbar. Type "*.jpg" or "*.png" to find most image files. You can also search for "kind:=picture" to get all images regardless of format.
Can I find photos not stored in the default Pictures folder?
Yes. Use the search function and include all drives in your search scope. This way, you can find photos stored in any folder or drive on your PC.
Is there a way to view all my photos at once?
By using the 'Photos' app, which aggregates all images from various folders. However, this might not include images in non-indexed locations.
How do I ensure that my PC is searching all possible locations for photos?
Check the indexing options. Go to Control Panel > Indexing Options, and ensure that all relevant locations are included in the indexing.
Can I search for photos by date?
Yes, in the search bar, type the date range you're interested in. For example, "date:01/01/2023 .. 12/31/2023" will show photos from the year 2023.
What if I can't find a specific photo?
Check if the photo is in a format not recognized by default by Windows. Also, ensure that hidden folders are included in your search, as the photo might be in a hidden directory.
How do I organize my photos after finding them?
You can use the Photos app to create albums or sort them into different folders manually. Third-party photo management software offers more advanced organization features.
Can Windows 10 search for photos by their content?
The default search functionality doesn't support content-based searches. However, some third-party tools offer this feature, using AI to recognize objects and themes in photos.
Are there any shortcuts to access my photos quickly?
Yes, you can pin the Photos app to your taskbar for quick access, or create a shortcut to your primary photos folder on your desktop.
How can I improve the search for photos on my PC?
Regularly update your indexing options, organize photos in clearly named folders, and consider using third-party search tools for more advanced search capabilities.
Conclusion
By following any of the two methods discussed in this article, you can easily find all the photos stored on your Windows 10 PC. The first method is quite simple, and it is the most commonly used method. The second method is quite efficient, and it can help you find all the photos stored on your Windows 10 PC with just a single command.
