Locking the PC in Windows 10 prevents your computer from unauthorized access whenever you are not using it. It lets you leave your PC without shutting it down so that you can resume your work whenever you want to and you do not have to turn on your PC again. In this article, we will explain to you some methods through which you can lock the PC in Windows 10.
8 Ways of Locking a PC in Windows 10
You can lock your PC in Windows 10 by making use of any of the following methods:
Method # 1: Use the Ctrl+ Alt+ Del menu to lock your PC
In this method, we will tell you how you can lock your PC using the Ctrl+ Alt+ Del menu. For doing this, you need to proceed as follows:
Press Ctrl+ Alt+ Del from your keyboard.
As soon as you will press these keys, the following menu will appear:
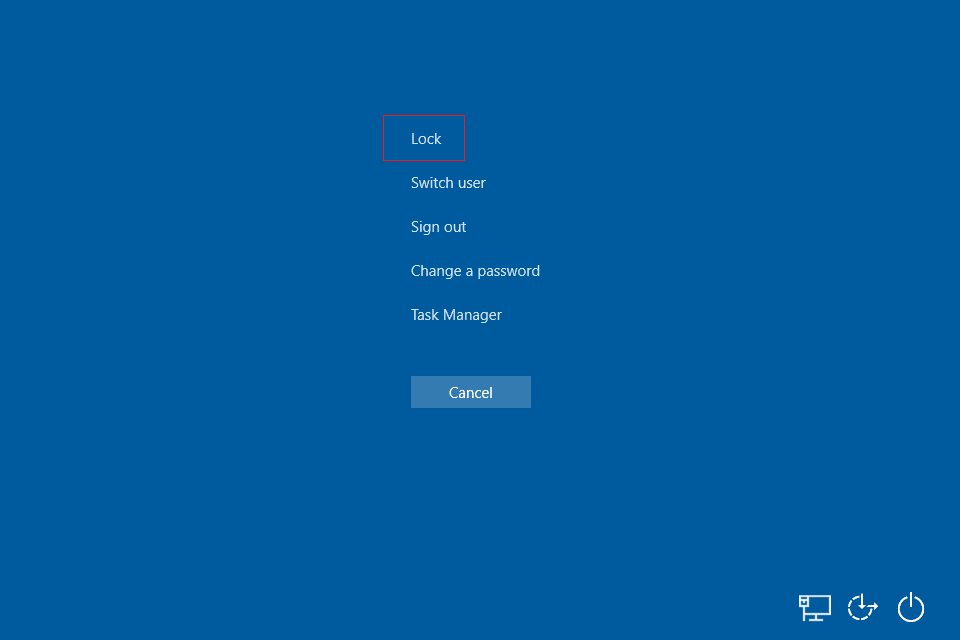
Just click on the Windows Lock option as highlighted in the image shown above to lock your PC using Windows 10.
Method # 2: Use the Screen Saver Settings to lock your PC
In this method, we will tell you how you can lock your PC using the Screen Saver Settings in Windows 10. For doing this, you need to perform the following steps:
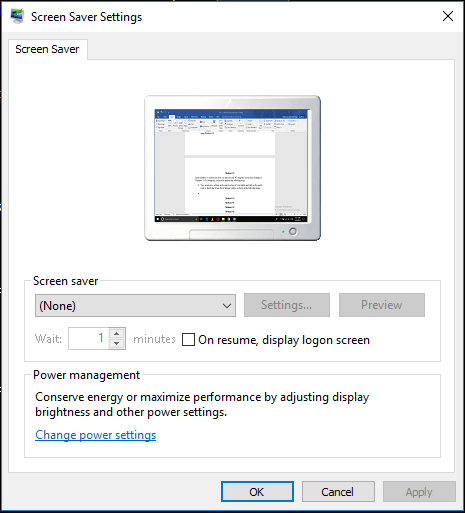
Type screensaver settings in the search section of your taskbar and click on the search result to launch the Screen Saver Settings window as shown in the following image:
Tick the checkbox corresponding to the field saying, “On resume, display logon screen” as highlighted in the image shown below:
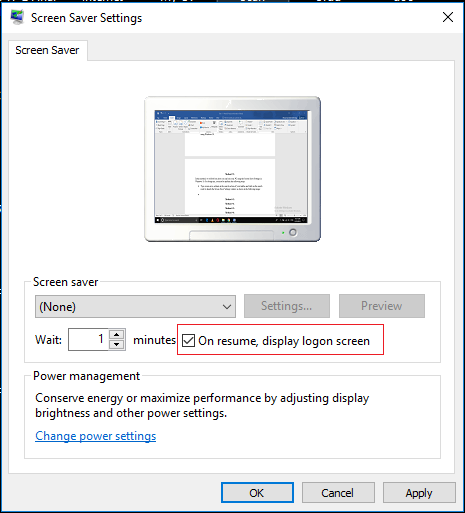
Finally, click on Apply and then click on OK to save your new settings.
Method # 3: Use the User icon to lock your PC
In this method, we will explain to you how you can lock your PC using the User icon in Windows 10. For doing this, you need to proceed as follows:
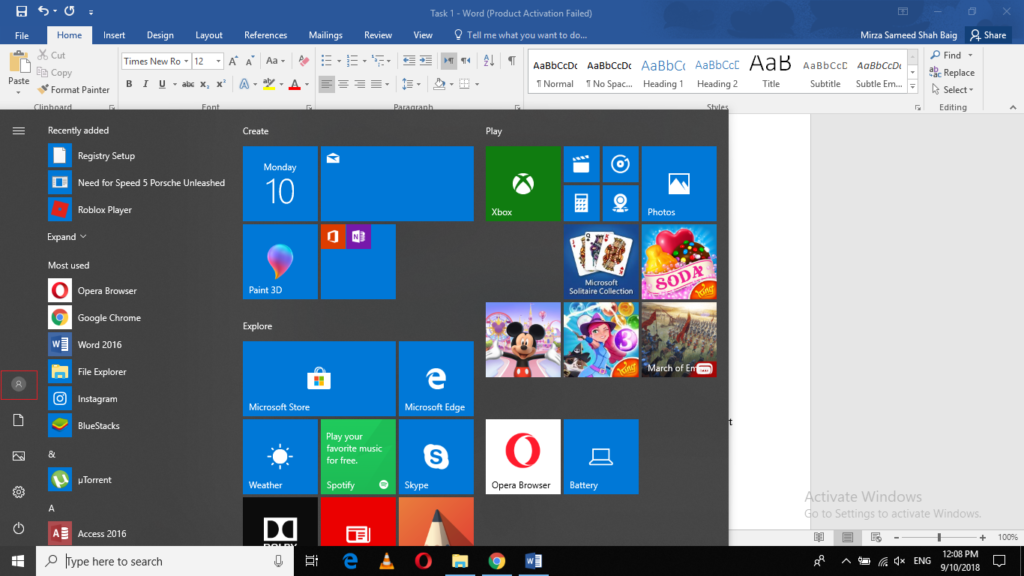
Click on the Windows icon located at the extreme left of your taskbar to launch the Start Menu as shown in the following image:
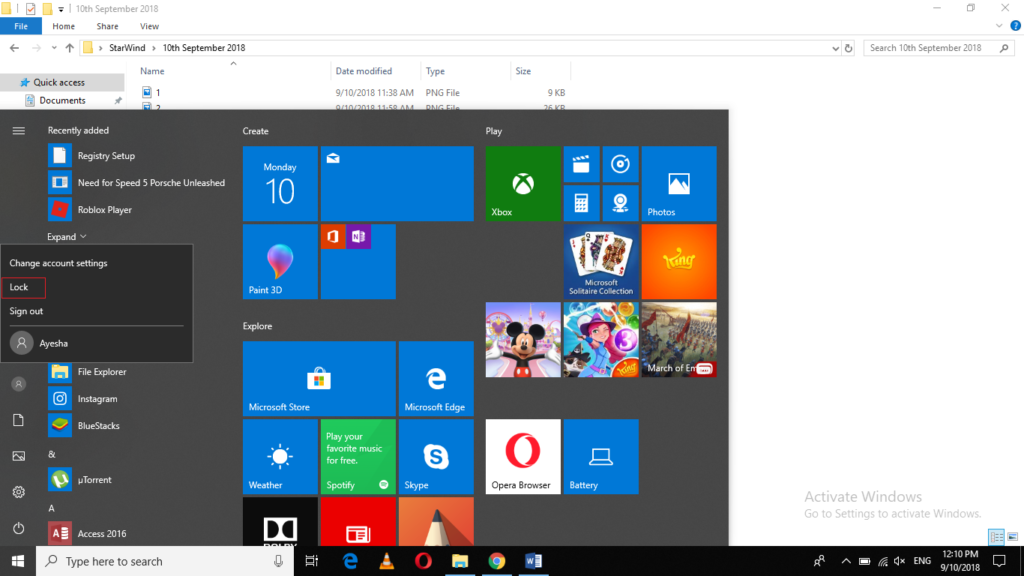
- Now click on the User icon to launch a menu as shown in the image below:
Finally, click on the Lock option to lock your PC in Windows 10.
Method # 4: Use Win+ L to lock your PC
In this method, we will tell you how you can lock your PC using a keyboard shortcut in Windows 10. For doing this, you need to perform the following steps:
Just press Win+ L to lock your PC quickly using Windows 10.
Method # 5: Use the Task manager to lock your PC
In this method, we will tell you how you can lock your PC using the Task Manager in Windows 10. In order to do this, you need to proceed as follows:
Type task manager in the search section of your taskbar and click on the search result to launch a new Task Manager window as shown in the following image:
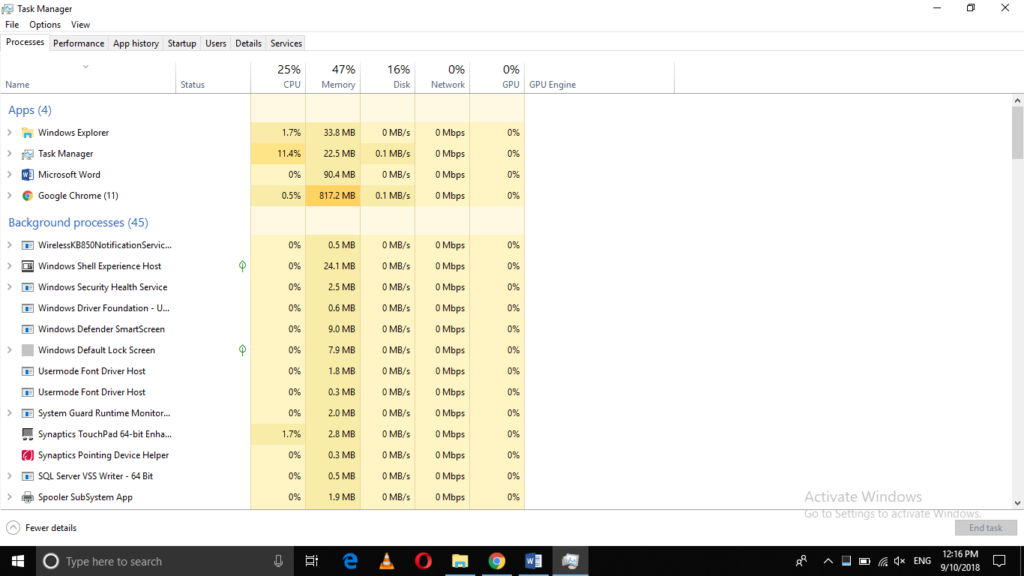
Now click on the Users tab as shown in the image below:

Right-click on your account to launch a menu. Select Disconnect from the options as highlighted in the following image:

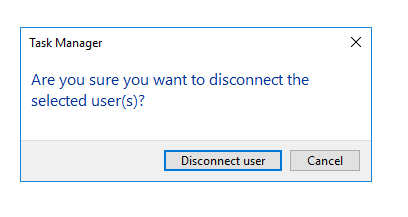
Windows 10 will prompt you with a confirmation message of disconnecting the user. Just click on Disconnect user to proceed as shown in the image below:
Method # 6: Use the Command Prompt to disconnect User
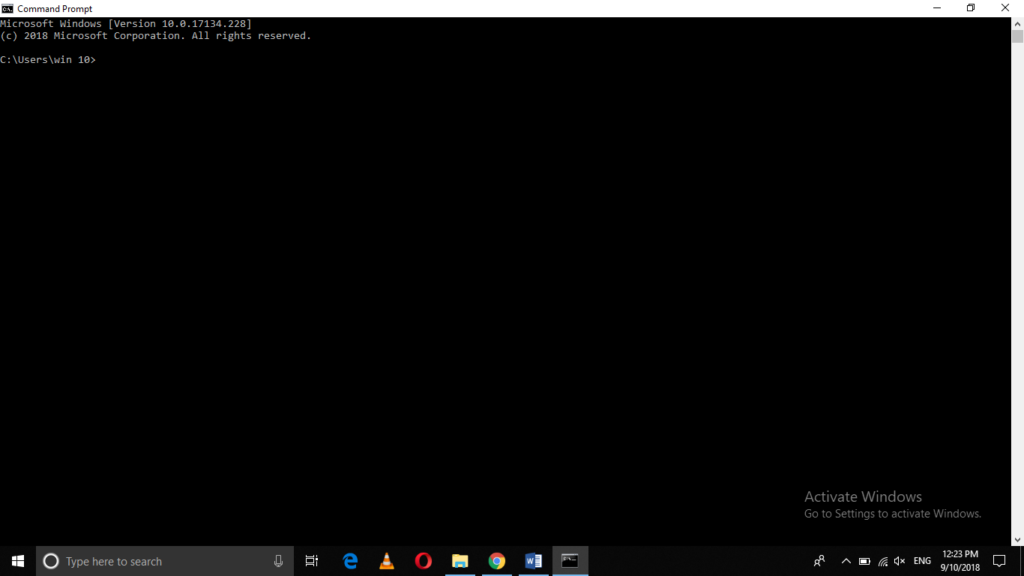
In this method, we will explain to you how you can lock your PC using the Command Prompt in Windows 10. For doing this, you need to perform the following steps:
Type cmd in the search section of your taskbar and click on the search result to launch the command prompt window as shown in the following image:
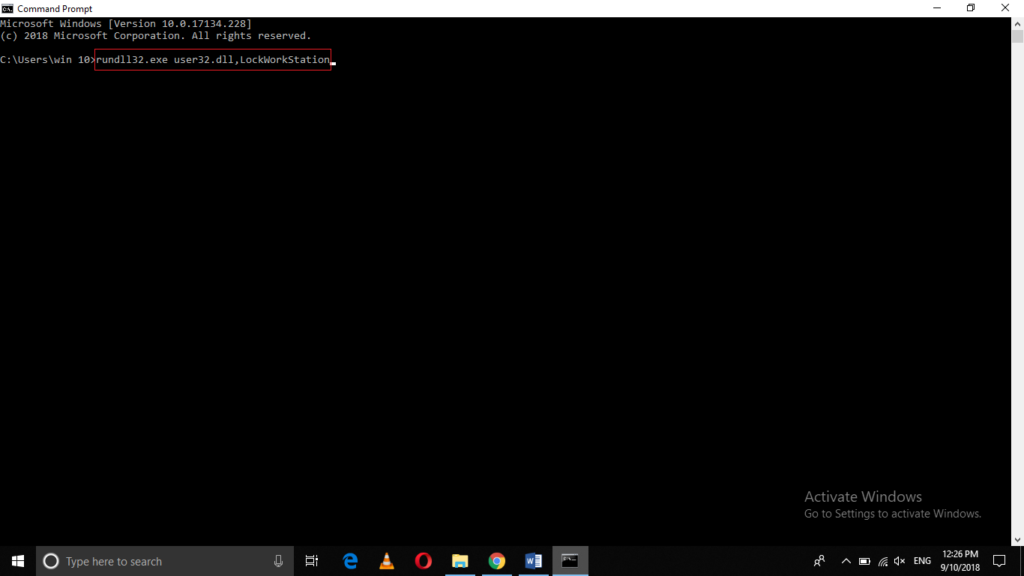
Type the command:
rundll32.exe user32.dll,LockWorkStation
in your command prompt window and then press enter to lock your PC. This command is highlighted in the image shown below:
Method # 7: Use the run prompt to lock PC
In this method, we will tell you how you can lock your PC using the Run Prompt in Windows 10. In order to do this, you need to proceed as follows:
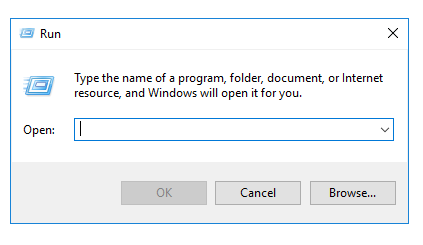
Type run in the search section of your taskbar and click on the search result to launch the Run window as shown in the following image:
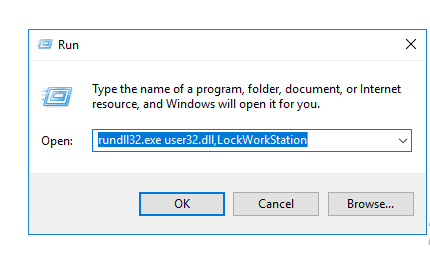
Type the command rundll32.exe user32.dll,LockWorkStation in the Open textbox and then click on OK to lock your PC. This command is shown in the image below:
Method # 8: Create a Windows Shortcut Icon to Lock PC
In this method, we will tell you how you can lock your PC using a shortcut icon in Windows 10. For doing this, you need to perform the following steps:
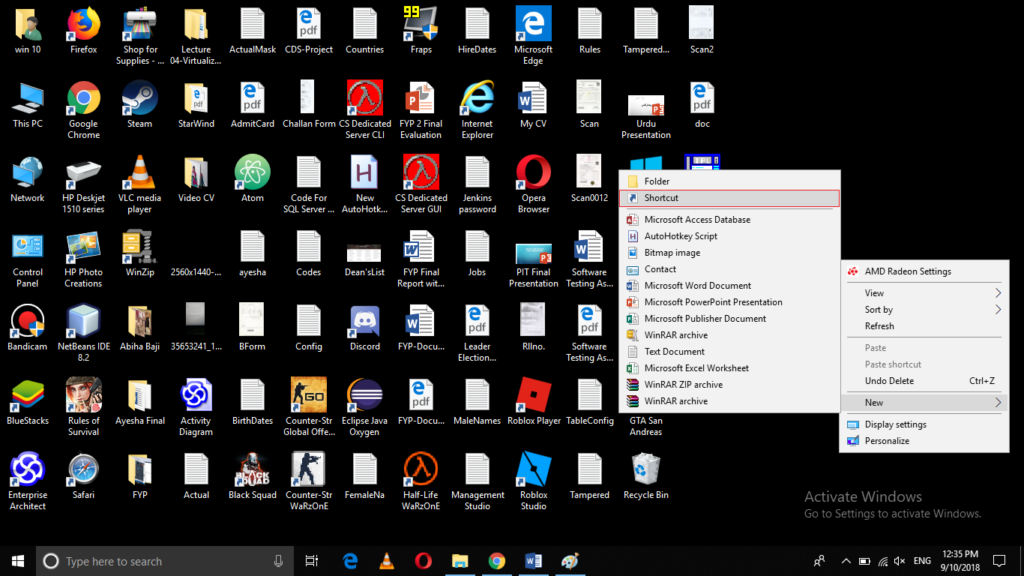
Right-click in any blank area of your desktop. Click on New from the cascading menu and then click on Shortcut from the sub-cascading menu as highlighted in the following image:
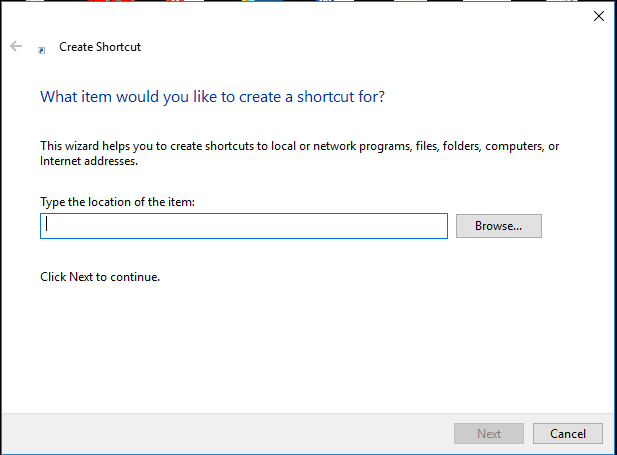
As soon as you will click on it, the window shown in the image below will pop up:
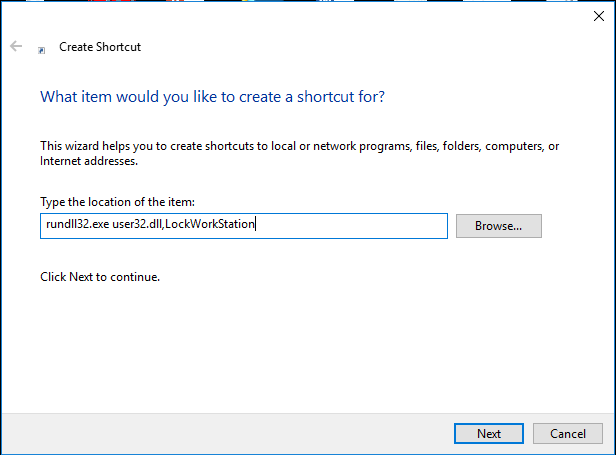
Type the command
rundll32.exe user32.dll,LockWorkStation
in the location textbox as shown in the following image and then click next.
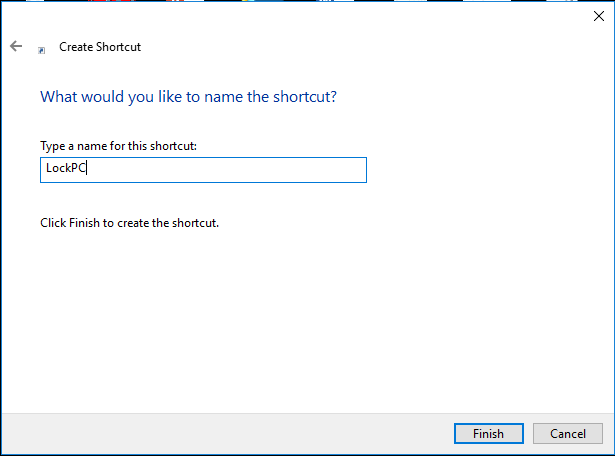
Finally, give a suitable name for your newly created shortcut as shown in the following image and then click finish.
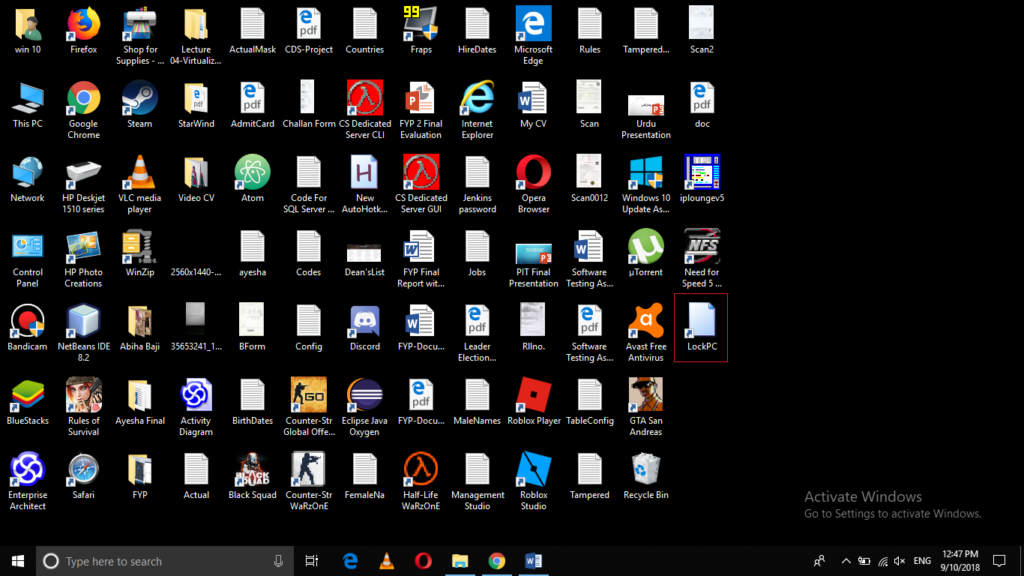
As soon as you will click on finish, a new shortcut will appear on your desktop, which is shown in the following image. Whenever you want to lock your PC, you will only need to double-click on this shortcut and your PC will be locked.
Conclusion
By making use of any of the eight methods listed above, you can easily lock your PC in Windows 10. In all 8 methods, you only need to follow a few simple steps carefully and you will get your work done. In this way, you can prevent your Windows PC from any unauthorized access without even shutting it down.