Beginning with the upgrade, Windows 10 can designate for updates and optional files around 7GB of your device’s memory. This will mean that upgrades will be easily enabled in the future, but if you want, you can reclaim the space. You will make sure that your device uses reserved space before you go any further. If it does not then there is no need to move further because Windows doesn’t reserve any extra storage on your laptop. Through the Settings app, you can test whether or not the system uses additional storage and how much. In this article, we will guide you through the whole procedure to check and disable Windows 10 Reserved Memory.
Check and disable Windows 10 Reserved Memory
To check and disable Windows 10 reserved memory, follow the procedure step by step.
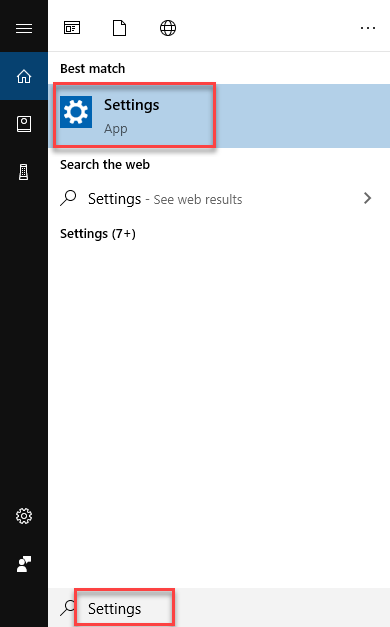
Click the Search button. Type Settings in the search bar and choose the Settings option as the following image is showing.
As soon as you will choose the Settings option, the following screen will appear.
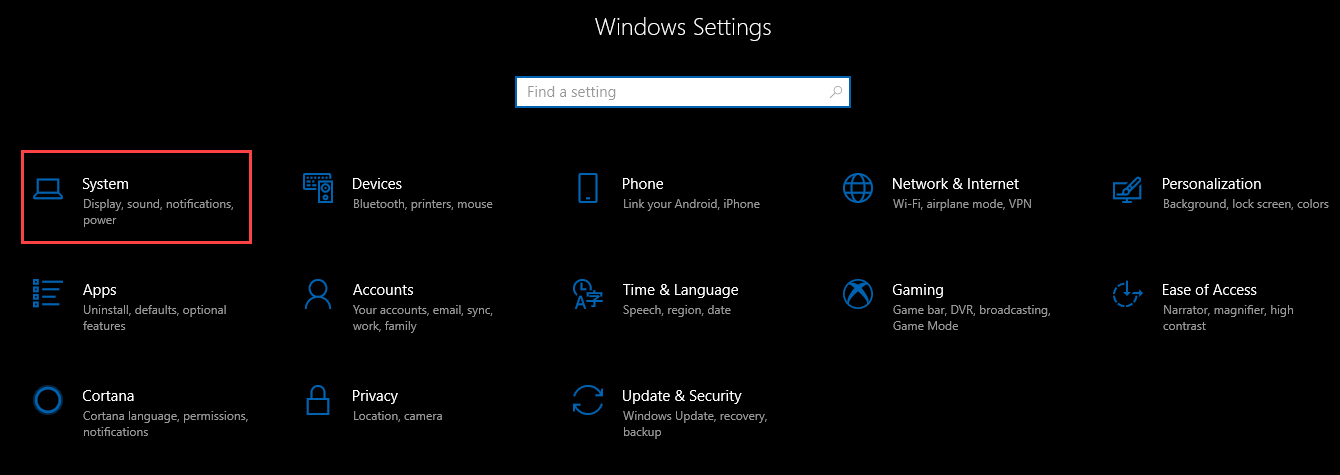
Select the System option as highlighted in the above image. After selecting the System option, the following screen will appear.
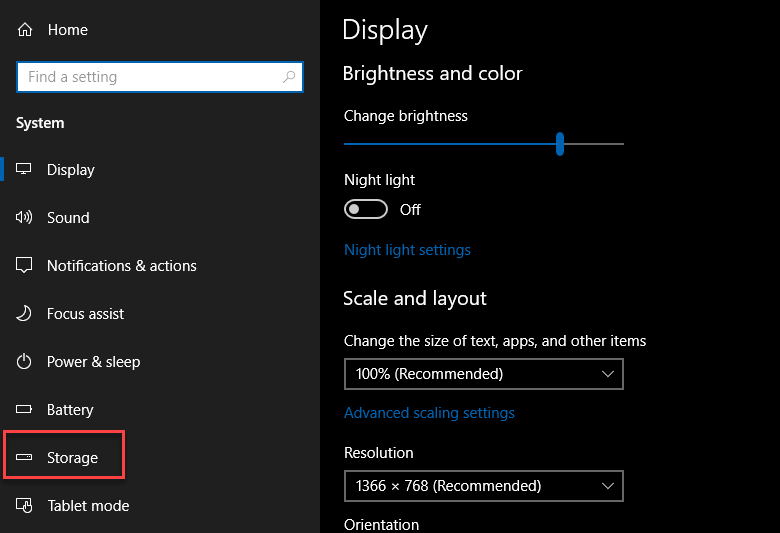
As you can see that the screen is divided into two parts. Choose the Storage option from the left side of the screen as highlighted in the above image. As soon as you will click the Storage option, the following screen will appear.
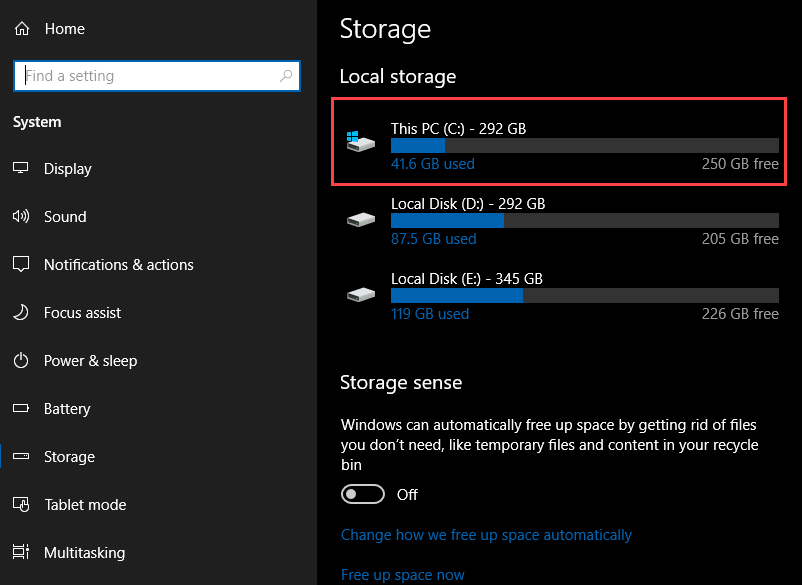
Click the C drive and the following screen will appear.
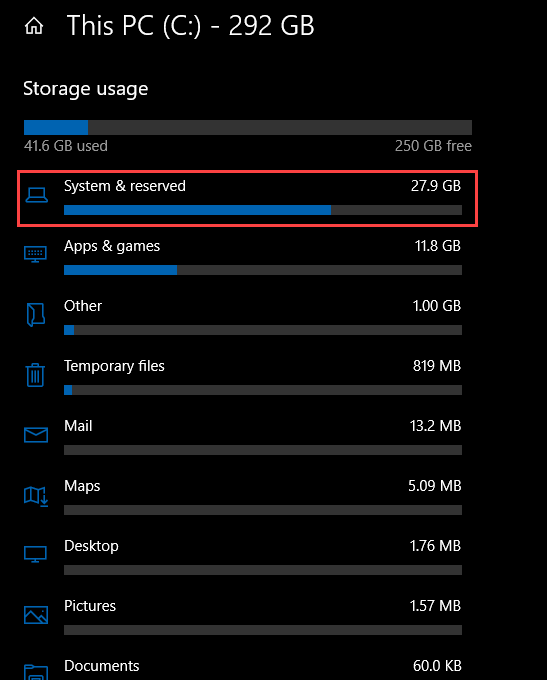
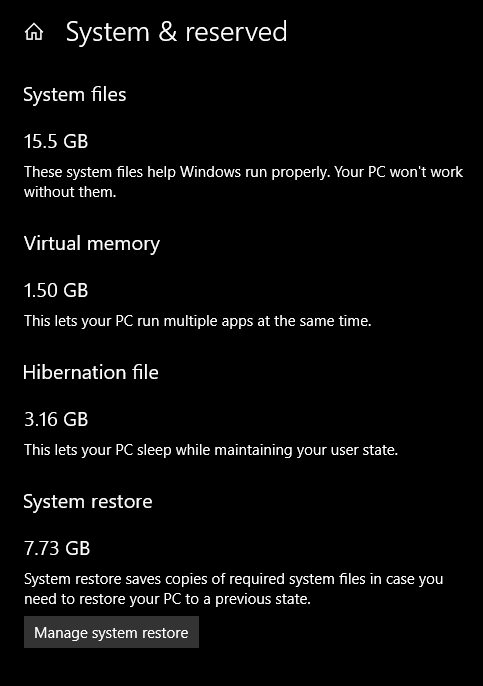
Now click the option named System & reserved as highlighted in the above image. The following screen will appear. Here on this screen, you can check the reserved memory of Windows 10.
To disable the reserved memory of Windows 10, follow these steps.
Click the Search button. Type Run in the search bar and click the Run option as the following image is showing.
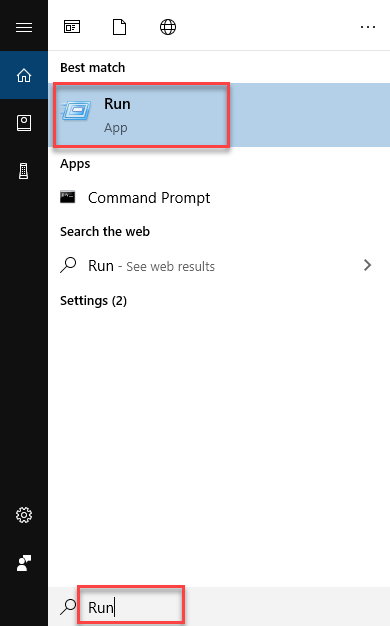
As soon as you will choose the Run option, the following dialogue box will appear.
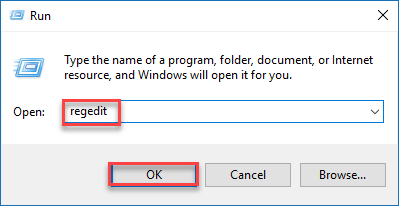
Type Regedit in the Open textbox and click the OK button as highlighted in the above image. After you click the OK button, the following screen will appear.
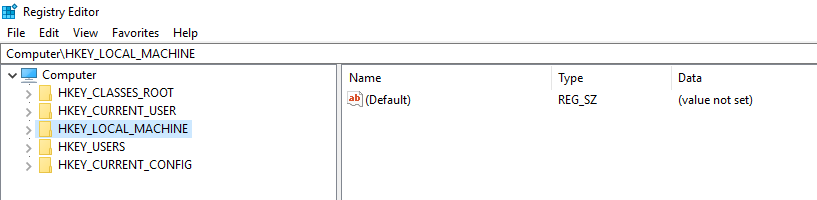
Navigate through the following path.
HKEY_LOCAL_MACHINE\SOFTWARE\Microsoft\Windows\CurrentVersion\ReserveManager
The following options will appear. Double click the ShippedWithReserves option as the following image is showing.

As soon as you will double click on ShippedWithReserves option, the following dialogue box will appear.
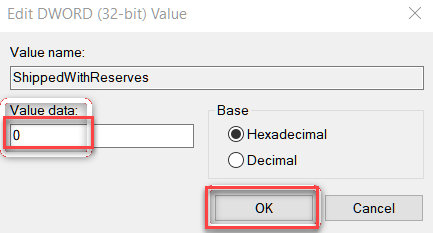
Write 0 in the Value data text box and click the OK button as highlighted in the above image. Restart the computer to apply changes.
Conclusion
By following this procedure you will be able to disable and check the Windows 10 reserved memory.
