Windows 10’s update adds Windows protection, also known as the Windows Defender antivirus, a new temper security functionality. Tamper protection is off by default, and unless you allow it, Windows Security says “Your computer may be vulnerable”. In this article, we will guide you through the whole procedure to enable defender antivirus for Windows Security on Windows 10.
Enable Defender Antivirus for Windows Security on Windows 10
To enable defender antivirus for Windows Security on Windows 10, follow this procedure step by step.
Click the Search button. Type Settings in the search bar and choose the Settings option as the following image is showing.
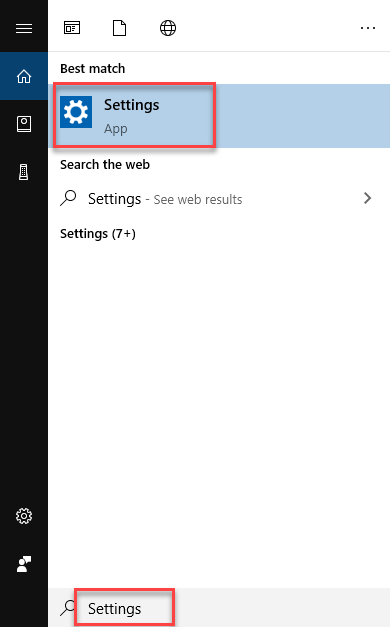
As soon as you will choose the Settings option, the following screen will appear.
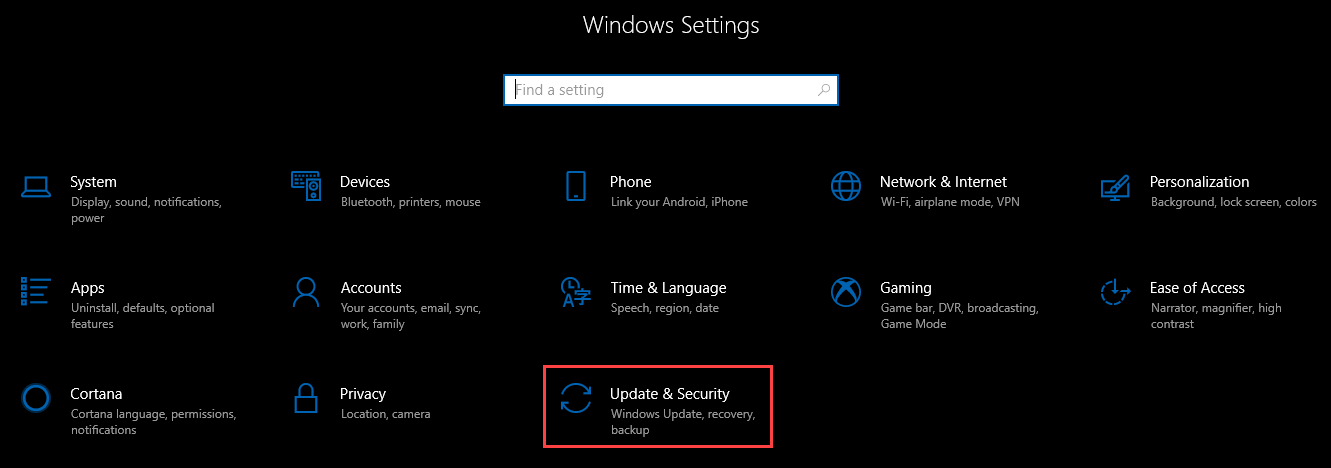
Now choose the Update & Security option as highlighted in the above image. After choosing the Update & Security option, the following screen will appear.
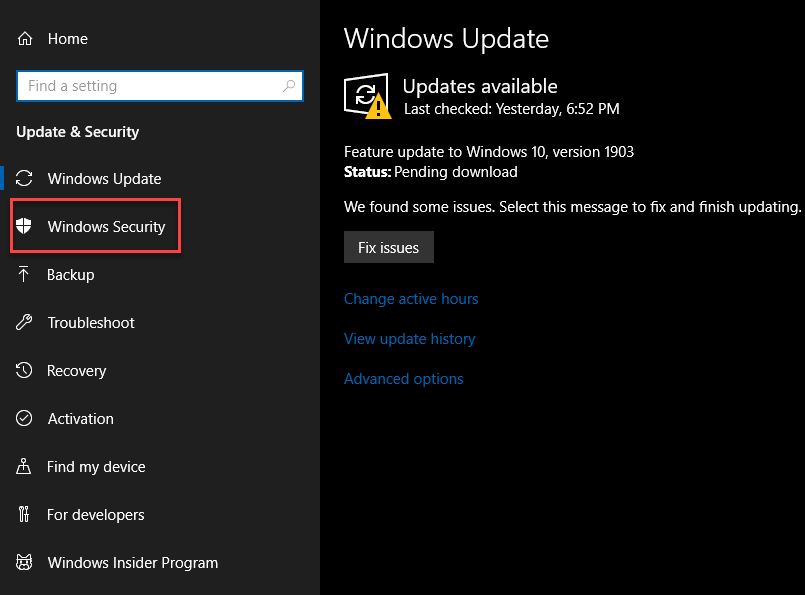
As you can see that the screen is divided into two parts. Select the Windows Security option from the left side of the screen as highlighted in the above image. As soon as you will choose the Windows Security option, the following screen will appear.
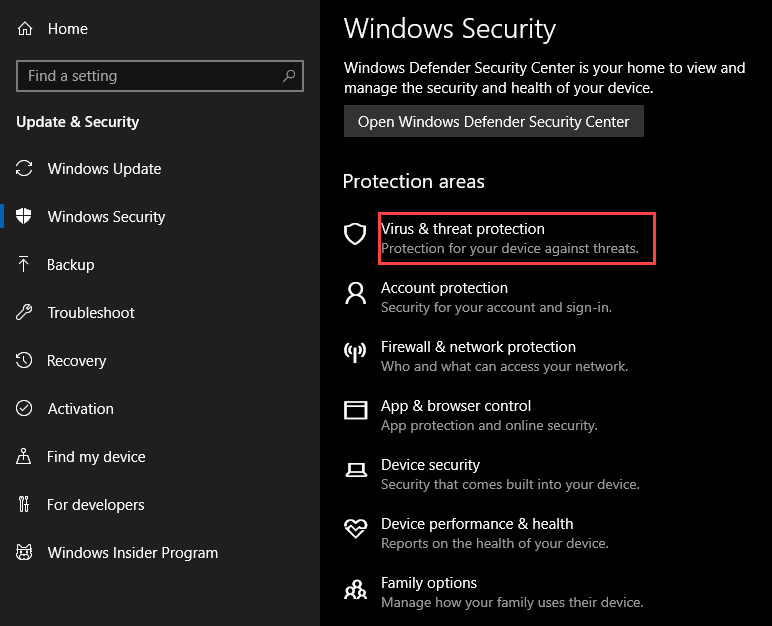
Click the option named Virus & threat protection as highlighted in the above image. Now select the Virus & threat protection settings as the following image is showing.
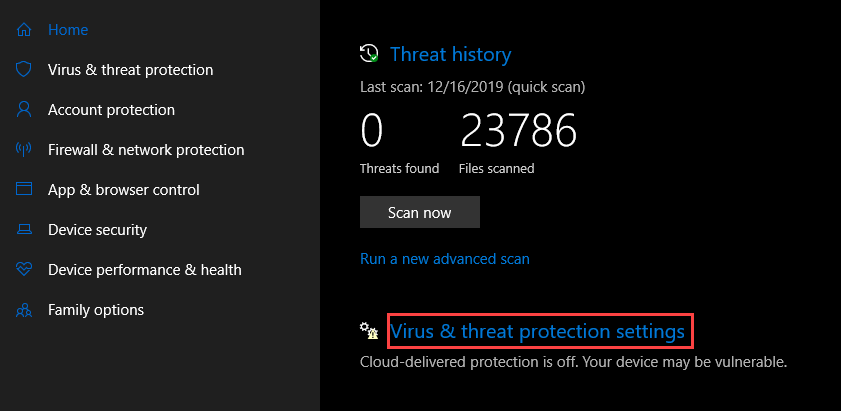
As soon as you will click the option named Virus & threat protection settings, the following screen will appear.
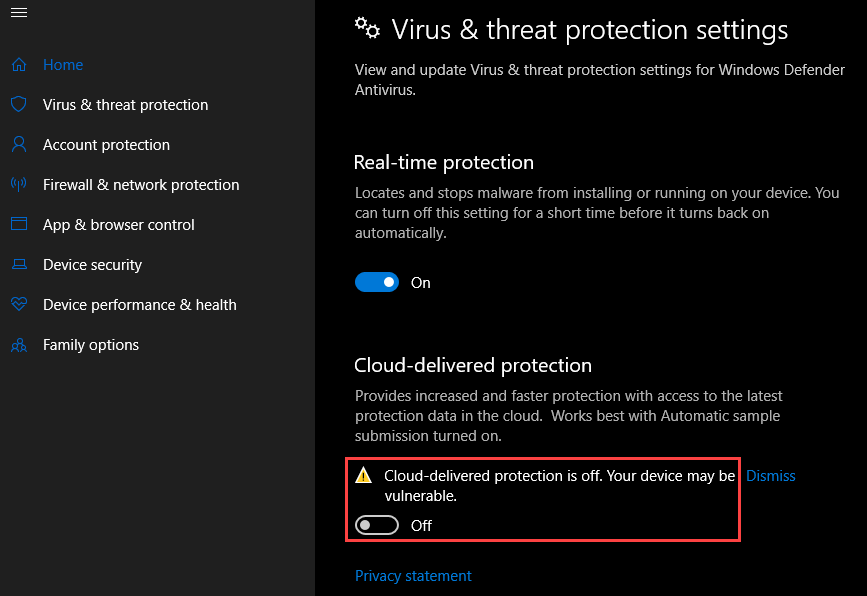
Turn on the toggle button named Cloud-delivered protection is off.
Conclusion
By following this procedure you will be able to enable tamper protection for Windows Security on Windows 10.
