File screening management is a feature which allows you to create file screens to block specific file types from being saved in a folder. In this tutorial, I will show you how to configure the File Server Resource Manager, sharing a folder using File and Storage Services and how to create a file screen to block image files from being saved in that folder.
Prerequisites
Before configuration, make sure:
- The administrator account has a strong password.
- A static IP is configured.
- The latest Windows updates are installed.
- The firewall is turned off.
Configuring File Server Resource Manager in Windows Server 2012 R2
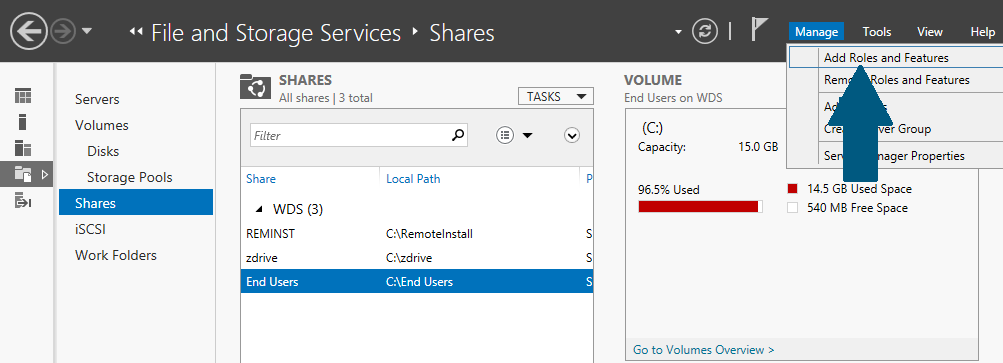
Step 1: Open server manager dashboard, click Manage -> Add Role and Features.
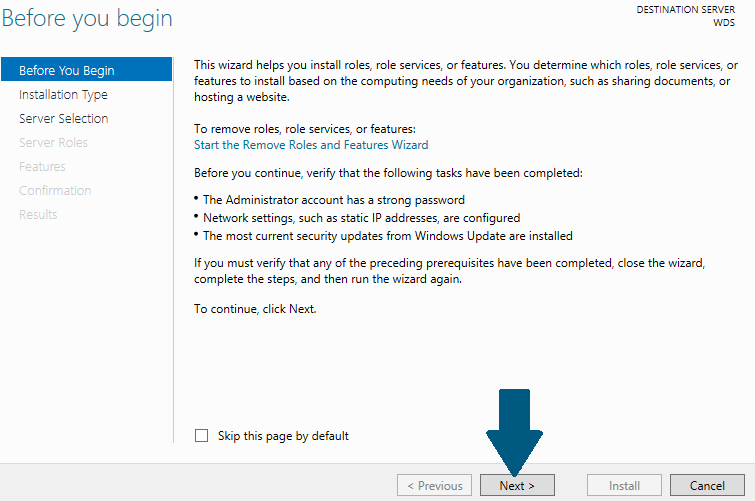
Step 2: Click Next.
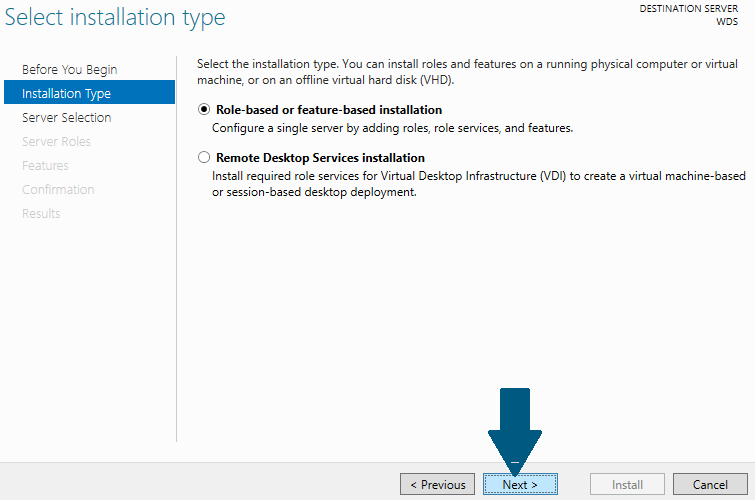
Step 3: Choose Role-based or feature-based installation and click Next.
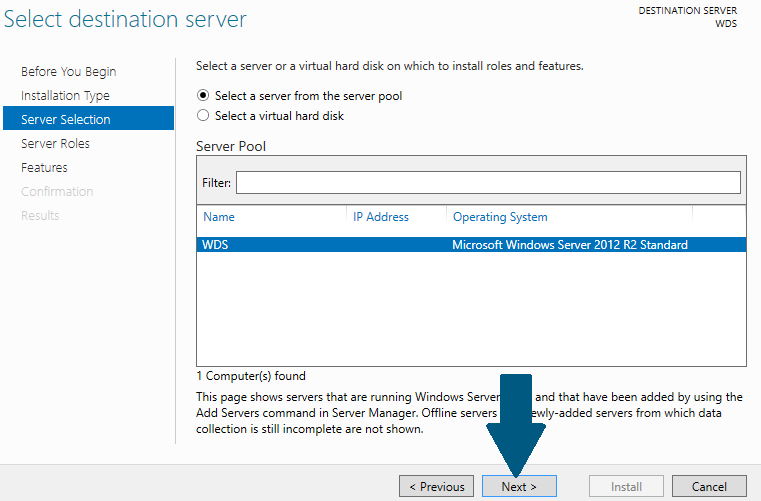
Step 4: Select the destination server and click Next.
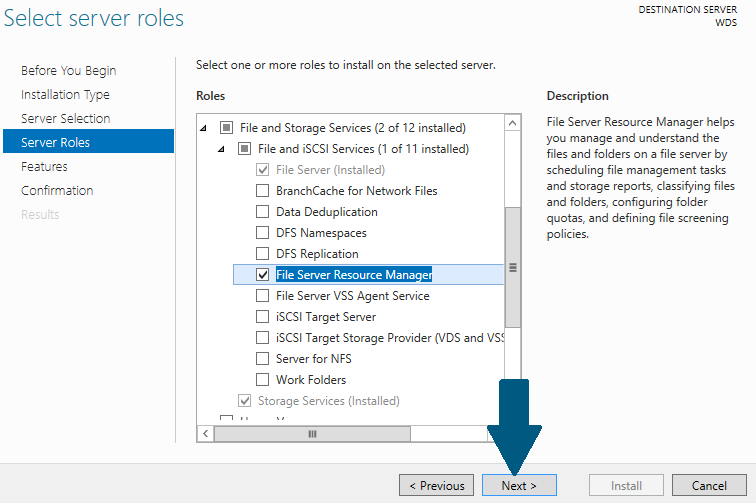
Step 5: Expand File and Storage Services -> File and iSCSI Services -> File Server Resource Manager. Click Next.
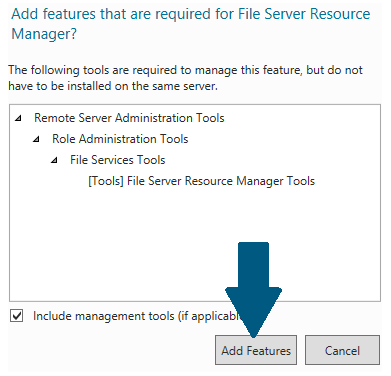
Step 6: Click Add Features.
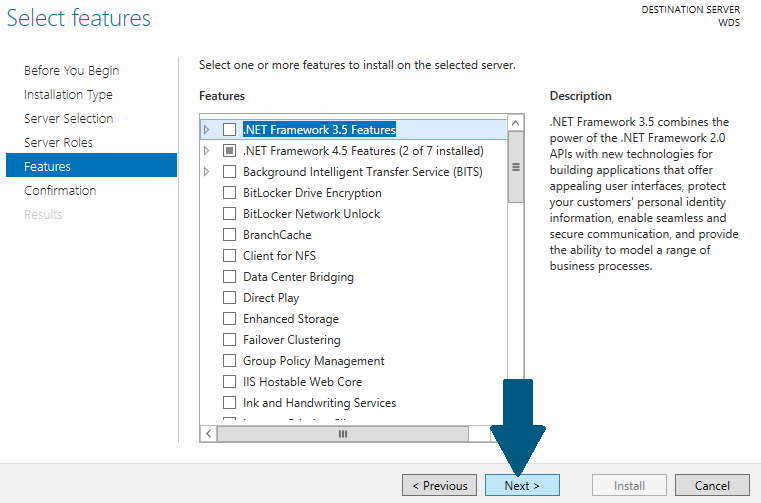
Step 7: Accept the selected option and click Next.
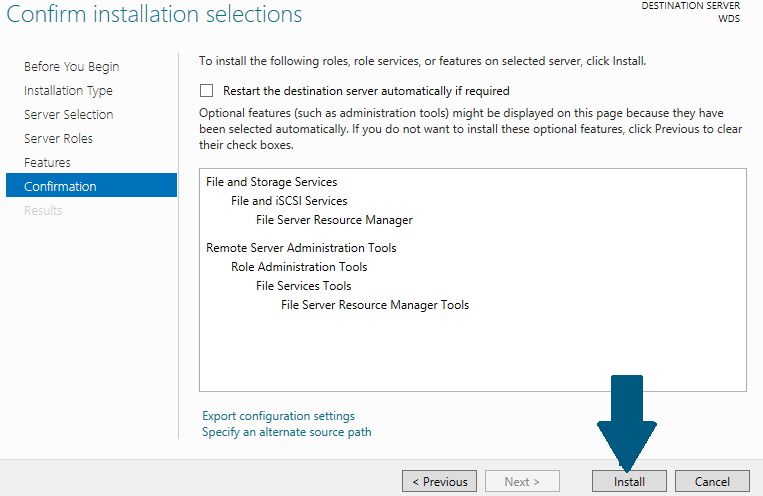
Step 8: Click Install.
Sharing a Folder on Windows using File and Storage Services
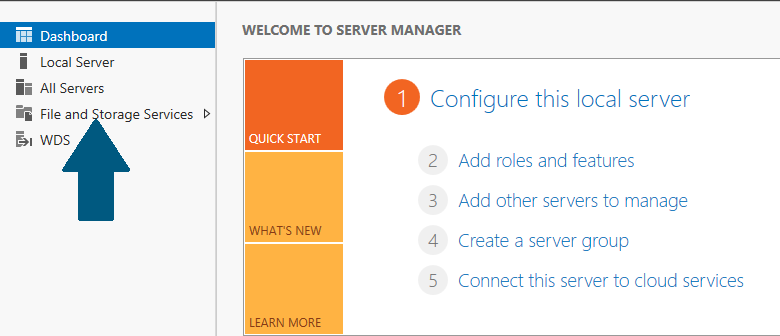
Step 1: Open server manager dashboard, click File and Storage Services.
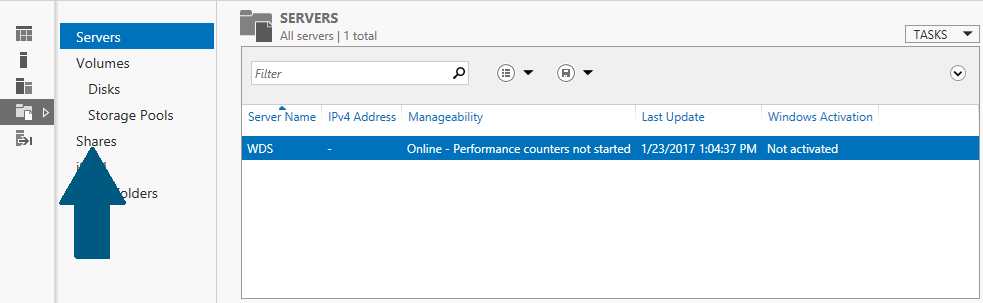
Step 2: Click Shares.
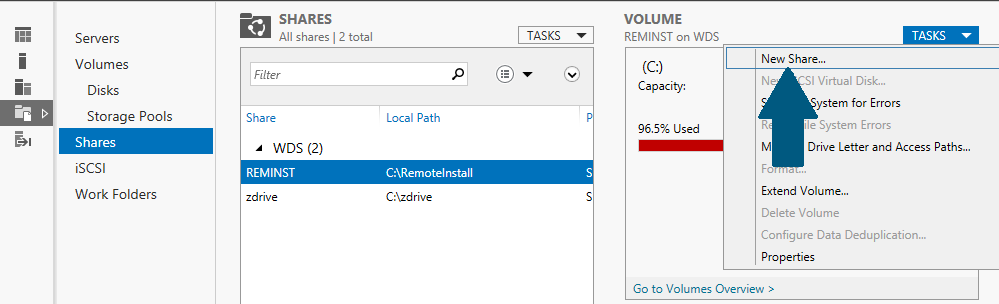
Step 3: Click Tasks -> New Share.
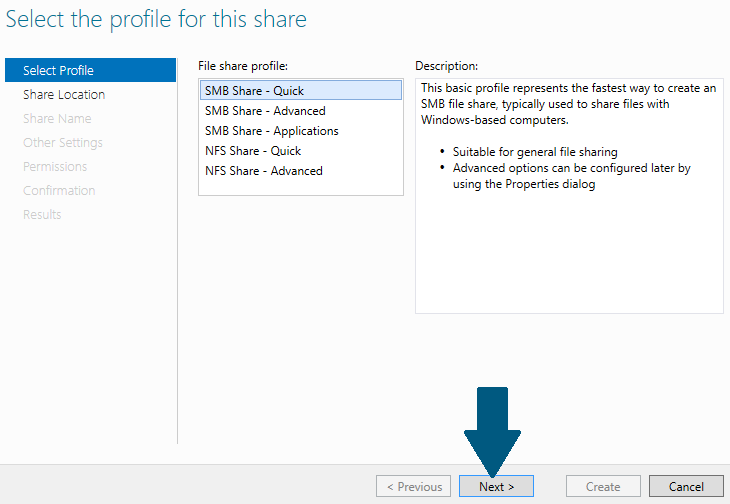
Step 4: Choose SMB Share - Quick. Click Next.
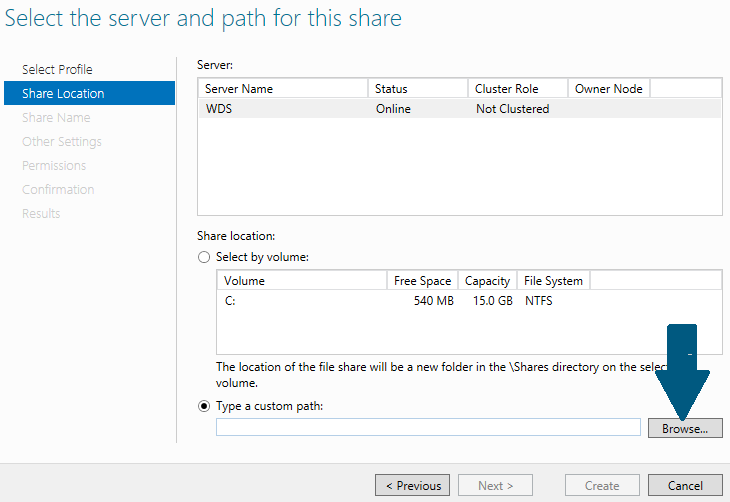
Step 5: Click Browse.
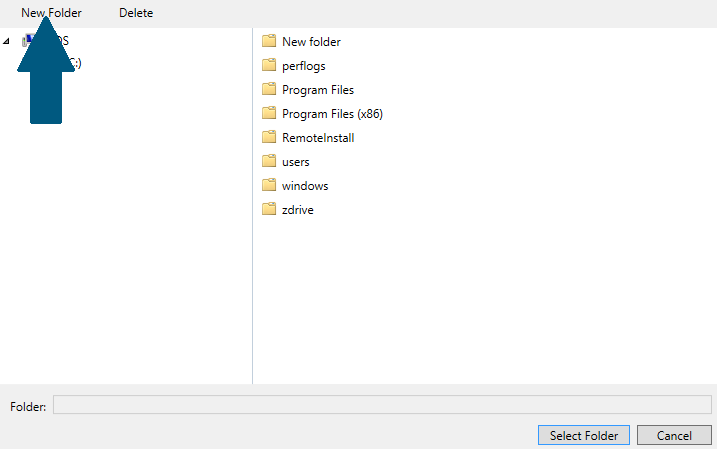
Step 6: Click New Folder and name it.
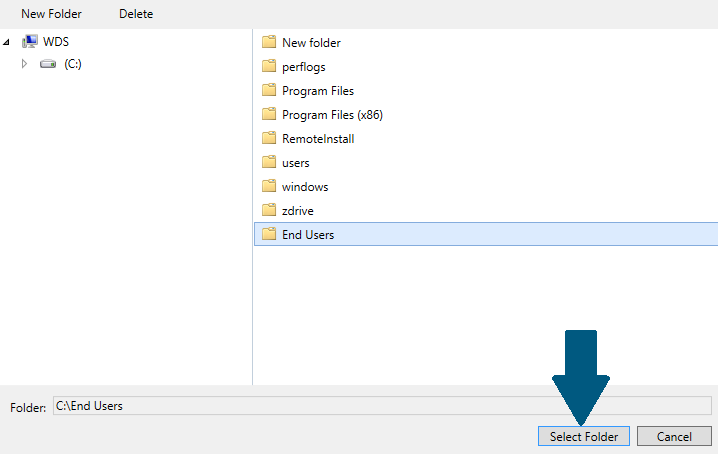
Step 7: Choose the folder created in step 6 and click Select Folder.
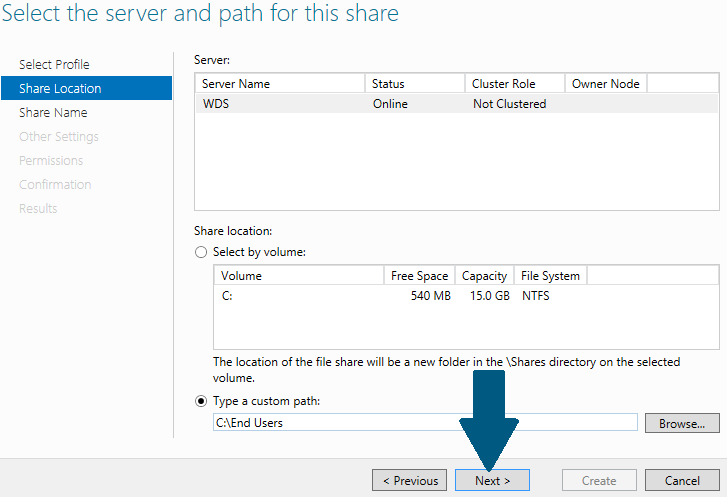
Step 8: Click Next.
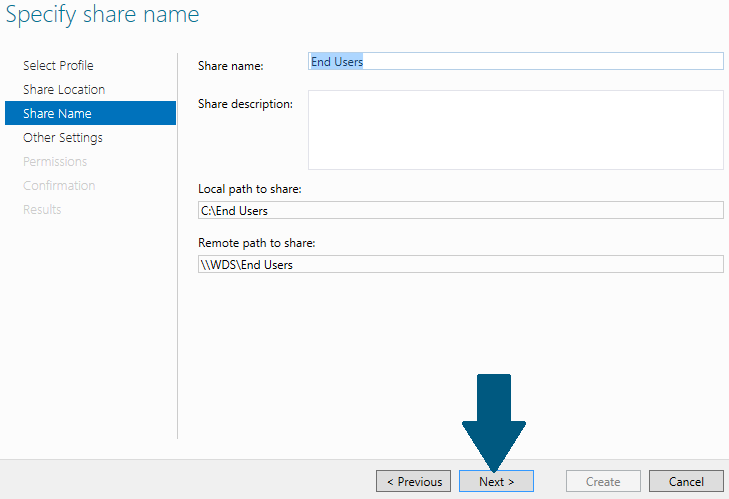
Step 9: CEnter or accept the share name and click Next.
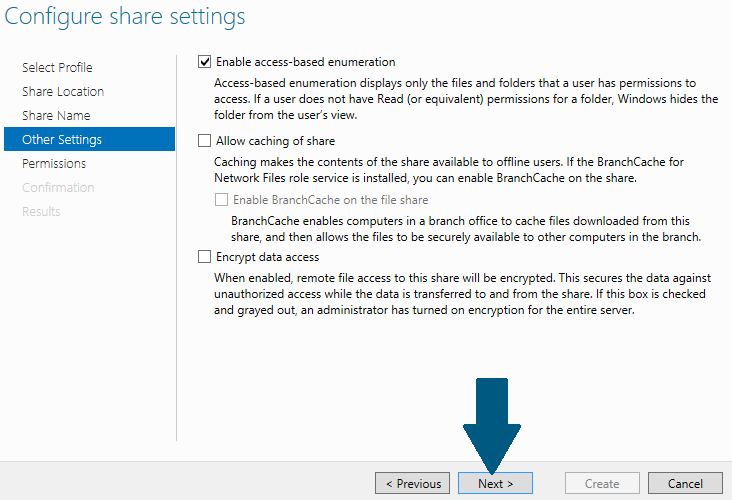
Step 10: Check Enable access-based enumeration and click Next.
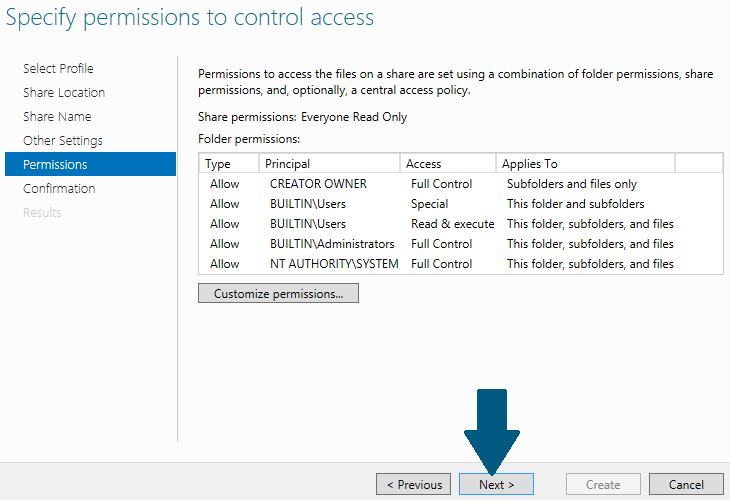
Step 11: Accept the permission settings and click Next.
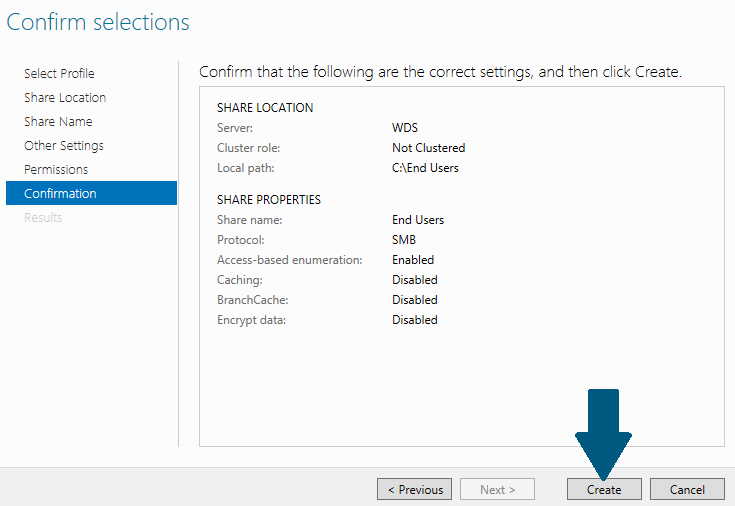
Step 12: Click Create. to confirm the settings and to create the share.
Creating File Screen in Windows Server 2012 R2
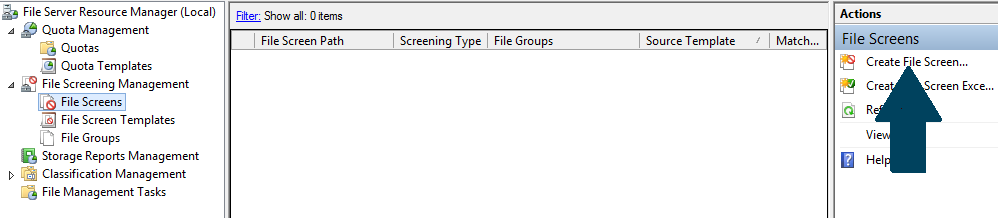
Step 1: Select File Screens and click Create File Screen...
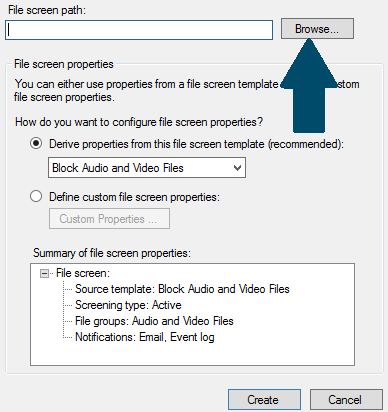
Step 2: Browse and select the path of shared folder
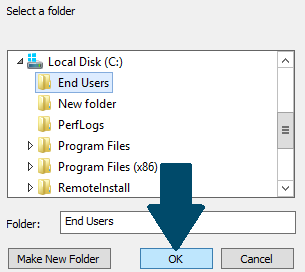
Step 3: Select the folder and click OK.
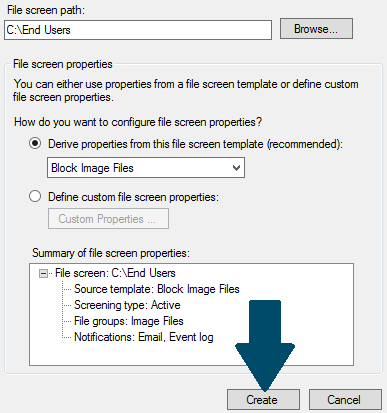
Step 4: Choose the option: "Derive properties from this file screen template (recommended)": Click on Create and you are done with screening the folder.
Conclusion
We have created a file screen and applied it to a shared folder. When a user copies image files including JPEG, PNG, the files won't be saved and the user will be alerted.