Create Roaming Profiles in Windows Active Directory
Roaming profile allows user to logon to any computer in their organization and have all their personal files and setting apply to that computer. It is a powerful feature and it is easy to setup. Let's get started!!
Step 1:
Create a folder on your local hard drive
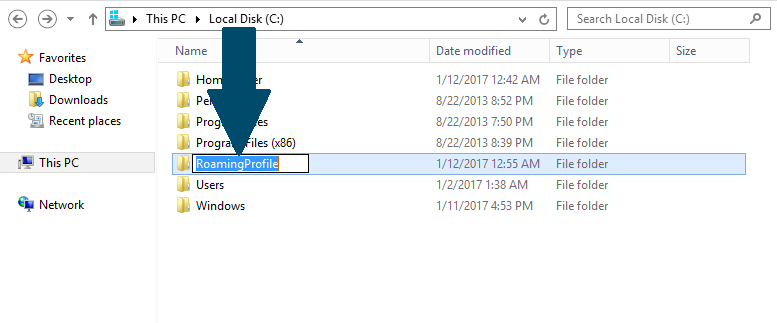
Step 2:
Right click the folder you created in step 1 and scroll down its menu. Click
Properties

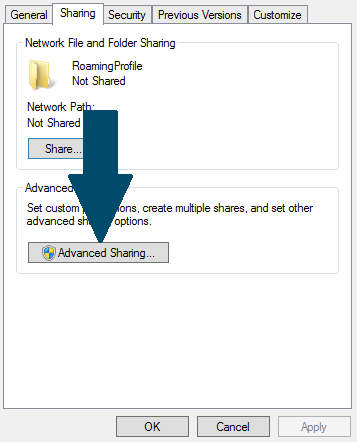
Step 3:
Open the sharing tab and click
Advanced Sharing
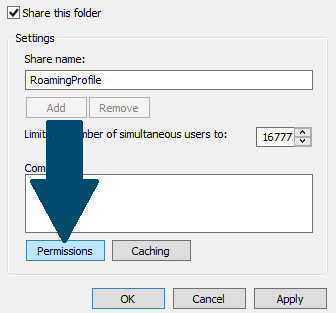
Step 4:
Check the
Share this Folder
and click on
Permissions
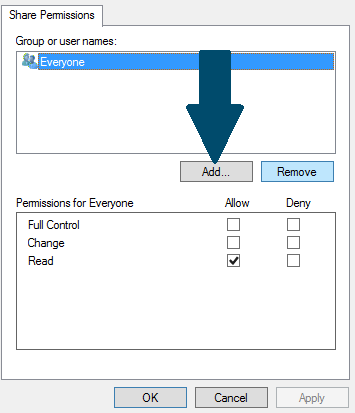
Step 5:
Choose Everyone from Group or user names and click
Remove
. Click
Add
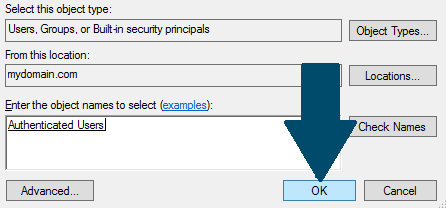
Step 6:
Search authenticated users and select when found. Click
OK
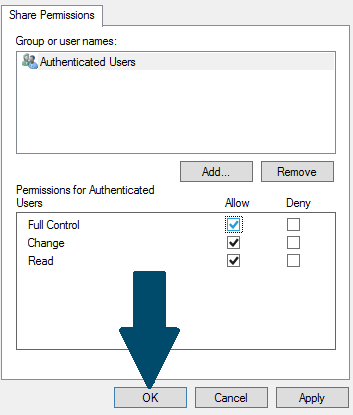
Step 7:
Allow full control by checking the check boxes and click
Apply
. Click
OK
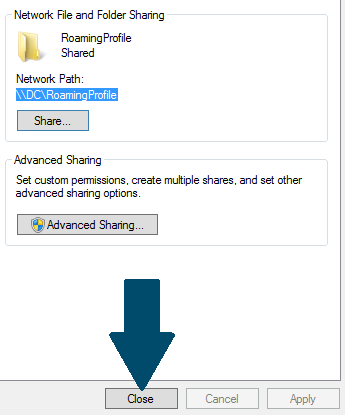
Step 8:
Copy the network path of this folder and click
Close
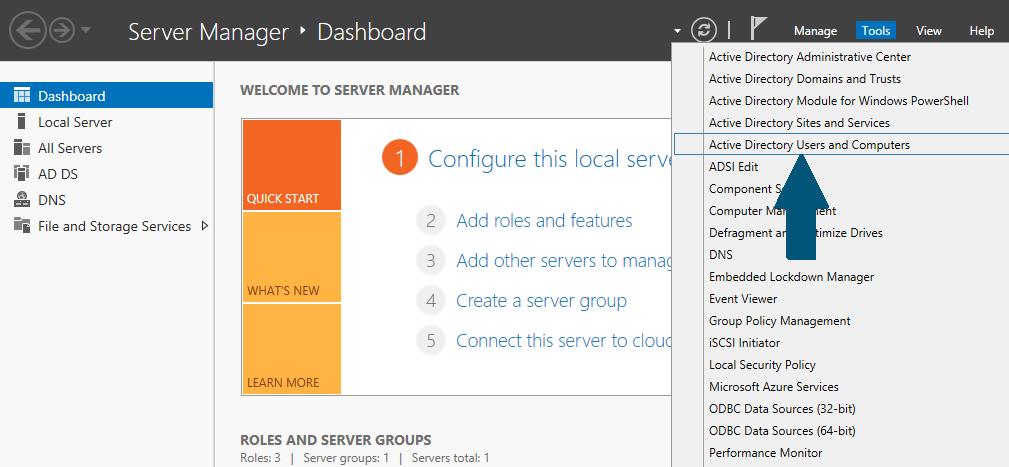
Step 9:
Open Server manager dashboard and click
Tools
. Scroll down the menu and click
Active Directory Users and Computers
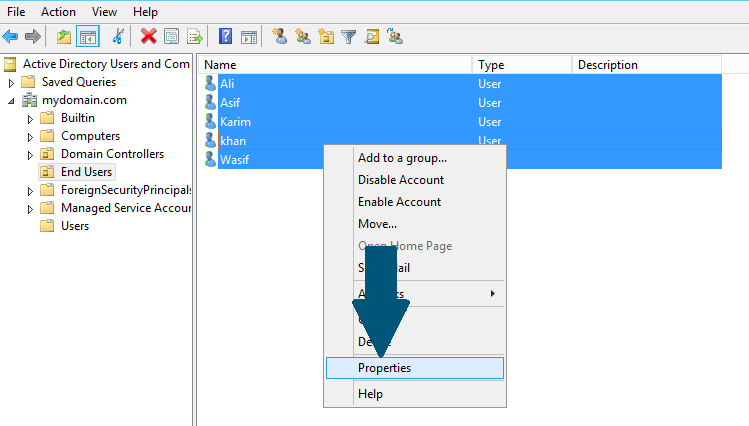
Step 10:
select all users you would like their roaming profile to be created. Right-click and scroll down the menu. Click
Properties
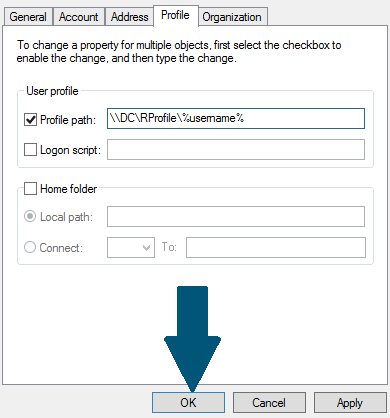
Step 11:
Open
Profile
tab and check the profile path text box. Provide the network path of folder you copied in step 8. It should be in format \\<MachineName>\<FolderName>\%username%. Click OK and you are done creating roaming profile for active directory users
You are done setting up roaming profile in active directory domain services. Congrats! Read our next tutorial on creating home folder for your active directory users.
