
Microsoft Windows services allow running long-running applications in the background. When the computer is booted, the services start automatically and continue running until the computer is turned off, but you can also pause and disable the service. The Windows Services application lists all services, including those that are running and those that are stopped.
If you want to save the list of these services to an external file to record or share, there is no option in the application to save the files.
In this article, I'll show you how to save a list of Windows services to a file using PowerShell in Windows 10. To get started, type powershell.exe in the Windows search bar and press Ctrl+Shift+Enter to launch PowerShell with administrator privileges.
Enter the following command. It will list all the running services.
Get-Service | Where-Object {$_.Status -eq "Running"}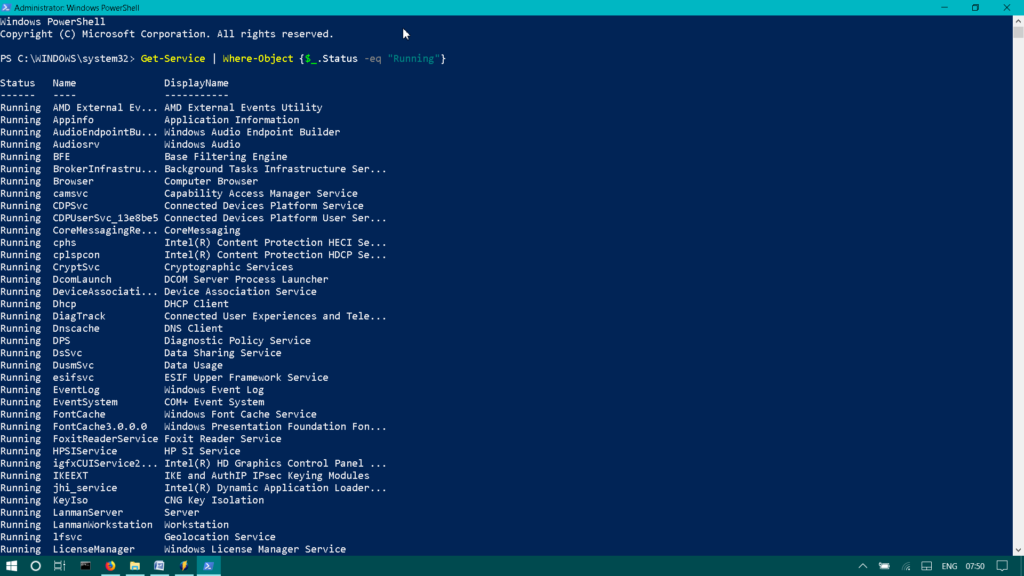
Save Running Services to a File
To save this list, add the below command:
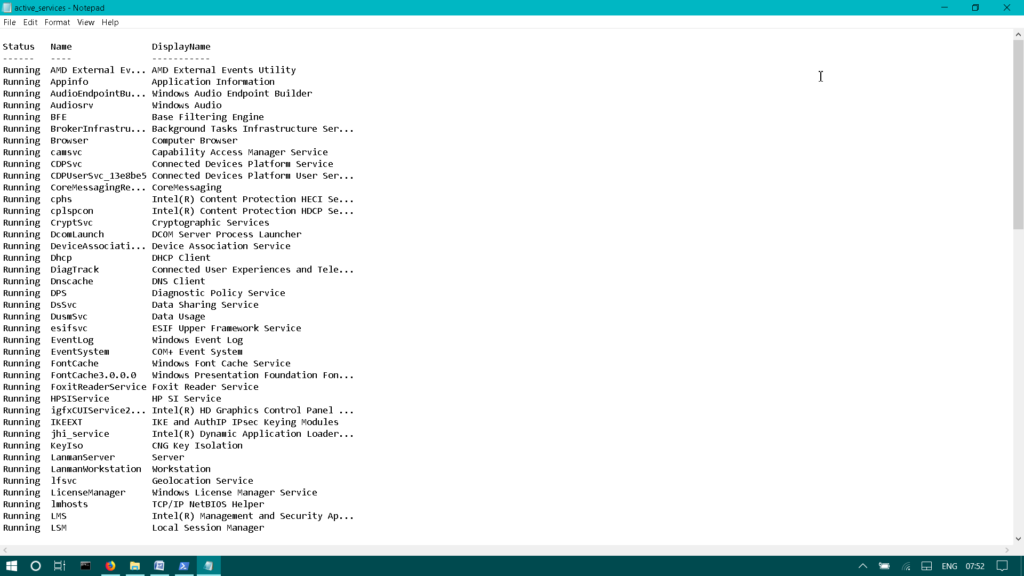
Get-Service | Where-Object {$_.Status -eq "Running"} | Out-File -filepath "$Env:userprofile\Desktop\active_services.txt"
This will create a new text file with the name specified in the command. You can open it in notepad.
Save Stopped Services to a File
To save stopped series list in a file, add the below command:
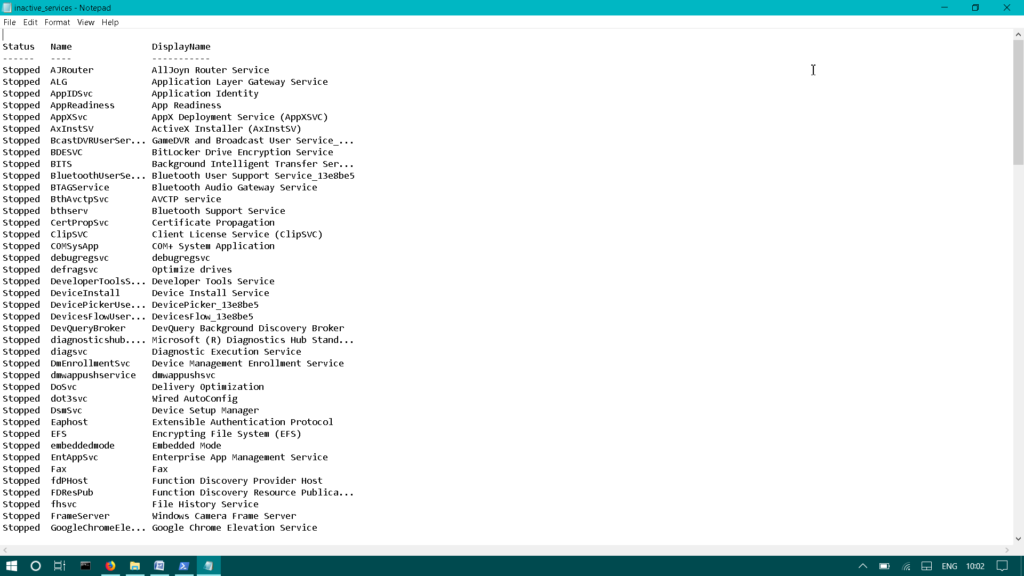
Get-Service | Where-Object {$_.Status -eq "Stopped"} | Out-File -filepath "$Env:userprofile\Desktop\inactive_services.txt"
All Windows Services
To save a list of all windows services including running and stopped, add the below command:
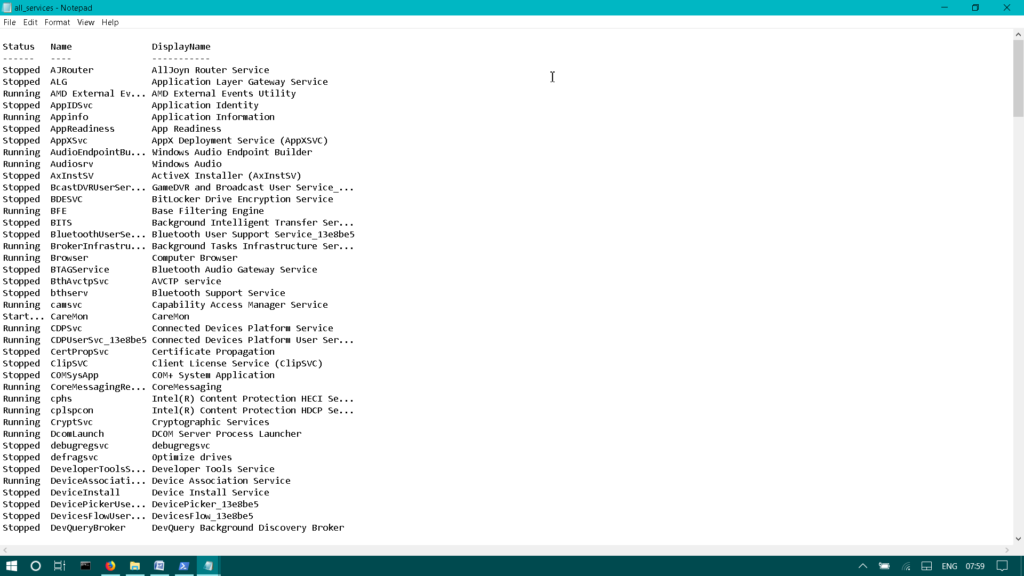
Get-Service | Out-File -filepath "$Env:userprofile\Desktop\all_services.txt"

It will save the list of all windows services in the text file.
Hence you can save running services, stopped services and even all services to an external text file that you can later view in notepad editor and can also share it.