Gradle is a build automation tool with a focus on extensibility and performance. It can perform tasks related to software compilation, deployment, testing, static analysis (e.g., linting), and more.
Gradle is straightforward to learn if you are new to automated builds or want an alternative solution for any of the above tasks that your current build system does not support well enough or cannot do. Gradle has some advantages over other tools like Ant, Maven, SBT (Scala Build Tool), etc., especially when it comes down to customizability and performance of the generated output while creating a final executable jar for example.
A Gradle plugin is an add-in that extends the Gradle build with some new functionality. Gradle ships with plugins that we can use in our builds immediately without any extra configuration. For example, by default, we get tasks for our build and test execution, dependency management, code quality analysis (through the JaCoCo plugin), and so on. We can also add more plugins to enhance our builds further if needed.
Some advantages of each must be considered carefully when choosing a build tool(Gradle vs. Maven).
Maven is one of the few widely used Java build systems and is considered the industry standard. It has been around since the early days of Java and has been able to adapt as new versions are released. The software and ecosystem around it ensure that it will always remain relevant and supported.
On the other hand, Gradle was designed from scratch by Google engineers in gradle to build hybrid applications using Groovy, which became one of its main languages. Gradle can be seen as an open-source alternative to Maven that is faster and more lightweight due to the use of Groovy language and the plugins available. The Gradle project is less than a year old and has not yet been fully polished. However, these shortcomings are slowly being improved as compared to Maven.
Have you ever been stuck on a feature or project because it doesn’t compile/run/build as expected? A single code or configuration mistake can make your entire build fail when working on Android and Java. Now you can automate your Android development with the Gradle Build Automation Tool.
This article will show you how to install Gradle on your Rocky Linux to build and execute your Java Android applications. After this tutorial, you’ll have a fully-fledged environment to build your applications using Gradle.
Prerequisites
To proceed with this article, you need the following:
- A Rocky Linux server with a minimum of 2GB of RAM.
- A non-root user with sudo privileges.
- A working internet connection.
Updating the system
We need to do a few things to get the latest version of Gradle installed on Rocky Linux.
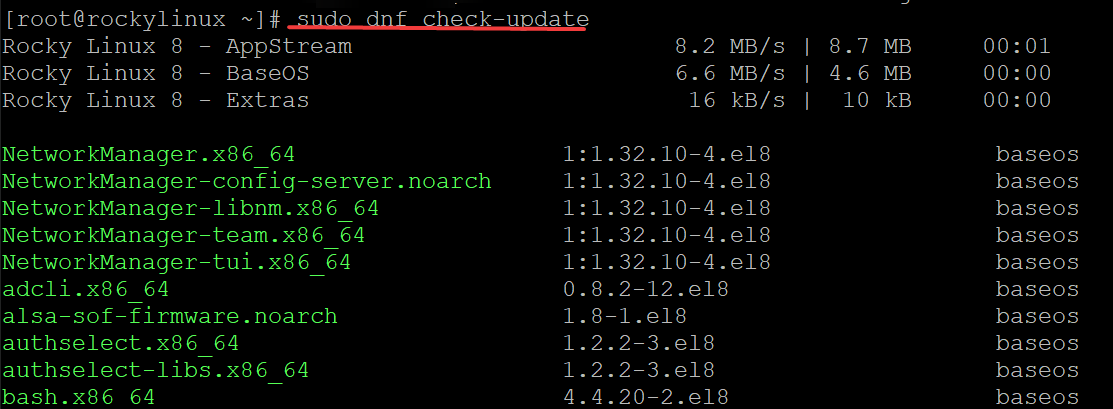
First, let’s update your rocky Linux with the following commands.
sudo dnf check-update
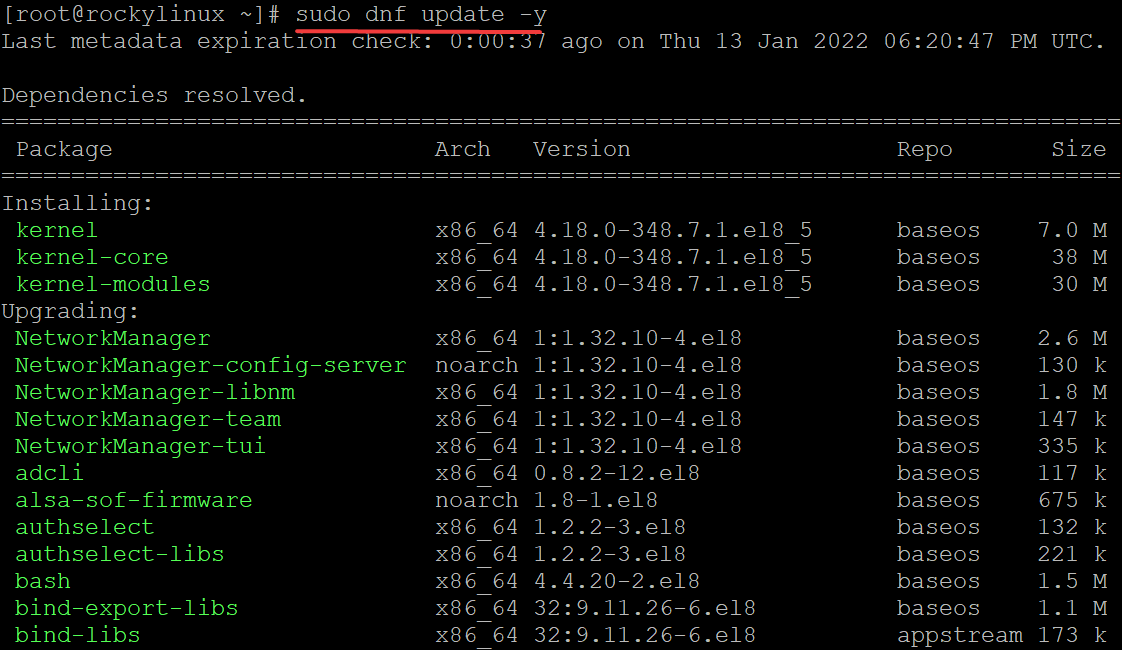
sudo dnf update -y
Depending on your internet connection, these commands will take a bit of time. Please be patient and wait till it completes.
You should reboot your Rocky Linux 8 after these two commands. So that the changes take effect.
sudo reboot
Installing Java JDK
Gradle requires a JDK to be installed on your system. Java is a programming language developed by Sun Microsystems in the 1990s. It is used to build desktop, mobile platforms, and web applications. Gradle uses the Java codebase to interpret Groovy code. The Groovy programming language is object-oriented and can run on the Java platform.
JDK is an acronym for Java Development Kit. It is a software library with the essential components to run a Java program.
We will install JDK 11 using OpenJDK or Oracle’s open-source Java Development Kit in this example.
Run the command below to install Java JDK 11 on your Rocky Linux.
sudo dnf install java-11-openjdk-devel -y
Run the java -version command to see the JDK version installed on your server.
java -version
You will get the following output.

Installing Gradle on Rocky Linux
Now that we have installed JDK 11 we can install Gradle on Rocky Linux. There are two ways of doing this.
The first is to use a Gradle binary. The second method is to download a Gradle zip file and build it manually. We will be using the first method. The Gradle binary is self-contained and can be used on any Linux machine installed by JDK. In this example, we will download and install the gradle binary.
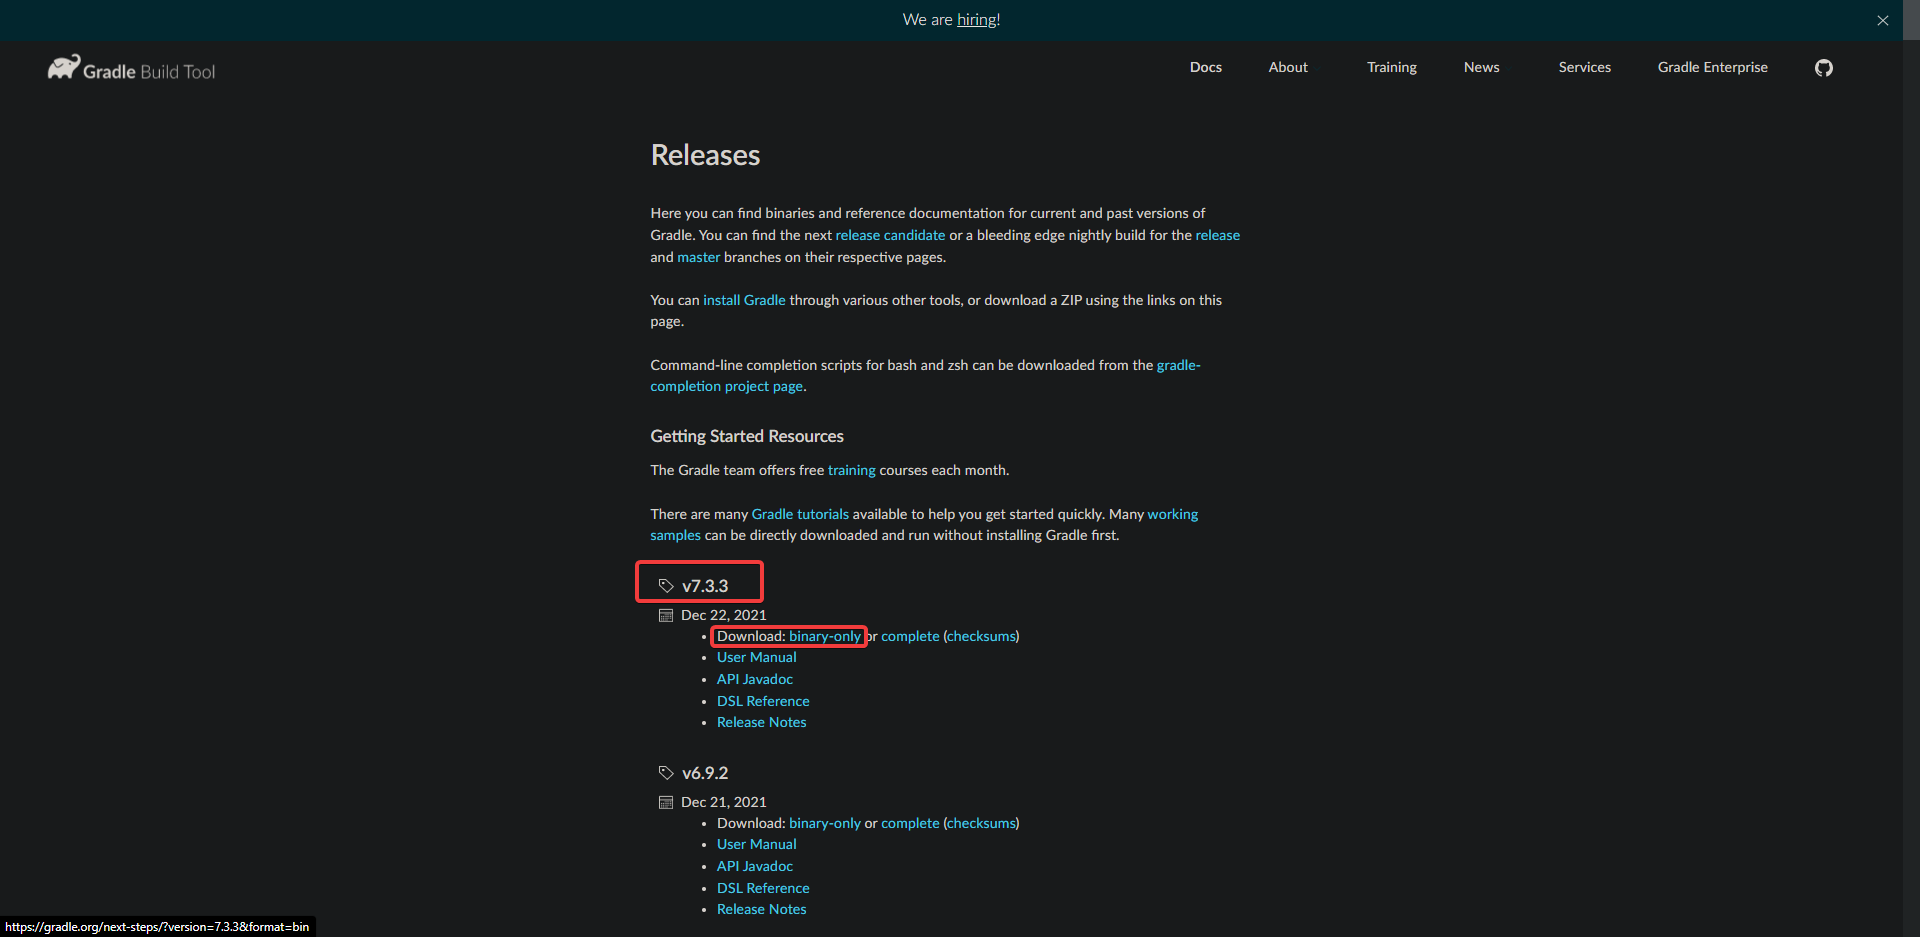
Open your favorite browser and navigate to the Gradle releases page.
Locate the latest releases on the page. Copy the URL for the latest release and make a note of it. In this example, we will be using Gradle 7.3.3 as it is the most current version as of writing this article.
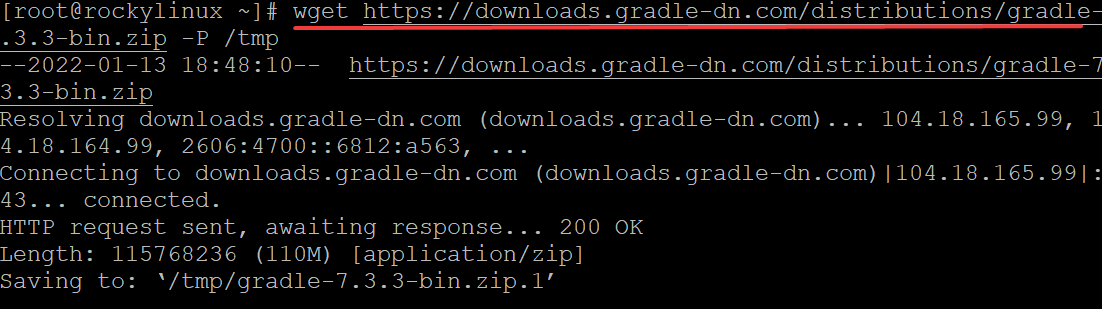
Run the wget command below to download the gradle 7.3.3 binary. Replace version=7.3.3 with your latest version number.
wget https://downloads.gradle-dn.com/distributions/gradle-7.3.3-bin.zip -P /tmp
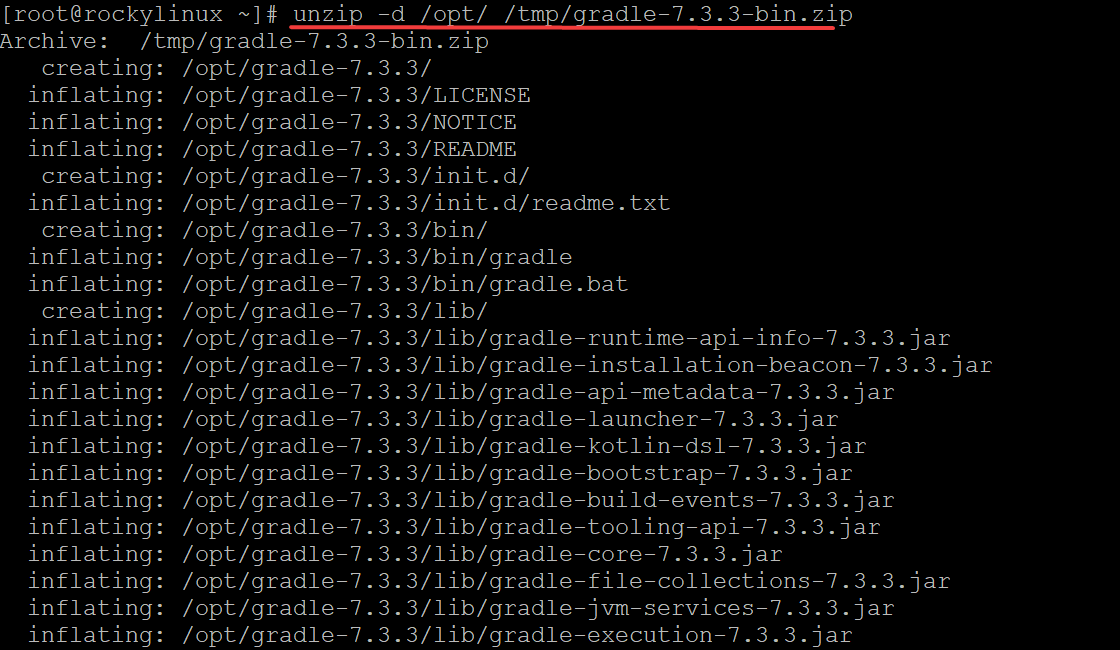
Run the unzip command below to unzip the downloaded gradle binary.
unzip -d /opt/ /tmp/gradle-7.3.3-bin.zip
Now that we have the Gradle binary in place, we can now proceed with configuring our Rocky Linux 8 to use it.
Run the chmod +x /etc/profile.d/gradle.sh command to make the file executable. The chmod command changes the access permissions on files and folders. In this case, we are using it to make the gradle.sh script file in /etc/profile.d directory executable.
sudo chmod +x /etc/profile.d/gradle.sh
Run the source /etc/profile.d/gradle.sh command to force the system to use the updated PATH environment variable. The source command injects a file into the current shell environment. Essentially, it adds the contents of this gradle.sh file as a new layer to the current shell environment.
source /etc/profile.d/gradle.sh
Now that our PATH has been updated, we can use the Gradle command to build and execute our Java Android applications. But first, let’s check if the installation has been successful.
Run the gradle -v command to view the Gradle version installed on your Rocky Linux.
gradle -v
You should see something like the following output.

Conclusion
Now that you have successfully installed Gradle on Rocky Linux, you can now use Gradle to build and execute your Java Android applications.