XAMPP is a popular LAMP-stack (Linux, Apache, MySQL, and PHP) for building PHP-based web projects. It is open-source and supports Windows, Linux, and macOS. XAMPP is made up of Apache, MySQL, PHP, and Perl.
The XAMPP stack can be used to create PHP applications that are driven by frameworks like WordPress, Joomla, Drupal, PrestaShop, and others. The XAMPP server is very easy to set up and requires little configuration, which makes it perfect for software development or prototyping.
This tutorial will show you how to set up a LAMP server using XAMPP on Ubuntu.
Prerequisites
You will need terminal access and an account with sudo privileges on the Ubuntu-Desktop system.
Note: The methods in this tutorial are implemented on the Ubuntu 20.04 system. All the commands in the tutorial will work for any Linux-based system.
Download XAMPP for Ubuntu
First of all, use the cd command to navigate to the folder you want to store or download the XAMPP package for Ubuntu.

Now, run the following wget command to download the XAMPP package from the internet.
wget https://www.apachefriends.org/xampp-files/8.0.8/xampp-linux-x64-8.0.8-0-installer.run

Note: Change the XAMPP version if an updated version is available.
Install XAMPP on Ubuntu
The XAMPP installer will reside in your navigated folder, but before running it, we need to sort out permissions so that it can become executable using the chmod command.
sudo chmod 755 xampp-linux-x64-8.0.8-0-installer.run

Start the XAMPP installer using the following command.
sudo ./xampp-linux-x64-8.0.8-0-installer.run
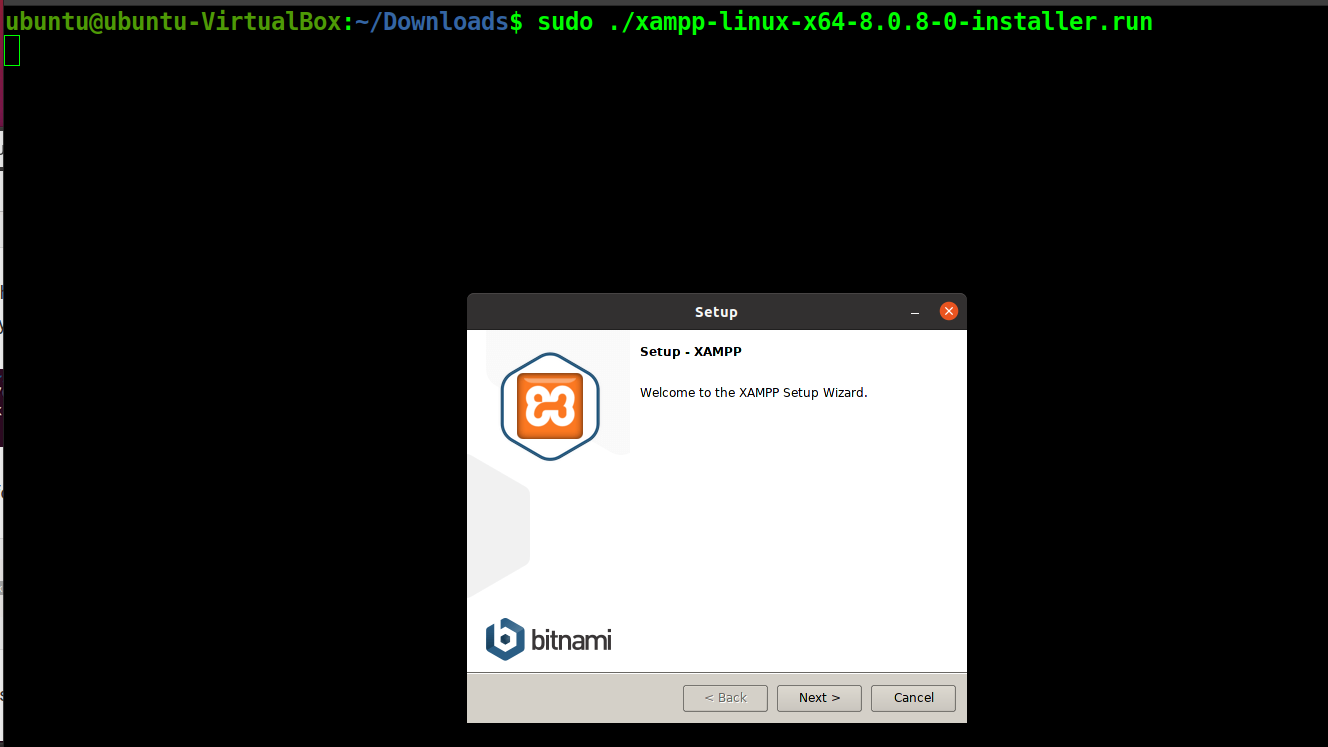
You will see the setup screen pop up after the command is issued. Click Next until you are asked to select components of the installation.
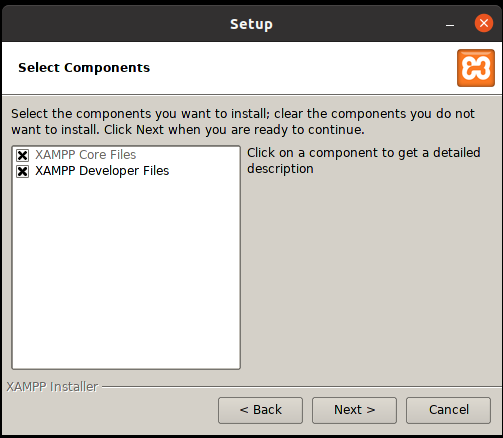
Make sure to select both the XAMPP Core and Development files and proceed to installation.
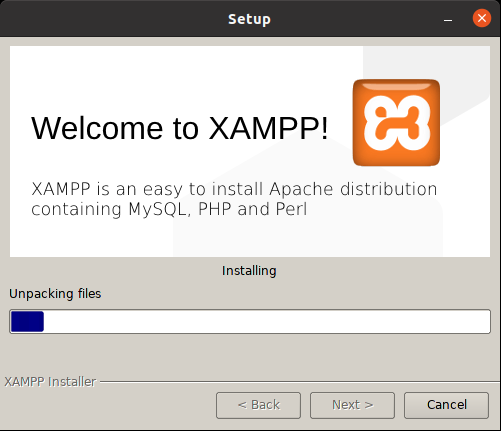
Installation should take 10 to 15 minutes, depending on your system.
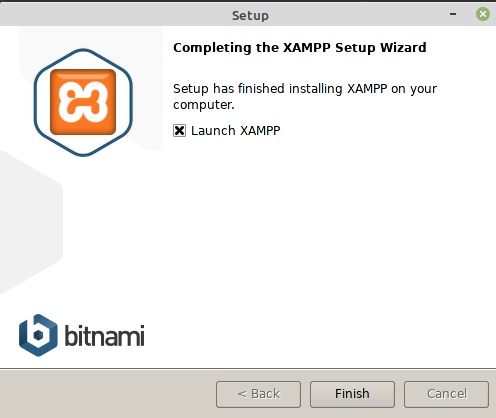
Click Finish when the installation is completed.
After installation, XAMPP files and the new projects you build can be found in the /opt/lampp and /opt/lampp/htdocs directories.
Start XAMPP Using the Command Line
You can start the XAMPP service by running the following command in the terminal.
sudo /opt/lampp/lampp start

Check the Status of XAMPP Services
Check the XAMPP service status at any moment with the following command.
sudo /opt/lampp/lampp status

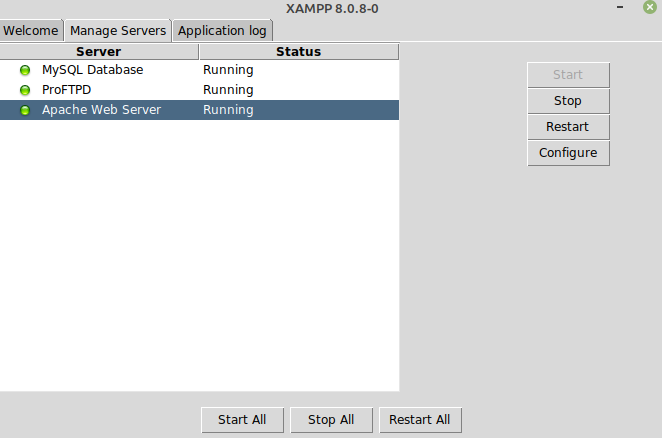
Using a Graphical Tool to Manage XAMPP Services
You can also manage XAMPP services through the GUI tool. To start the said tool, run the following commands.
cd /opt/lampp
sudo ./manager-linux-x64.run
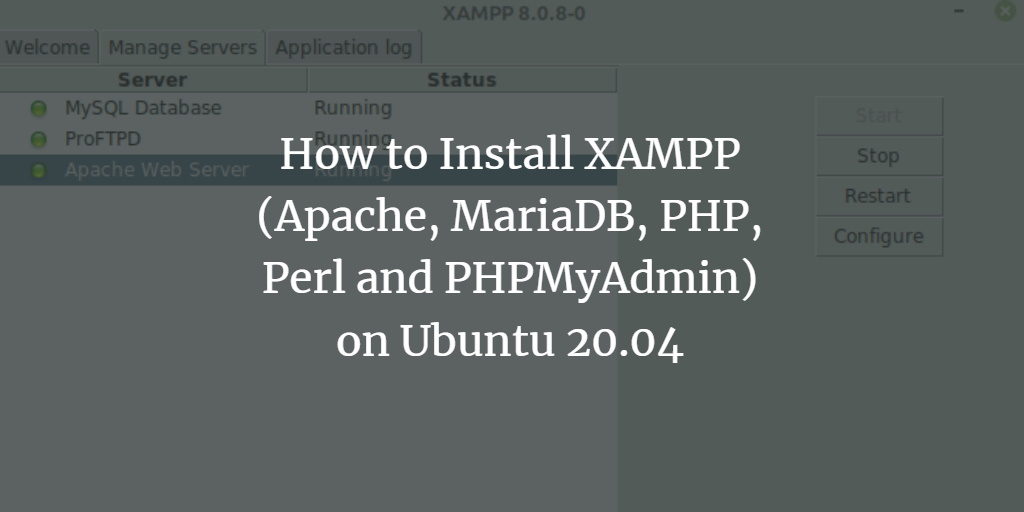
This will open the XAMPP window, and you can see all the services and their status in the window.
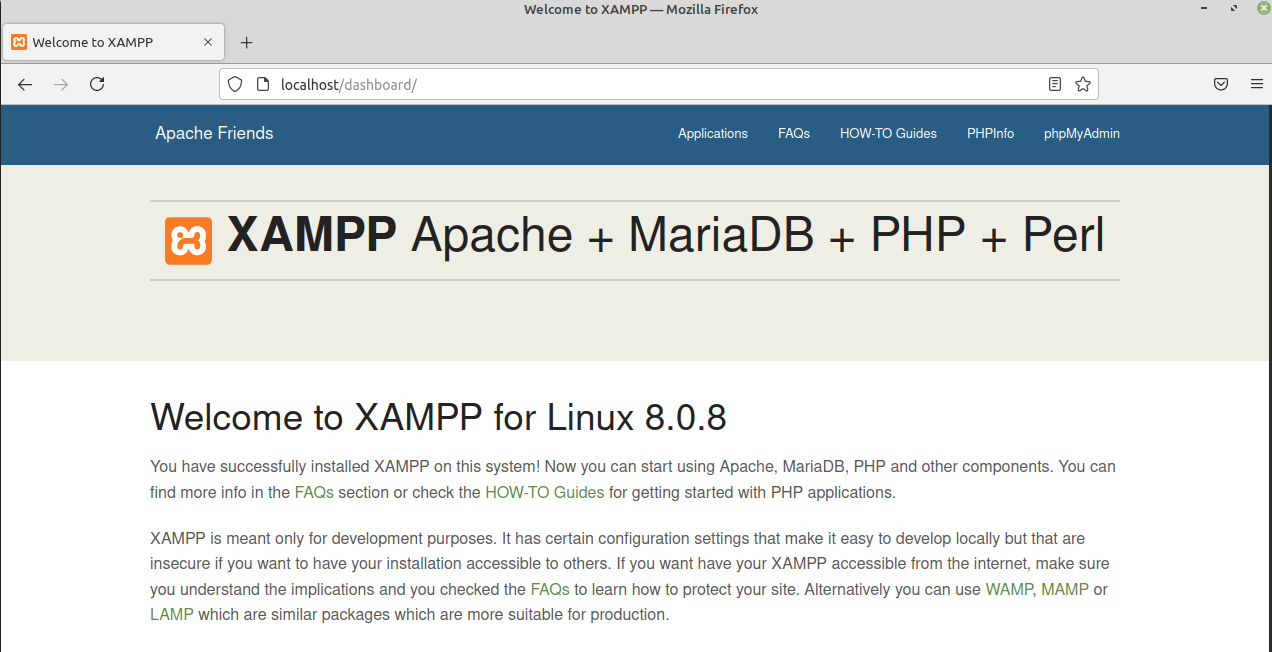
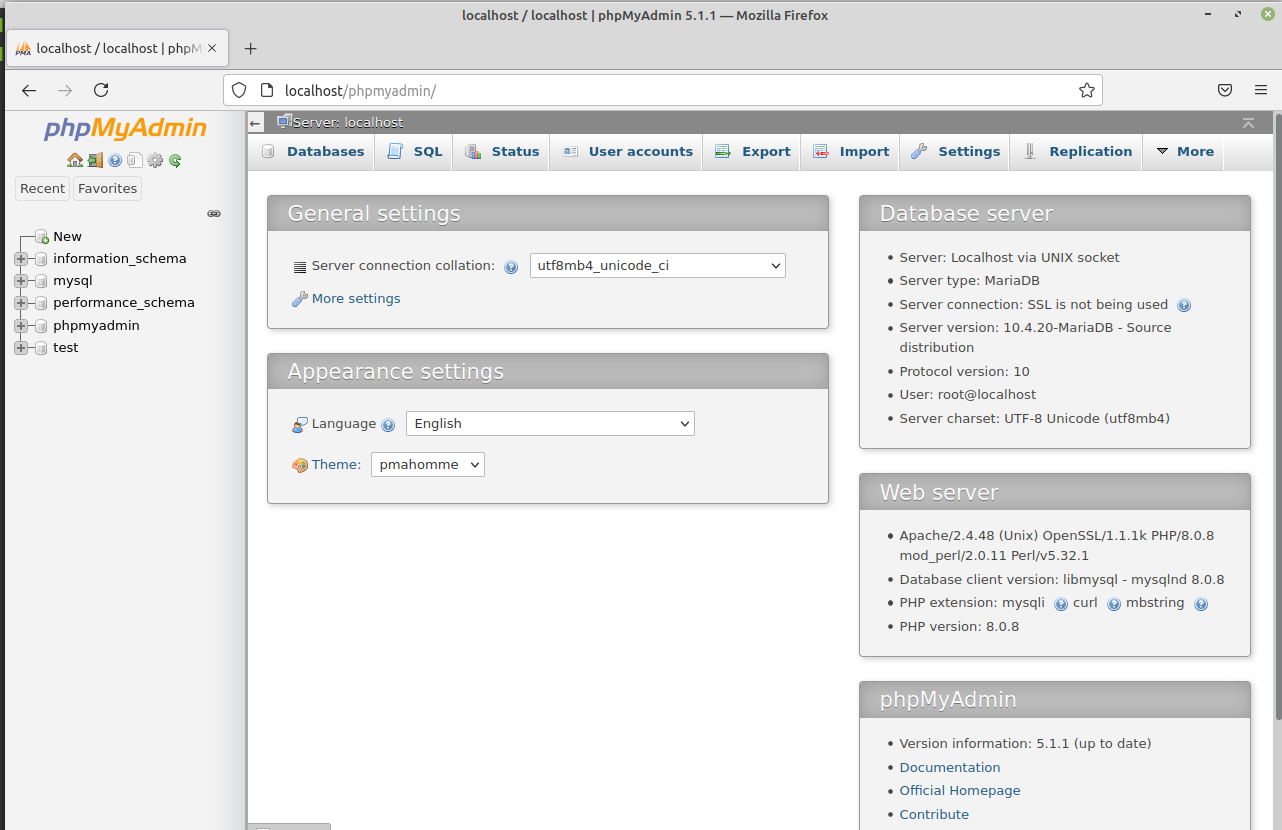
You can also go to http://localhost and http://localhost/phpmyadmin to see that the Apache server and MySQL database are up and running.
Conclusion
This article covers how you can set up your lamp environment with XAMPP. As mentioned above, XAMPP servers are great for development and prototyping servers. It should be noted, however, that XAMPP is not advised for use as a production server because it sacrifices several security vulnerabilities to facilitate the setup of your development environment. For example, the database can be easily accessed via the network, and privileged users are not password-protected, etc.