Google Forms are very commonly used for surveys and questionnaires nowadays. Besides conducting such studies, they are also used in some educational institutions for quizzes and exams. This free web-based application offers us so much flexibility in designing and presenting questions that Google Form is the first name that comes to mind when we want public feedback. There are two types of forms available, the closed google form and a form without sign in (fill Google form without login) and you can create Google form for rsvp. Today's article is about the different methods you can use to limit the number of answers and in Google Forms.
Limiting the Responses in Google Forms
There are different ways of limiting responses in Google Forms depending on the scenario and google form limit choices. However, the three general methods are listed below:
Method # 1: By using Google Form Settings
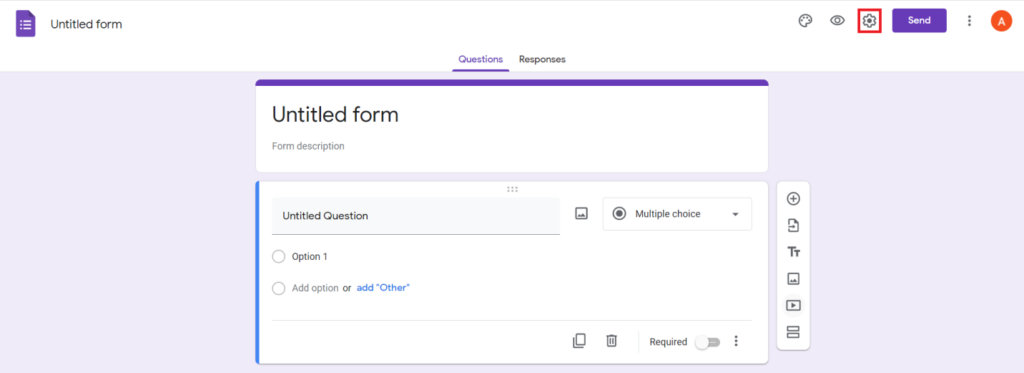
If you want each respondent to provide exactly one response and not more than that, then you can make use of this method. For doing so, you need to open your desired Google Form and then click on the Settings icon:
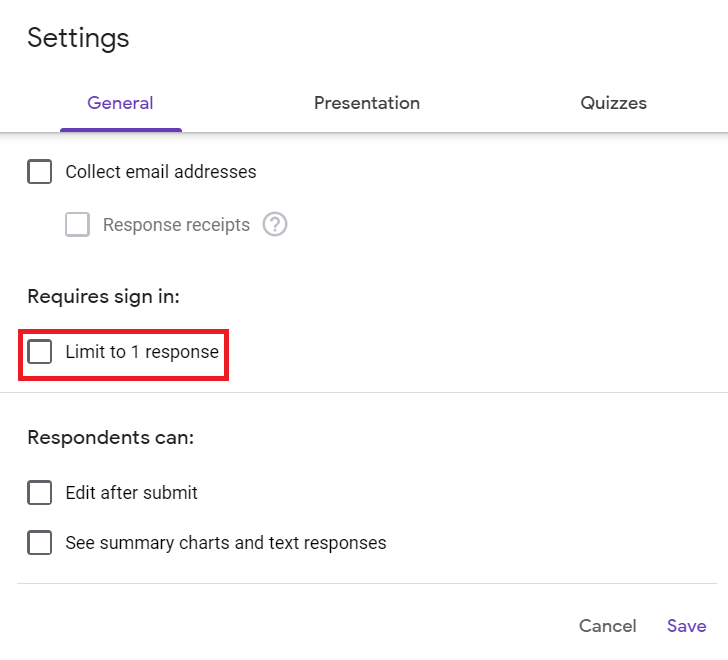
When you will click on the icon highlighted in the image shown above, you will be presented with the Settings window. From this window, you need to check the checkbox that says, “Limit to 1 response” as highlighted in the following image:
After checking this checkbox, you need to click on the Save button as highlighted in the image shown below:
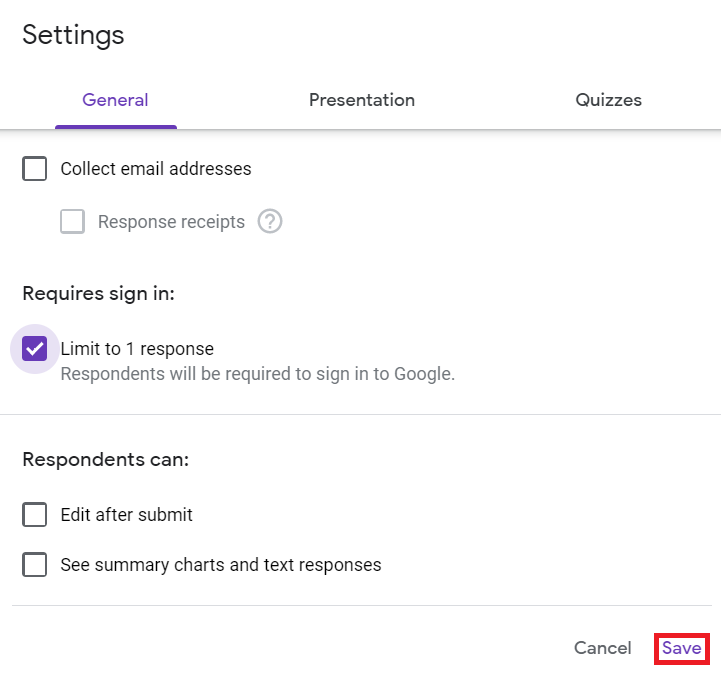
Once you will do all this and ask the respondents to fill in your form, they will only be able to submit their responses once.
Method # 2: By Stop Accepting the Responses Manually
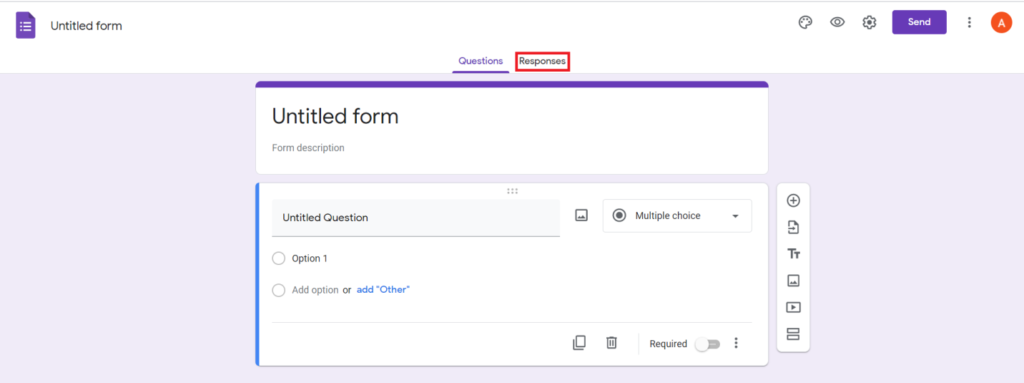
At times, people use Google Forms for conducting surveys. Generally, before conducting a survey, you have an estimated population size in your mind i.e. you roughly know how many participants you want to be involved in your survey. When that target number is achieved, you do not need any more participants to provide any further responses. That is why it is nice to stop collecting responses manually once your target population size is achieved. For that, you need to switch to the “Responses” tab within your desired Google Form as highlighted in the following image:
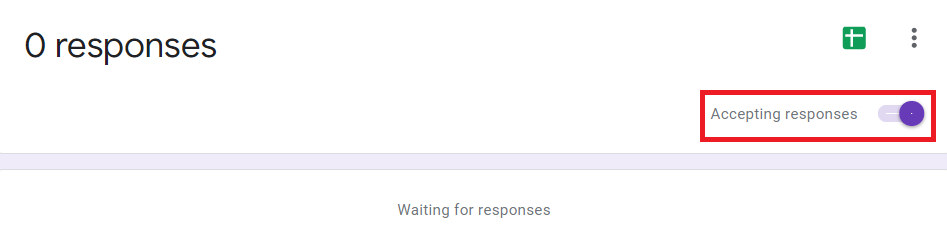
In the “Responses” tab, you find an “Accepting responses” toggle button which will be turned on by default as shown in the image below:
You need to turn off this toggle button to stop accepting further responses for this Google Form as shown in the following image:
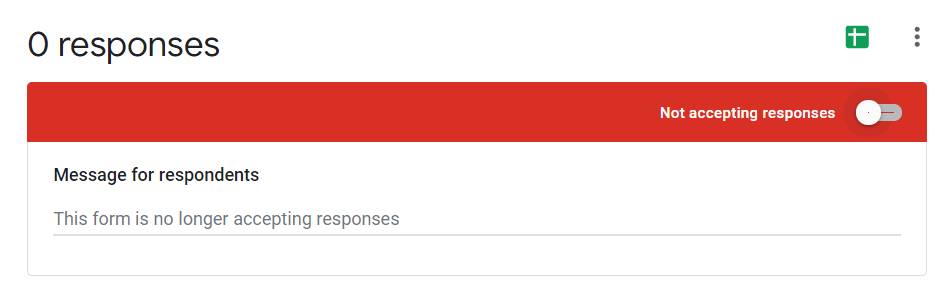
After doing this, the participants will no longer be able to submit their responses for your Google Form.
Method # 3: By using the formLimiter Add-on
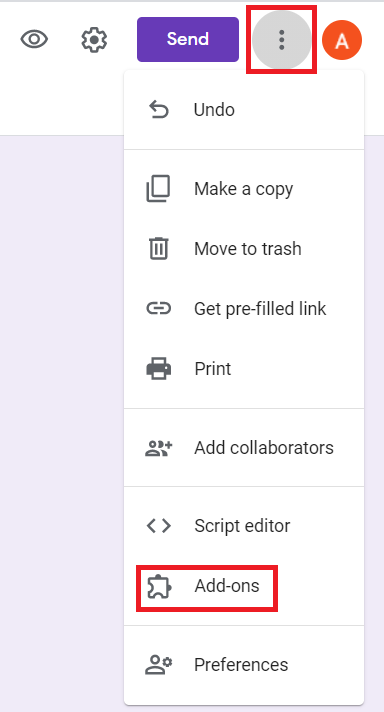
Sometimes, you require more control and flexibility while collecting Google Form responses. This kind of flexibility cannot be achieved by the options that are built into Google Forms. For that, you need to install the formLimiter Add-on. You need to click on the Hamburger menu icon (three dots) located at the top right corner of your Google Form. From this menu, you need to click on the Add-ons option as highlighted in the image shown below:
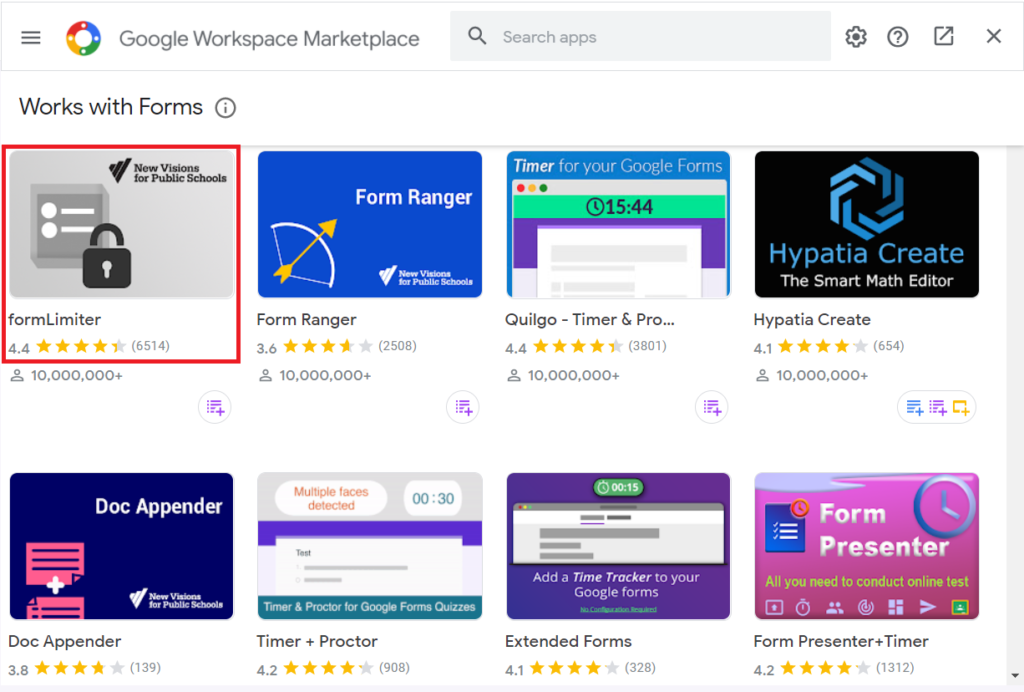
Doing this will take you to a complete range of Add-ons that are available for Google Forms. From this list of Add-ons, you need to click on the formLimiter Add-on as highlighted in the following image:
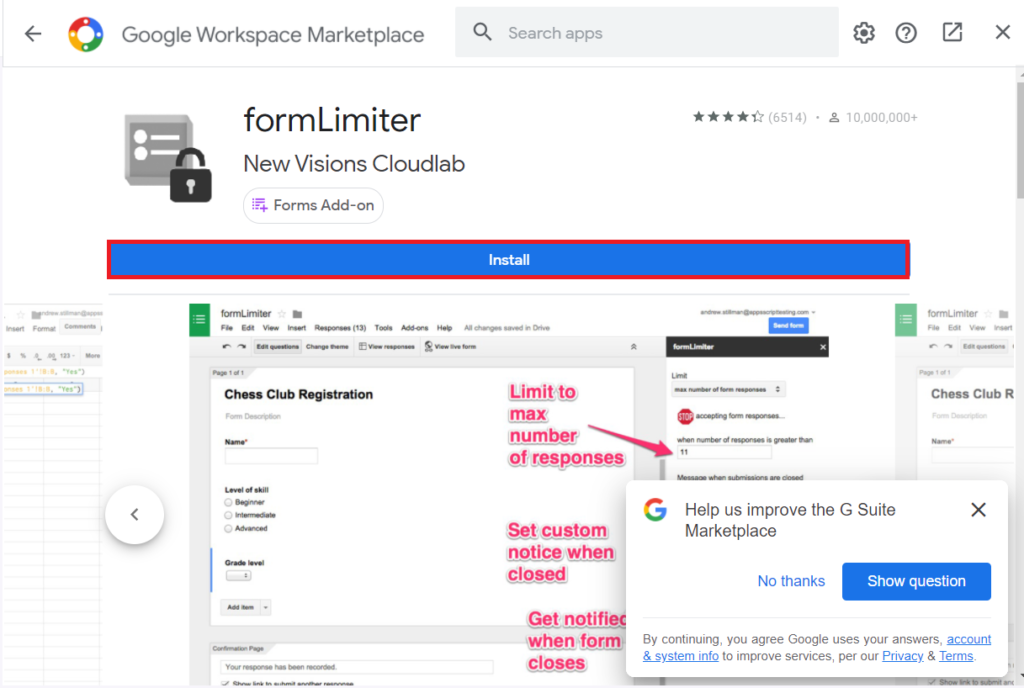
When you will click on it, you will see an Install button and you need to click on it to install this Add-on.
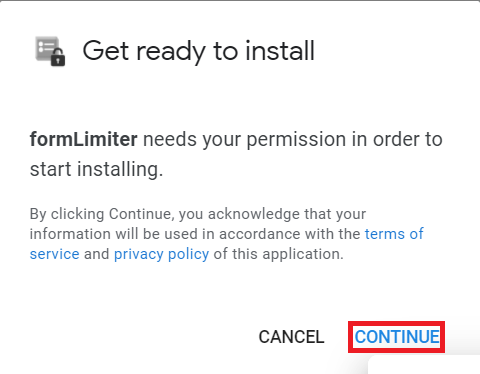
A pop-up dialogue will appear asking you for confirmation which you can provide by clicking on the CONTINUE button as highlighted in the image shown below:
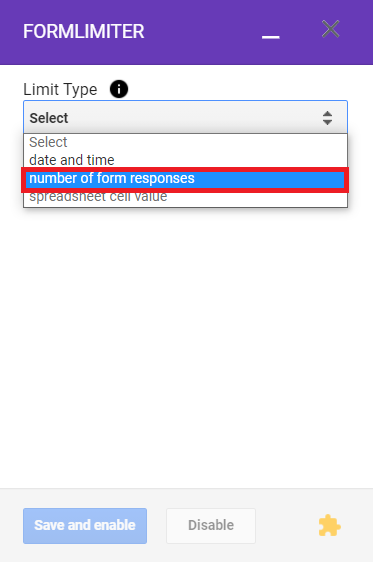
Once this Add-on will be installed on Google Forms, a small FORMLIMITER window will appear on your screen. Now you have to click on the Limit Type dropdown list to expand it as highlighted in the following image:
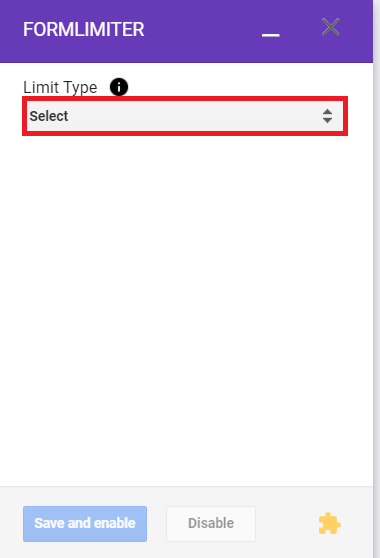
From this list, you can select any Limit Type on the basis of which you want to limit your Google Form responses. For instance, we have selected the “number of form responses” Limit Type as highlighted in the image shown below:
After selecting this Limit Type, you will be asked to set the maximum number of responses that you want to collect for your Google Form or a time limit. For example, we did not want to collect any further responses (automatically stop accepting responses) once the number of responses reached 20. After setting the desired limit, you need to click on the Save and enable button as highlighted in the following image:
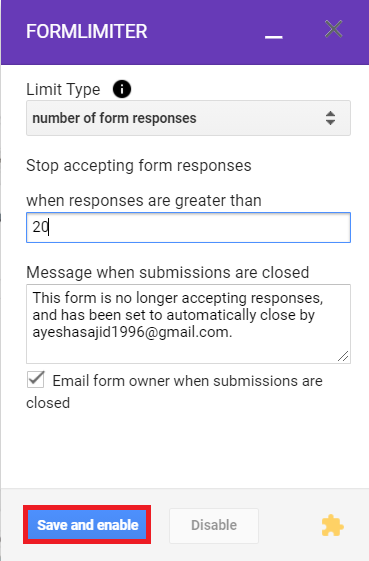
In our case, after enabling this option, we will only be able to collect 20 responses for our Google Form. There is also custom message available for some of the limits.
Conclusion
Based on your situation and the functionality that you want to achieve, you can pick any of the 3 methods shared with you in this article for limiting Google Form responses. There is also a Google form time limit available. You can also find google forms add ons. By using either of these methods, you will be able to collect the desired amount of responses for your Google Form.
