
If your machine is in a Windows AD domain and you want to move it to the local workgroup, you can follow these instructions. There are two methods to do this, one via the graphical user interface and the other via PowerShell. We will look at both methods.
Unjoin Windows PC Using Graphical User Interface
Step 1. Login to the machine with a local or domain administrator account.
Step 2. Press Windows key + X from the keyboard.
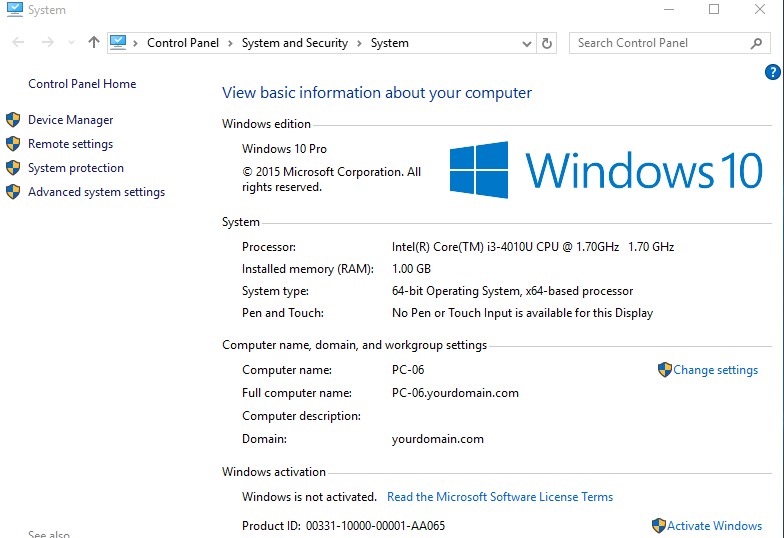
Step 3. Scroll the menu and click System.
Step 4. Click Change settings.
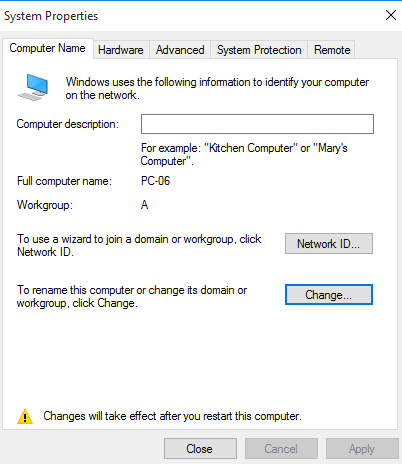
Step 5. On the Computer Name tab, click Change.
Step 6. Choose Workgroup and provide any name.
Step 7. Click OK when prompted.

Step 8. Click OK.
Step 9. You will be asked to restart the computer so that changes can be applied.
Step 10. Click Close.
Step 11. Click Restart Now to restart the machine.

Unjoin Machine Using PowerShell
Step 1. Open PowerShell with elevated privileges.
Step 2. Execute the following command.
Remove-Computer -UnjoinDomaincredential Domain01\Admin01 -PassThru -Verbose -Restart
The above command removes the local computer from a domain to which it is joined. The local computer is moved to the WORKGROUP workgroup after it is removed from the AD domain because we didn't specify the workgroup in the command.