Many of us depend on Windows Search to find records and start programs, but by default, the search for text in files is limited to specific file types. You can also add other text-based files to your quest. In this article, we will guide you through the whole procedure to use Windows 10 search to scan for text inside any file.
Use Windows 10 Search to scan for text inside any file
To use Windows 10 Search to scan for text inside any file, follow this procedure step by step.
Click the Search button. Type Indexing Options in the search bar and select the Indexing Options option as the following image is showing.

As soon as you will choose the Indexing Options option, the following screen will appear.
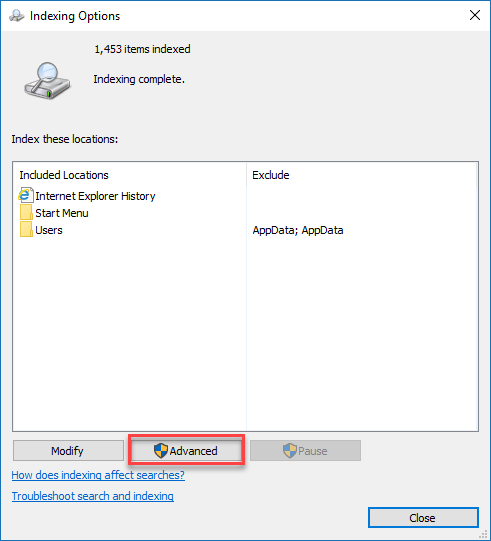
Now click the Advanced button at Indexing Options screen as highlighted in the above image. As soon as you will click the Advanced button, the following dialogue box will appear.
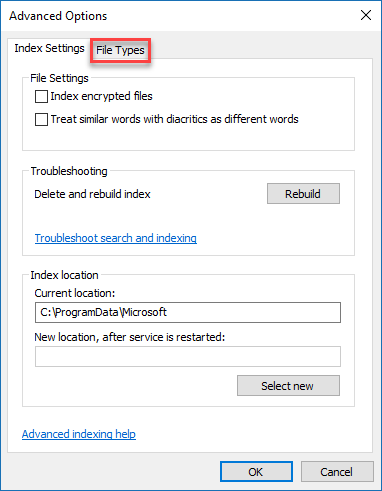
Now choose File Types tab in the Advanced Options dialogue box as highlighted in the above image. After choosing the File Types tab, the following options will appear.
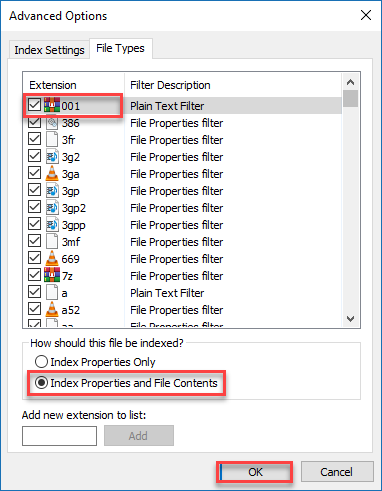
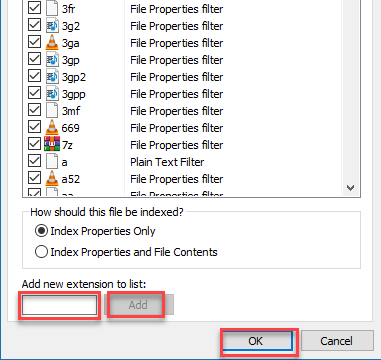
Choose the Extension for which you want to scan for text. Then choose the radio button named Index Properties and File Contents and click the OK button as highlighted in the above image. If you haven’t found the extension you want then enter the extension in Add new extension to list textbox and click the Add button. Then click the OK button as the following image is showing.
As soon as the index is rebuilt, you are good to go to scan for text inside any file.
If you always want to check for a particular folder in the file content, then follow these steps.
Open the File Explorer and select the desired folder as the following image is showing.

Then choose the View tab from the ribbon. A toolbar will appear, choose Options option from the toolbar. Then select the Change folder and search options option as the following image is showing.

As soon as you will click the Change folder and search options option, the following dialogue box will appear.

Select the Search tab as highlighted in the above image. As soon as you will choose the Search tab, the following options will appear.
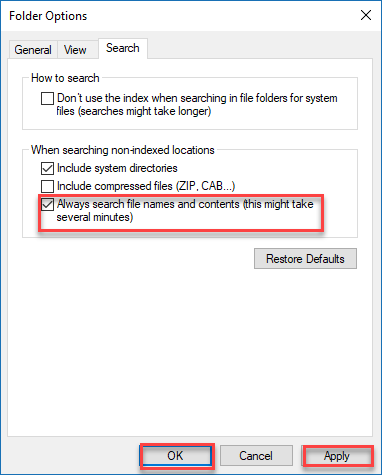
Here check the checkbox named Always search file names and contents (this might take several minutes). Then click Apply and OK button as highlighted in the above image.
Conclusion
By following this procedure you will be able to use Windows 10 Search to scan for text inside any file.