The display driver serves as a link amid software program on your device and the hardware e.g. the graphics card. Software engineers are continually improving and upgrading their programs, introducing new features, and streamlining the codebase. These upgrades may frequently produce visual abnormalities or conflict with outdated display drivers. Upgrading the display drivers guarantees that your graphics card is compatible with the latest software versions as well as improves performance within graphics-intensive apps. Upgrading the visual driver is a little more complicated than installing standard software. Uninstalling outdated drivers is a smart idea to verify that the new driver documents wouldn't clash with earlier versions. However, uninstalling outdated drivers isn't as straightforward as running an uninstall program. Failure to erase all remnants of the previous driver might result in incompatible settings, release incompatibility, poor graphics card efficiency, or the inability to load fresh drivers. These can, in some of the worst scenarios, result in a complete system crash.
Windows Display Driver Uninstaller
For all those afraid about missing a document or registry key when manually uninstalling the old driver, DDU will save the day. DDU (Display Driver Uninstaller) is a freeware tool that allows you to remove obsolete GPU drivers without keeping any residues on your computer. And if you're not a PC expert, it's simple to use.
Download Display Driver Uninstaller
Display Driver Uninstaller is open and may be found on a variety of websites. If you need the most recent stable release, then recommend downloading from its main site. The link is given as follows:
https://www.wagnardsoft.com/display-driver-uninstaller-ddu-
The downloaded package can be found in the Downloads folder of your computer. Or, you can check the location of the downloaded Display Driver Uninstaller from the Downloads menu of your browser.

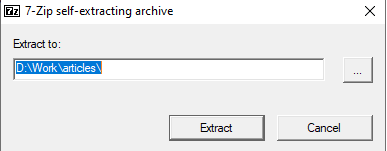
You may unzip the components of the DDU bundle into a specific folder when you've obtained it. Since the extraction procedure does not generate an icon on the desk or even in the windows Menu bar, make a note of where this folder is located. Right-click on the downloaded file, and tap on the Extract here option. The following dialogue box will appear asking for the location where the extracted data will be saved. We have chosen the “D” drive of our system. Now tap on the button “Extract” to unzip the data.
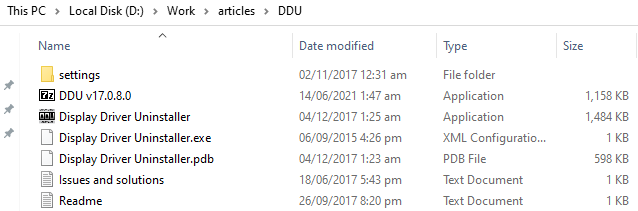
Now the extracted data files have been shown in the folder mentioned in the path. You can see the extracted files and folders in your mentioned specific location. Now open the Application file “Display Driver Uninstaller” by double-clicking on it.
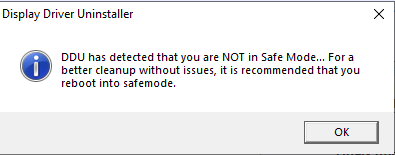
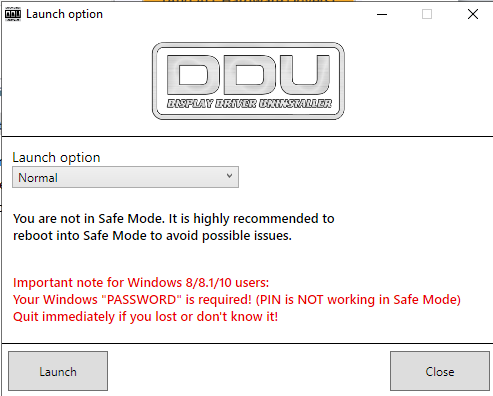
A new dialogue box will appear with the name “Display Driver Uninstaller” saying that you are not in a safe mode. Whenever we don't begin DDU in Safe Mode, a notice will appear advising users to do so. You may do this by exiting the app and checking the Support Safe Mode box, otherwise, you may hit the Options icon on the top-left side and tick the box. So, for better cleanup of the display driver, you need to reboot via Safe Mode. Hence, click on the “OK” button to continue using Display Driver Uninstaller.
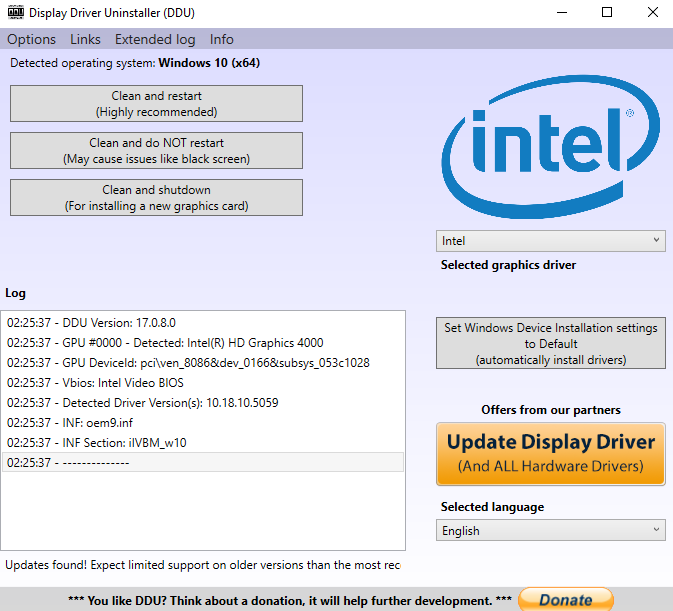
Now the Display Driver Uninstaller Application has been opened on your screen without a safe mode as shown in the below image. To change DDU's behavior, go to Options at the top-left corner of the Display Driver Uninstaller window.
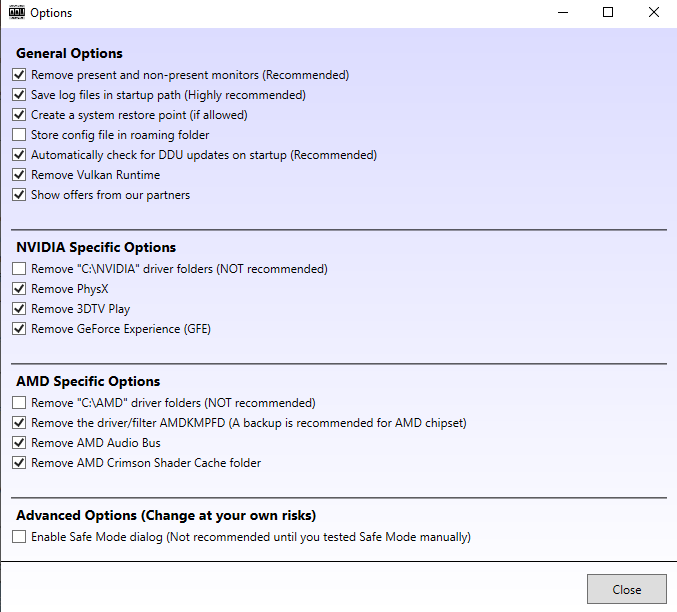
Throughout the Launch of the Options selection box, You will find many options and settings to be updated e.g. General options, Specific Options (regarding every type of driver), and Advanced Options. Navigate towards the Advanced Options (Change at your own risk). Now choose Enable Safe Mode (Recommended) to avoid any inconvenience later on by check-marking the checkbox. Afterward, select Restart to Safe Mode from the menu. Your system will reboot in Safe Mode as a result of this action. If you don’t want to reboot in safe mode, just leave it as it is.
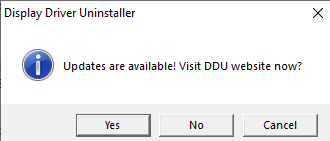
On reboot, a dialogue box will appear asking you to update the Display Driver Uninstaller from its official website. Click on “Yes” if you want to update it, otherwise tap on the “No” button to continue without updating. You can also click on the “Cancel” button to stop opening Display Driver Uninstaller Application.
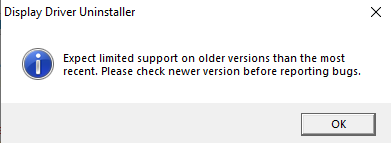
Another dialogue box will appear asking you to check the new version of Display Driver Uninstaller before reporting any bug. Click on the “OK” button to continue using Display Driver Uninstaller.
Now the Display Driver Uninstaller Launch terminal has been opened. Choose “Normal” if you wish to keep working in Normal mode. Choose “Safe Mode” if you want to work on the safe side. DU is effective. Now click on the “Launch” button to launch Display Driver Uninstaller.
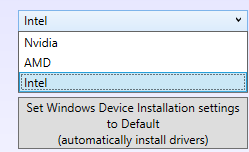
Now the Display Driver Application has been opened, you can start uninstalling the Display Driver of your Windows 10 along with its log files. At the right side of the Display Driver Uninstaller Application, you will find the type of driver you want to uninstall. You can select any one of them by a drop-down list. You can see we have Nvidia, AMD, and Intel Display Drivers in our system. Below this Dropdown list, we have a button named “Set Windows Device Installation Settings to Default (automatically install drivers)”. Click on this button to automatically install drivers of your choice after selecting the type of driver.
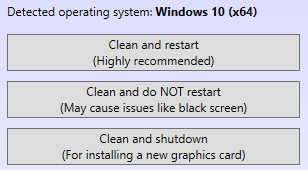
On the left side of the Application, you can see different options for the installation or removal of a Display driver as below. Choose any one of them that best suits your system.
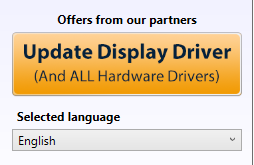
You can also update your already installed Display Driver by clicking on the button “Update Display Driver” at the right side of the application.
Conclusion
In this guide, we have discussed how to install Display Driver Uninstaller, and how to use it on your Windows 10 system. Although your driver's certified uninstaller program might leave installation packages, registry entries, and obsolete settings behind, which might lead to hardware troubles. We're also not discussing minor difficulties here.