The Windows Control Panel defaults with the last view you have used, category, large icons or small icons. If you want, you can use a fast registry or group policy modification to make it always open to a particular view. In this article, we will guide you through the whole procedure to change Windows 10’s default control panel view.
Change Windows 10’s default control panel view
To change Windows 10’s default control panel view, follow this procedure step by step.
Method# 1:
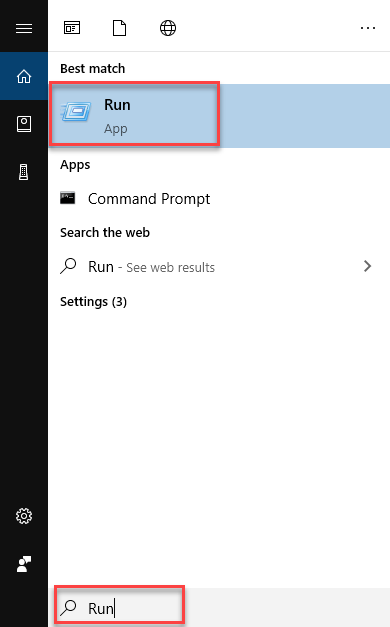
Click the Search button. Type Run in the search bar and choose the Run option as the following image is showing.

As soon as you click the Run option, the following dialogue box will appear.
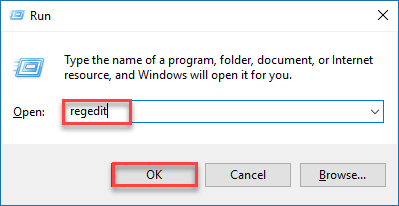
Type Regedit in the Open textbox and click the OK button as highlighted in the above image. As you click the OK button, the Registry Editor screen will appear like this.
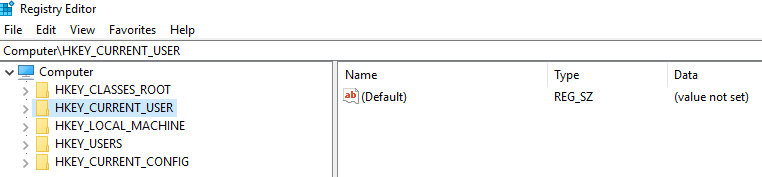
Navigate through the following path from the left pane of the screen.
HKEY_CURRENT_USER\SOFTWARE\Microsoft\Windows\CurrentVersion\Policies\Explorer\
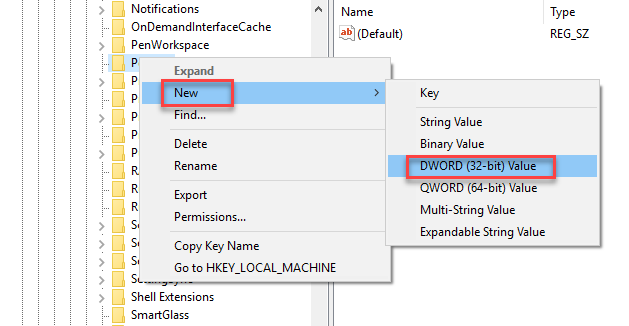
Right click on the Explorer option and select New -> DWORD (32-bit) Value as highlighted in the above image. Now rename the newly created key as ForceClassicControlPanel as the following image is showing.

Functionally there are three conditions that you can use to monitor the default control panel view.
- If the ForceClassicControlPanel key does not exist, the Control Panel observes the regular default of opening Windows to the last view you have used.
- If ForceClassicControlPanel’s Value data is set as 0, then the control panel will always open in the category view.
- If ForceClassicControlPanel’s Value data is set as 1, then the control panel will always open in the icon view.
Now double click on the ForceClassicControlPanel option and the following dialogue box will appear.
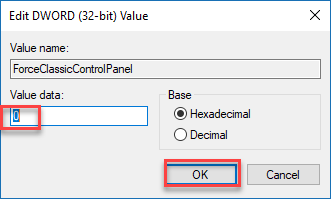
Set the Value data as per your choice e.g. 0 or 1 and then click the OK button as highlighted in the above image. You can close the Registry Editor and changes will be applied immediately.
Method# 2:
Click the Search button. Type Run in the search bar and choose the Run option as the following image is showing.
As soon as you click the Run option, the following dialogue box will appear.
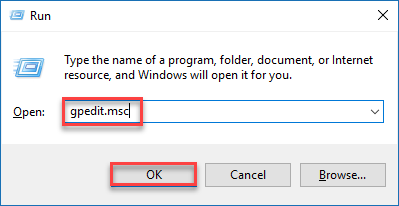
Type gpedit.msc in the Open textbox and then click the OK button as highlighted in the above image. As you click the OK button, the Local Group Policy Editor screen will appear like this.
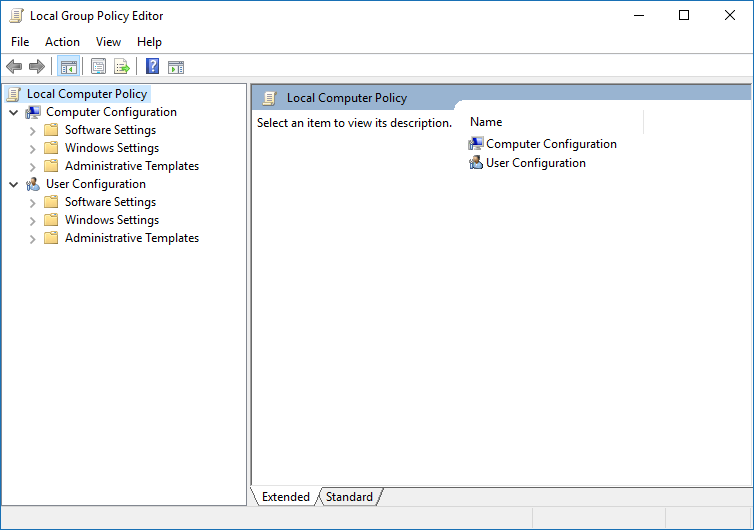
Navigate through the following path from the left pane of the screen.
User Configuration -> Administrative Templates -> Control Panel
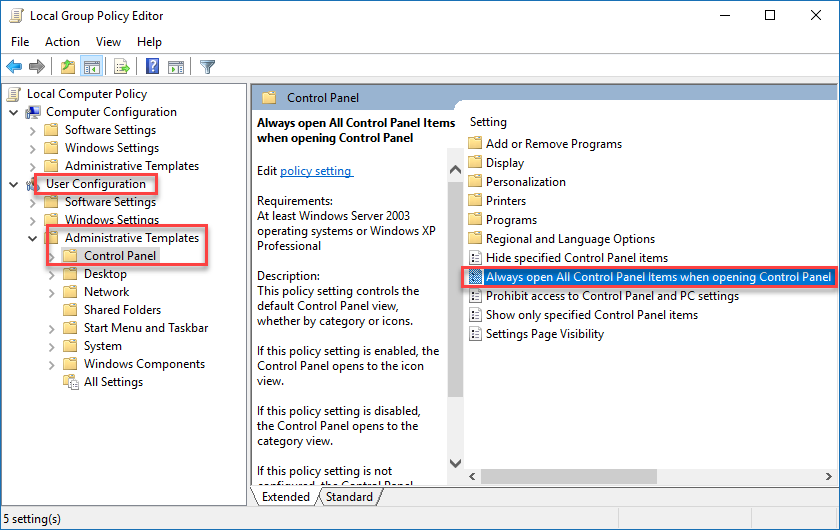
As you click the Control Panel from the left side of the screen, the right pane of the screen displays various options. Double click the Always open All Control Panel Items when opening Control Panel option and the following dialogue box will appear.
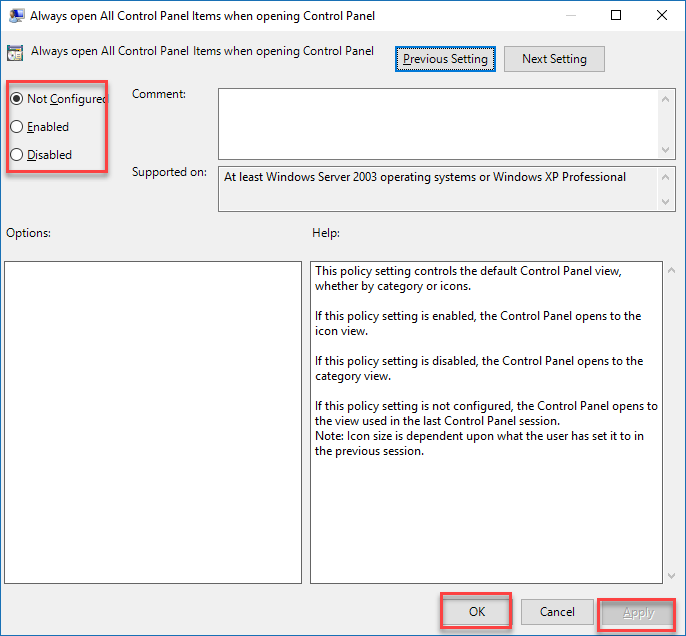
Now here are three options to configure it.
- To enable the default behaviour where the control panel always opens up to the last used view, select the Not Configured option.
- Enabled option is to open the control panel in Icons view.
- Disabled option is to open the control panel in Category view.
After the selection of all three options, click the Apply and then OK button as highlighted in the above image. Now close the Local Group Policy Editor screen and changes will be applied immediately.
Conclusion
By following this procedure, you will be able to change Windows 10’s default control panel view.
