
Color Calibration is a feature in Windows 10 that allows you to change the brightness and color contrast of your monitor panels and ensure that all visuals are shown correctly on your computer systems. In this post, we'll show you how to calibrate your display in Windows 10 using the approach described in this article.
Calibration of Monitors in Windows 10
To calibrate your display in Windows 10, follow these instructions:
Type settings in the search section of your taskbar and click on the search results to launch the settings window. The newly opened Settings window is shown in the following image:
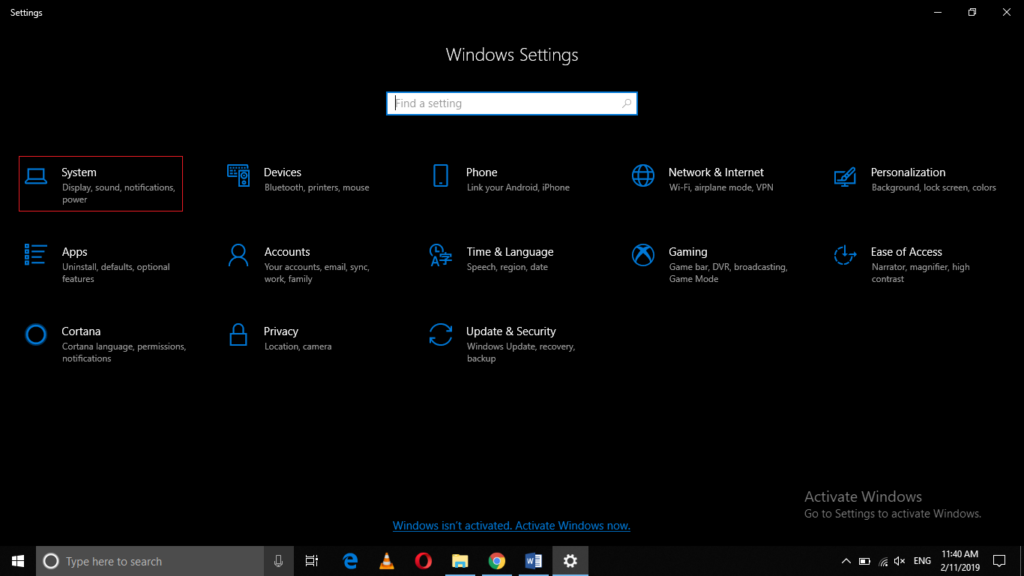
Click on the System tab as highlighted in the image shown above.
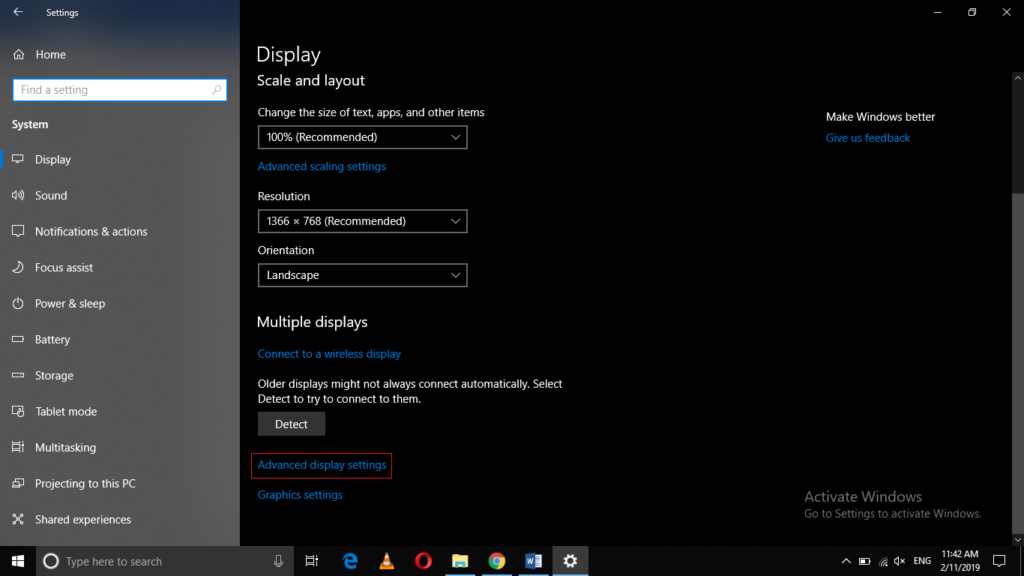
Under the Display tab, click on the Advanced Display Settings link as highlighted in the image shown below:
Now click on the link saying, “Display Adapter Properties for your Respective Display” as highlighted in the following image:
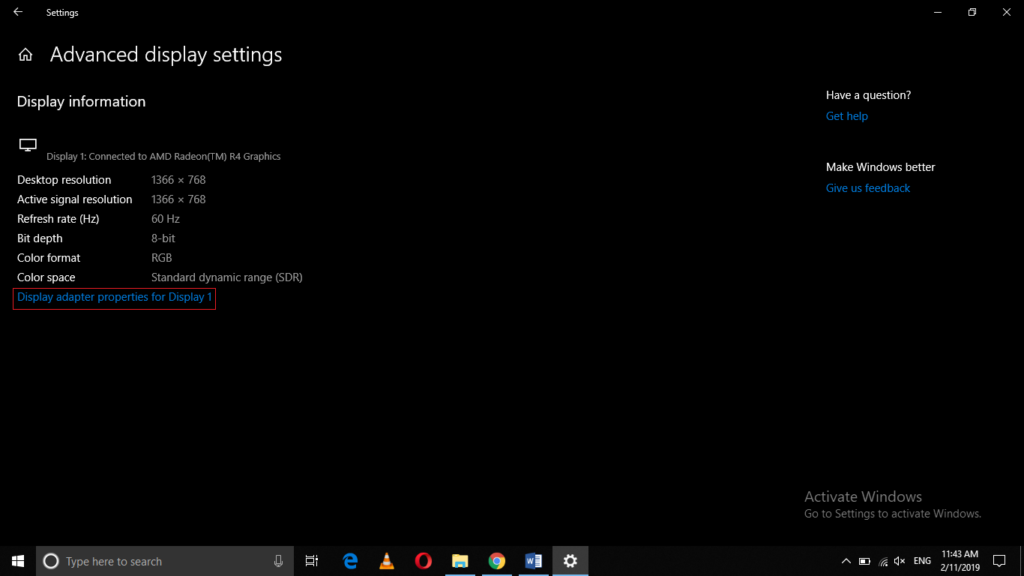
As soon as you will click on it, your Adapter Properties window will appear on your screen as shown in the image below:
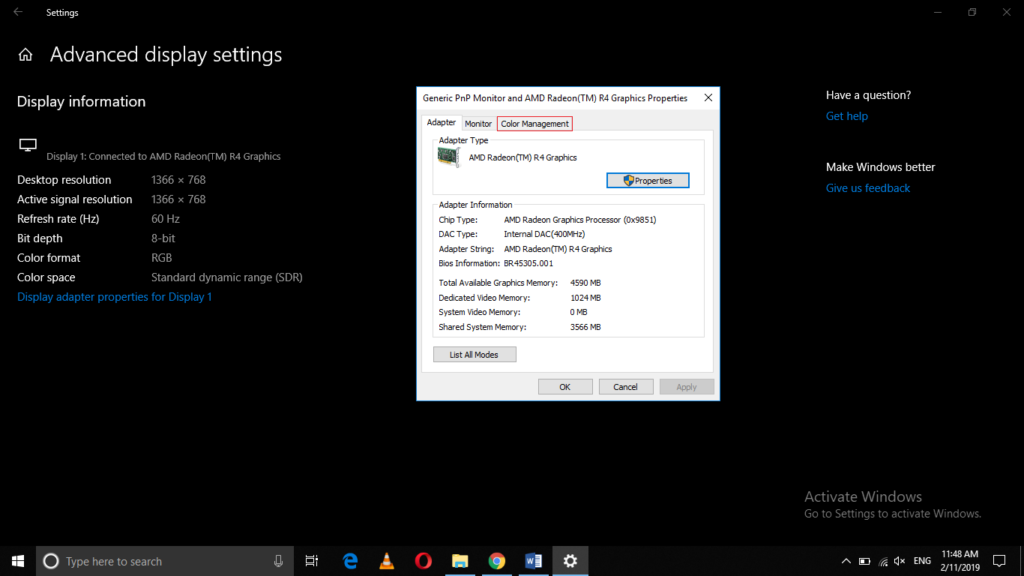
Now click on the Color Management tab from the Properties window as highlighted in the image shown above.
Click on the Color Management button as shown in the following image:
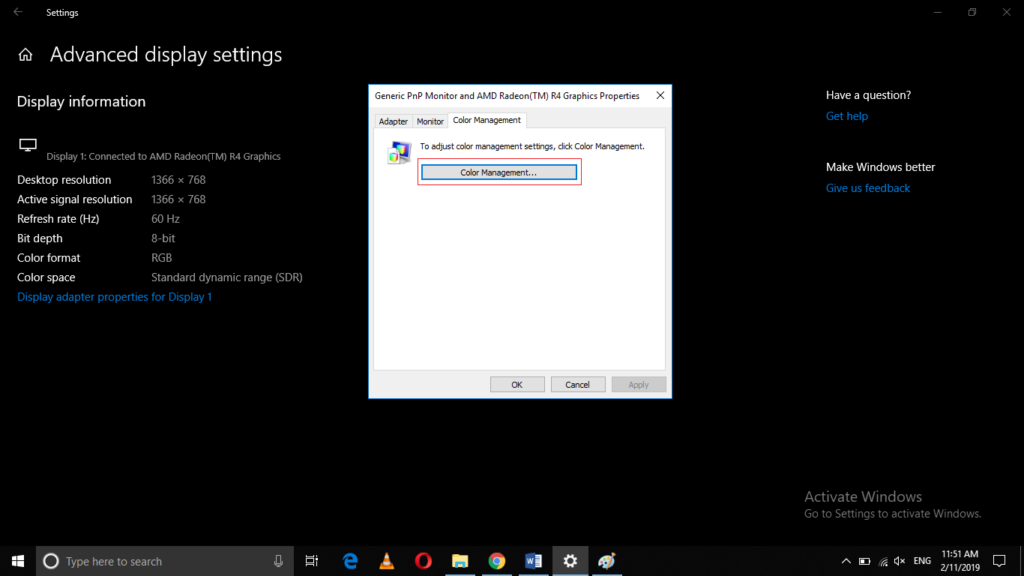
As soon as you will click on this button, the Color Management window will appear on your screen as shown in the image below:
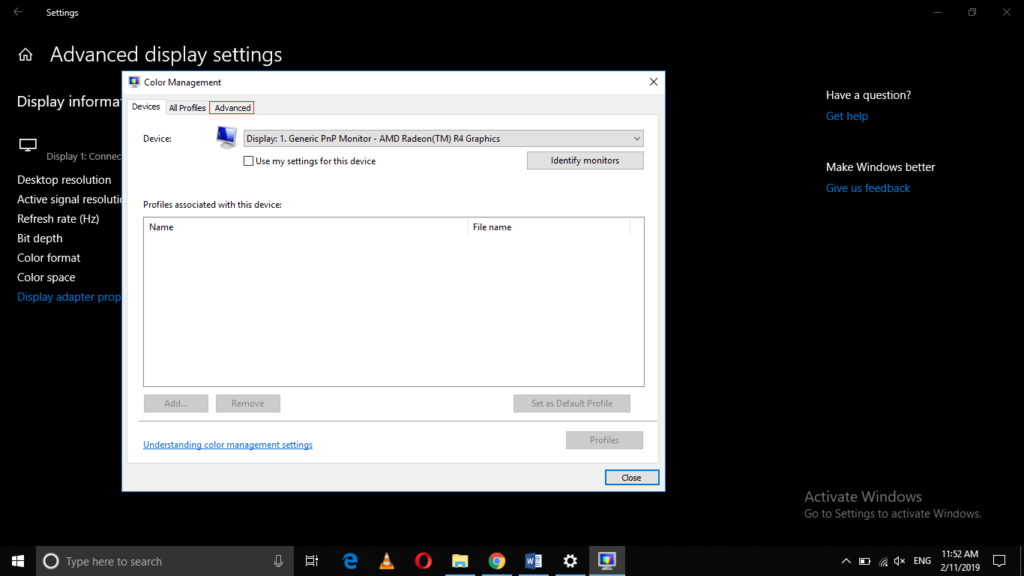
Click on the Advanced tab from this window as highlighted in the image shown above.
In the Advanced tab, click on the Calibrate Display button under the Display Calibration section as highlighted in the following image:
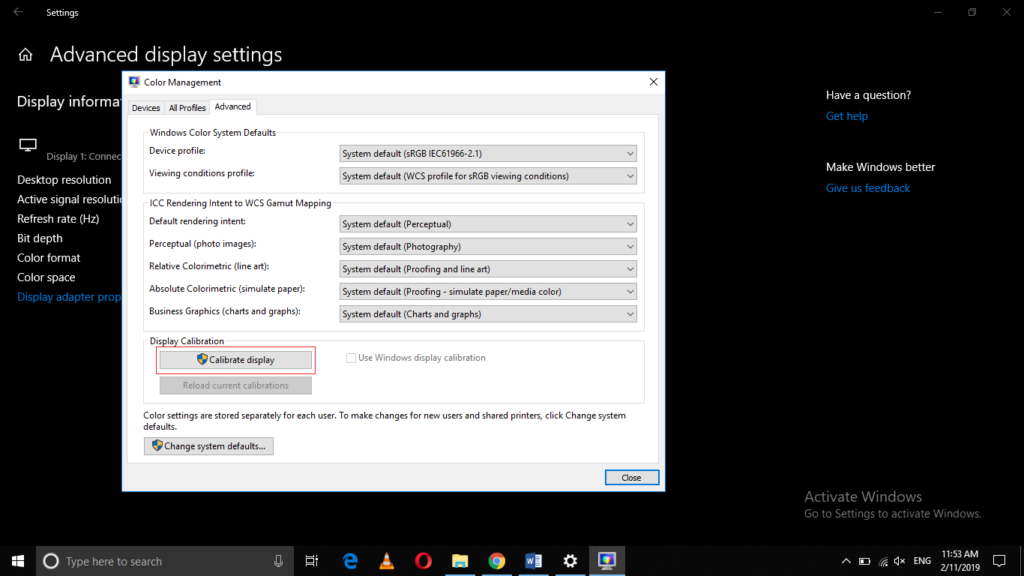
As soon as you will click on it, the Display Color Calibration window will appear on your screen as shown in the image below:
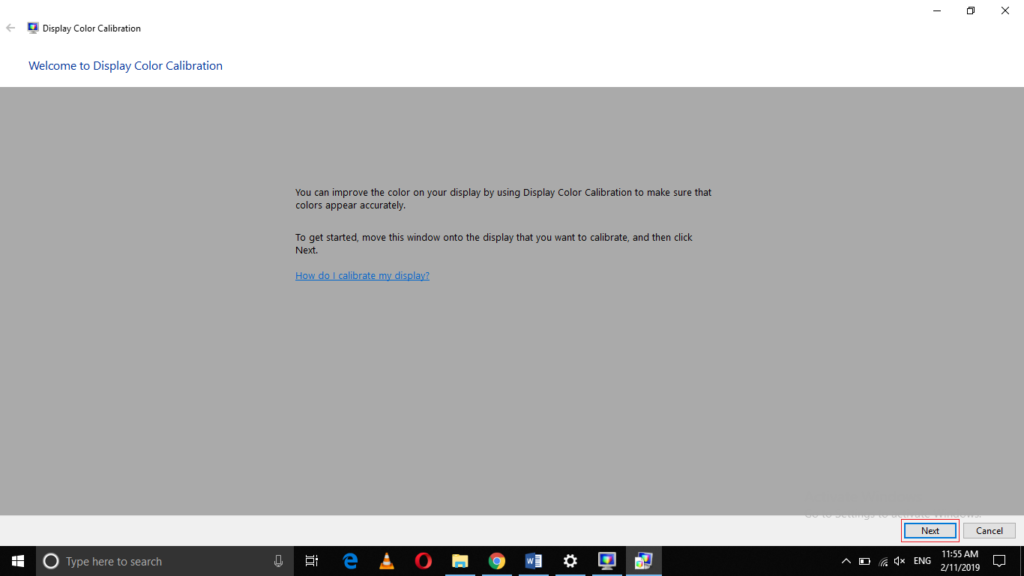
Click on the Next button as highlighted in the image shown above.
As soon as you will click on the Next button, the Display Color Calibration wizard will walk you through a series of steps, which you can follow in order to calibrate your monitor in Windows 10.
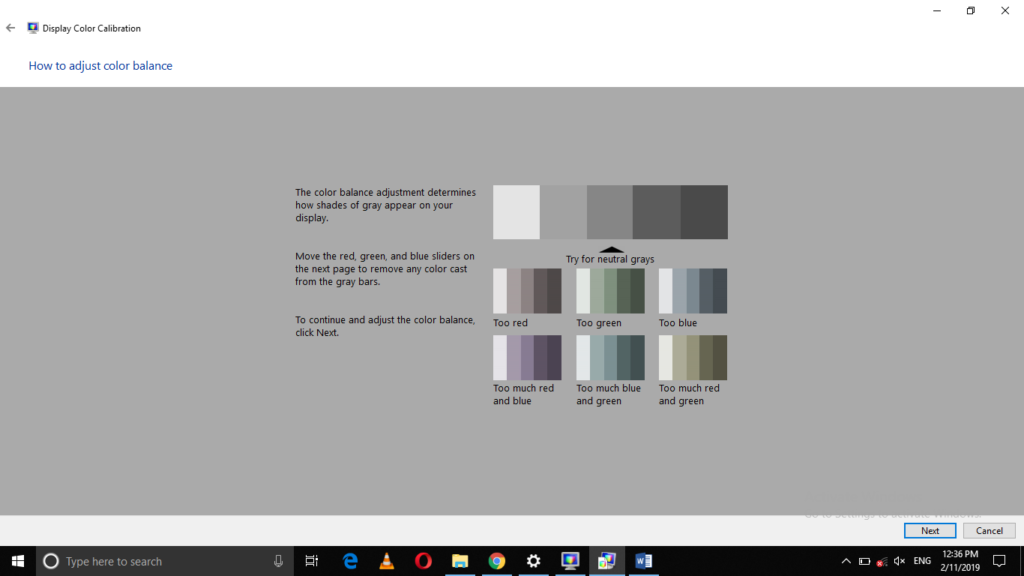
First, you will be asked to set the basic color settings as shown in the following image:
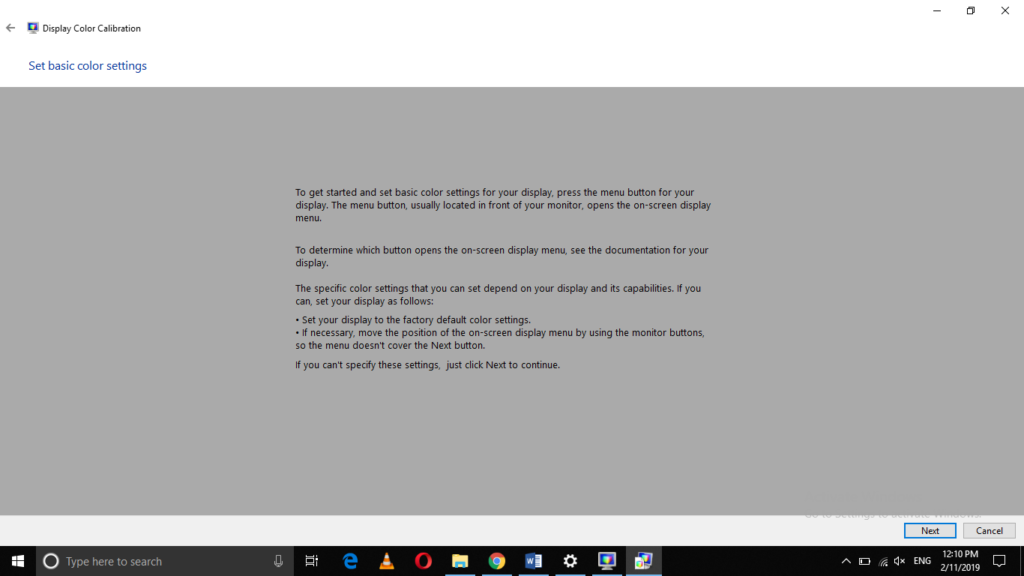
Once you manage to do that, click on the Next button.
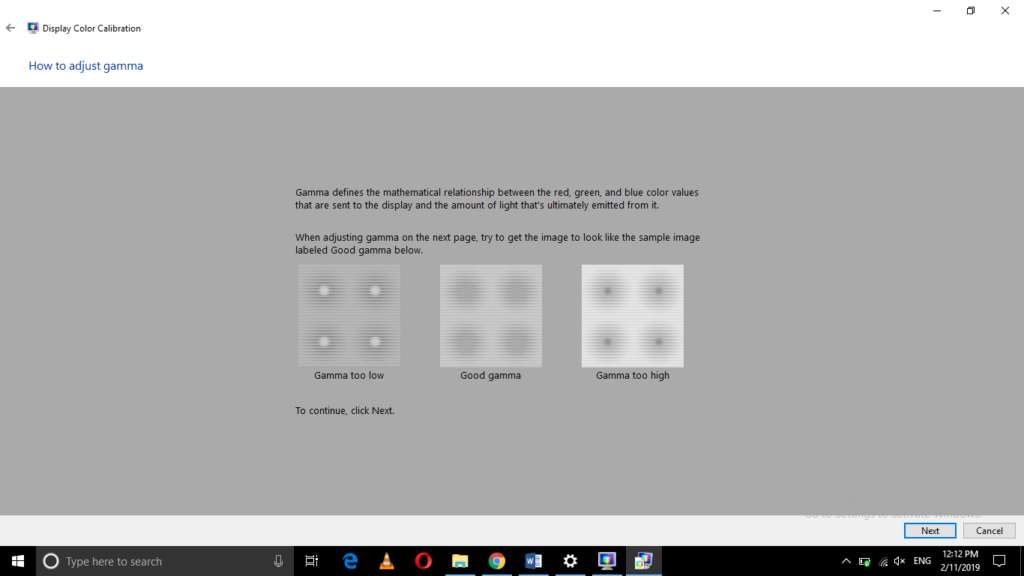
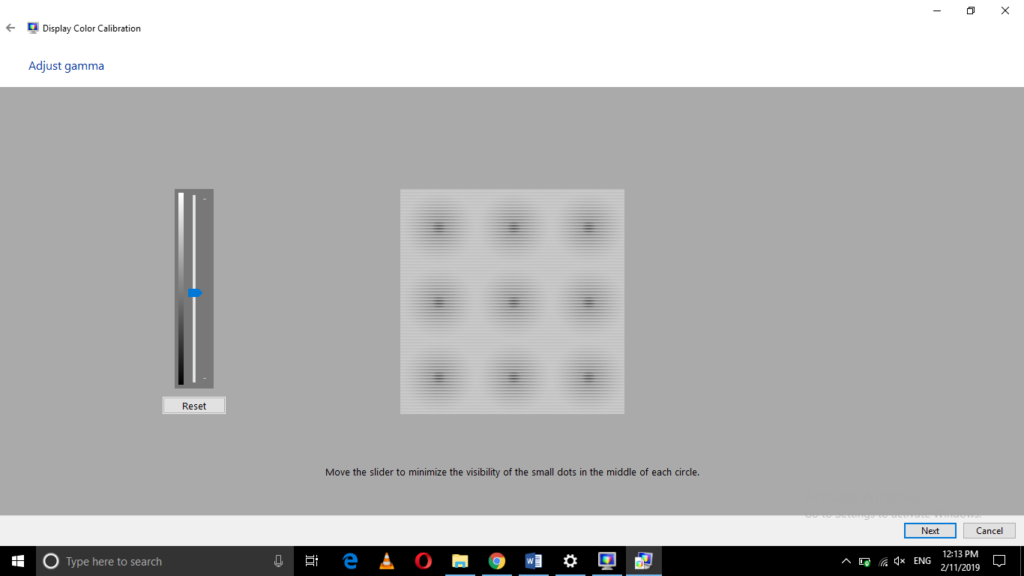
Adjust Gamma as shown in the image below and then click on the Next button.
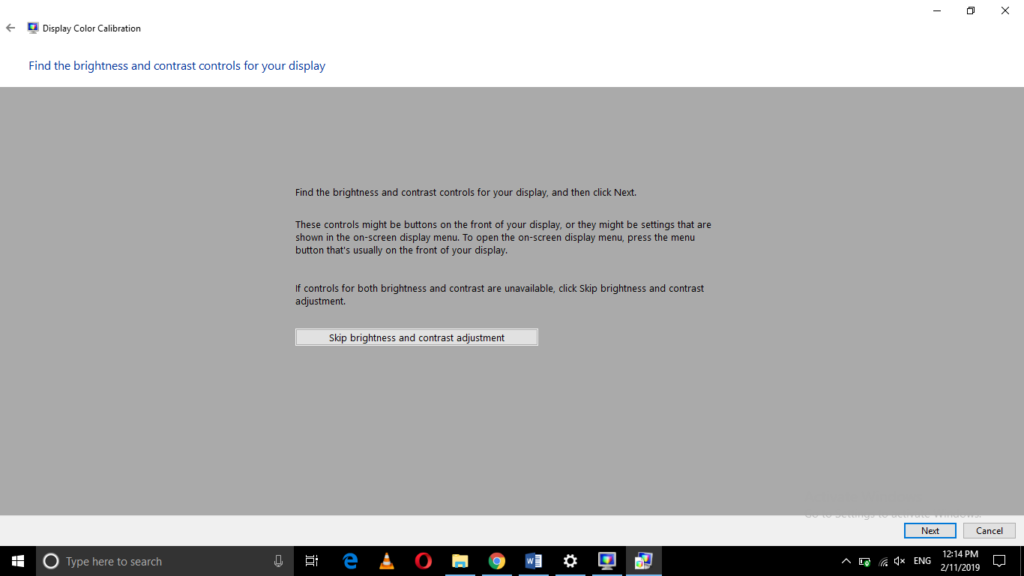
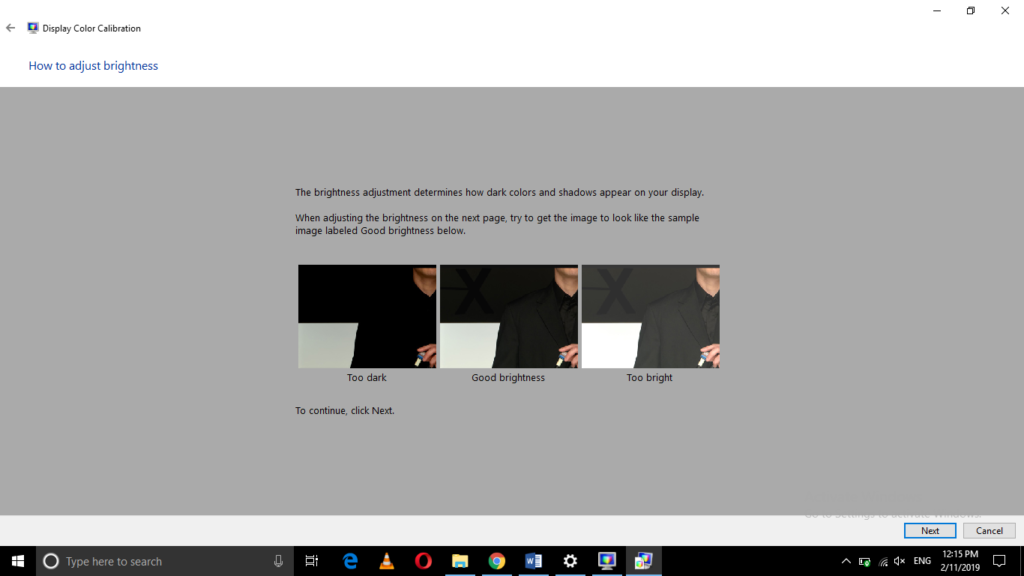
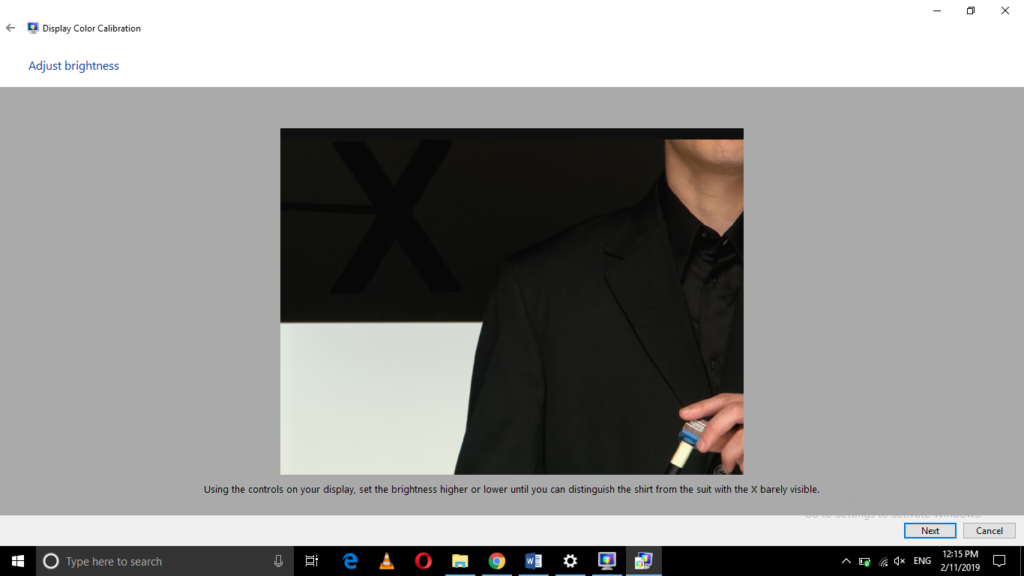
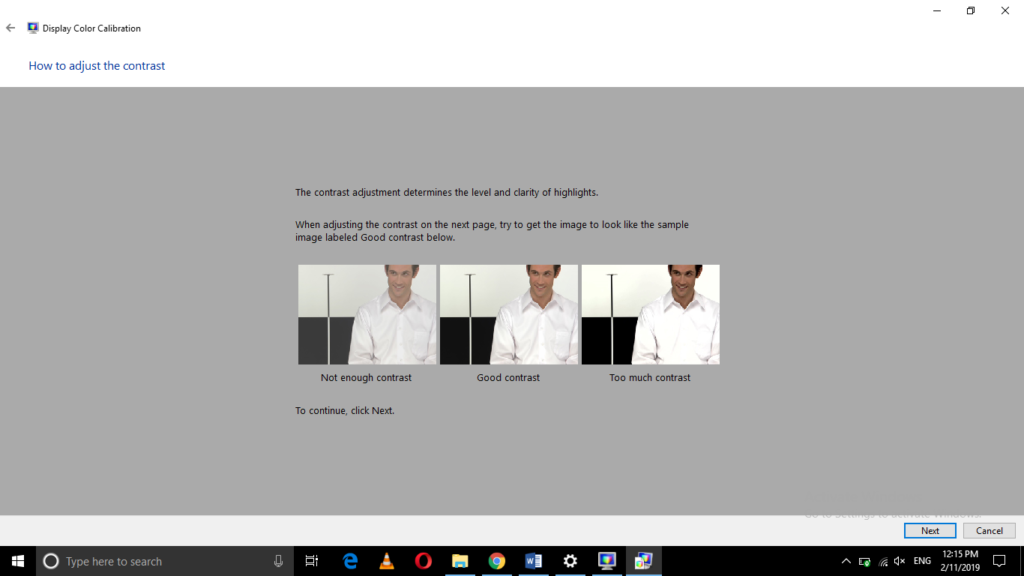
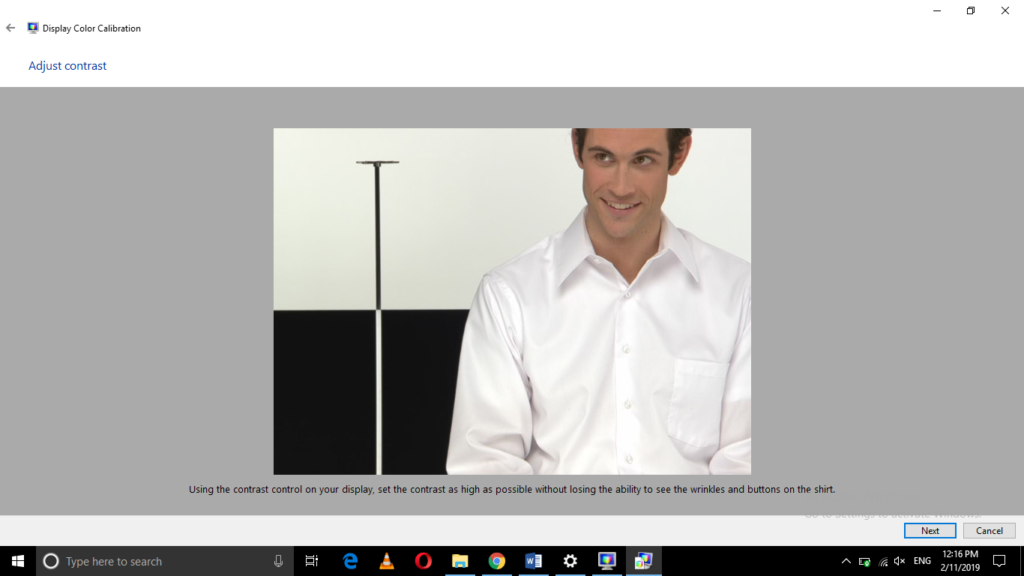
Now adjust the Brightness and Contrast Controls and then click on the Next button as shown in the following image:
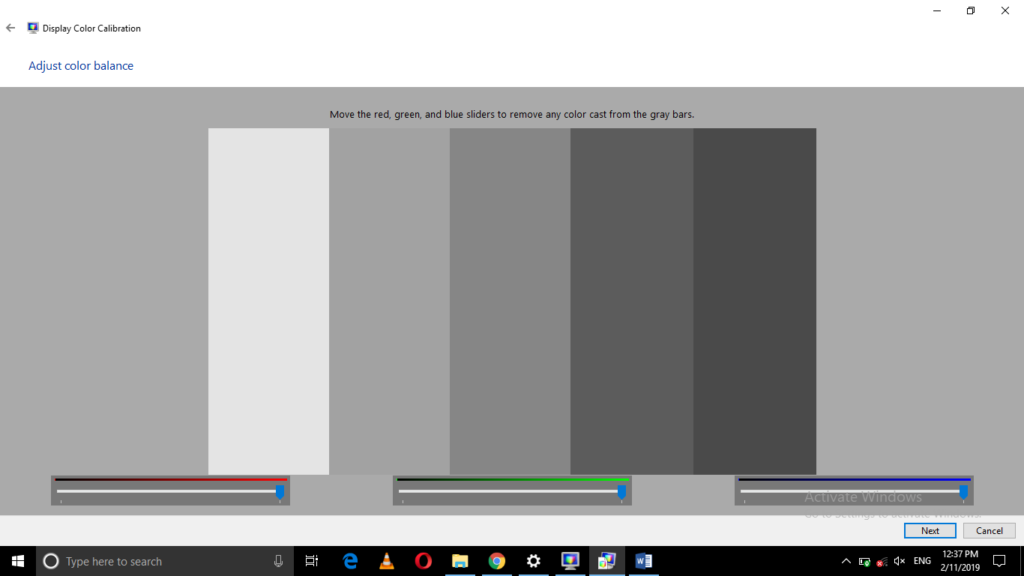
Adjust the Color Balance and then click on the Next button as shown in the image below:
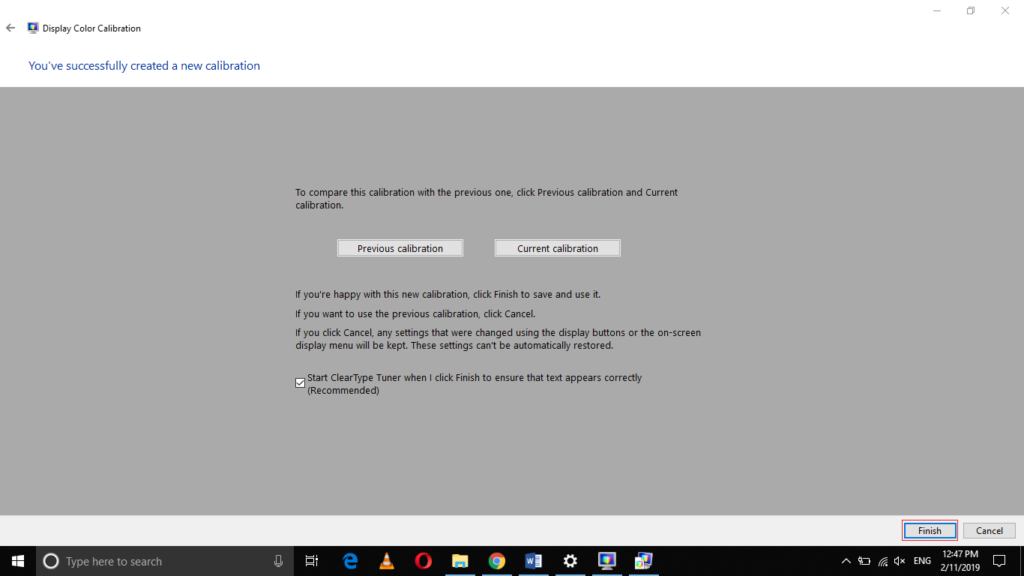
Finally, click on the Finish button in order to save your settings as highlighted in the following image:
Conclusion
By following the method discussed in this article, you can easily calibrate your monitor in Windows 10 and have a wonderful visual experience in just a few minutes. This method is quite helpful and convenient to use. All you need to do is to follow all the steps correctly in order to achieve your goal.