If you want to restrict which applications a user can run on a PC, Windows 10 will give you two choices. You can block applications that a user does not want to run, or you can restrict them to operate only specific applications. Make sure you make changes to a user account that you actually want to limit and that you always have an unlimited administrator account at your fingertips to reverse those changes. In this article, we will guide you through the whole procedure to block or allow other users for certain applications in Windows 10.
Block or allow other users for certain applications in Windows 10
To block or allow other users for certain applications in Windows 10, follow this procedure step by step.
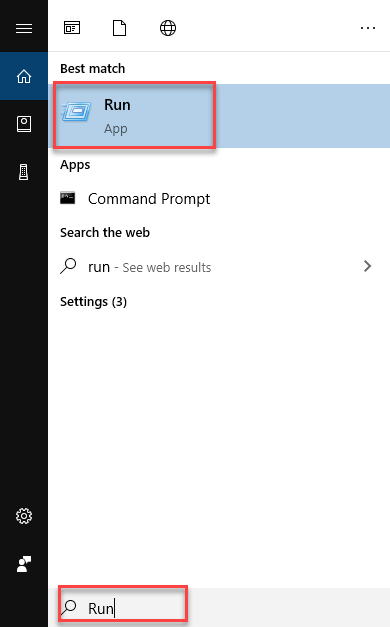
Click the Search button. Type Run in the search bar and choose the Run option as the following image is showing.

As soon as you click the Run option, the following dialogue box will appear.
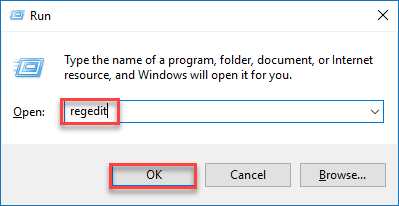
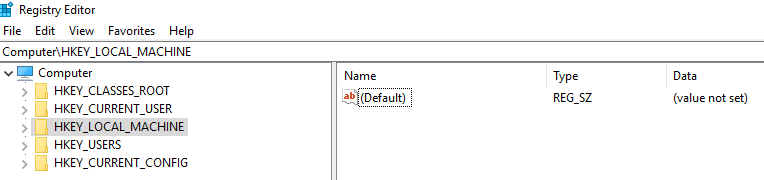
Type Regedit in the Open textbox and then click the OK button as highlighted in the above image. As soon as you click the OK button, the Registry Editor will open like this.
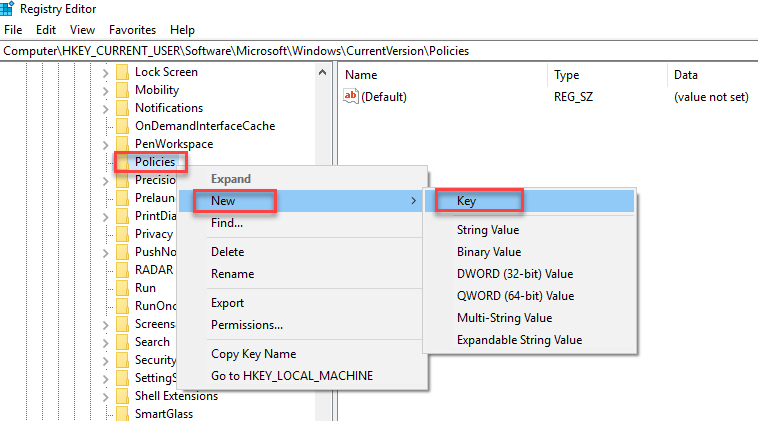
Navigate through the following path.
HKEY_CURRENT_USER\SOFTWARE\Microsoft\Windows\CurrentVersion\Policies
Right click on the Policies option and choose New -> Key option as the following image is showing.
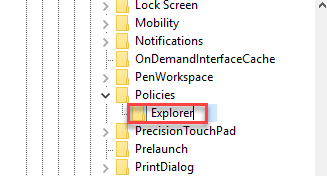
As you choose this option, a new key will appear below the Policies option. Rename this key as Explorer as follows.
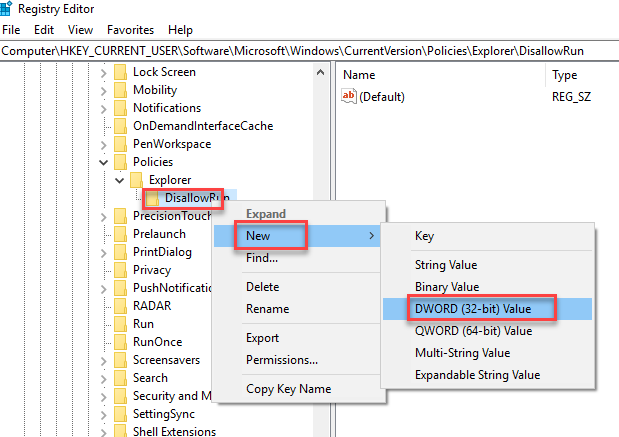
Now right click the Explorer option and choose New -> DWORD (32-bit) Value as the following image is showing.
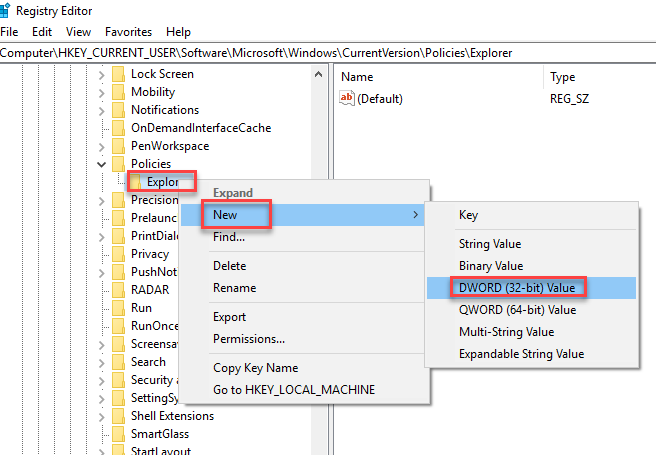
A new word will be created. Rename it as DisallowRun as follows.

Now double click the DisallowRun and the following dialogue box will appear.
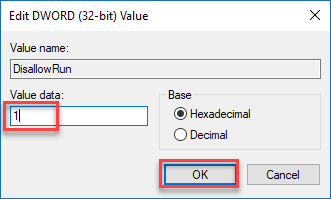
Enter 1 in the Value Data textbox and click the OK button as highlighted in the above image. Now right click the Explorer option and choose New -> Key option as the following image is showing.
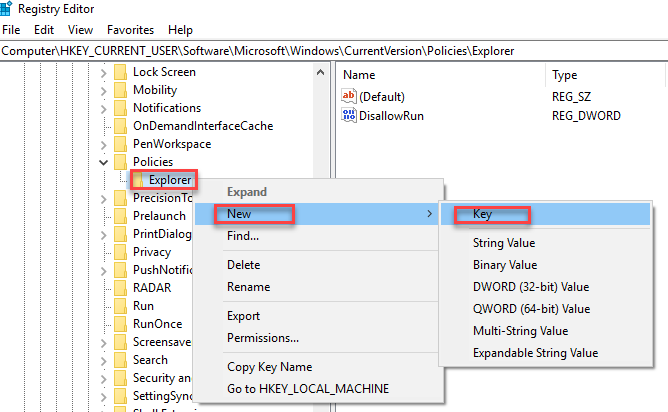
Rename the key as DisallowRun as the following image is showing.
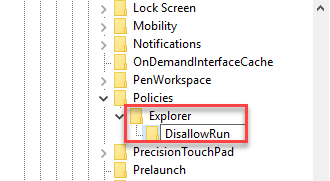
Now right click on the new key named DisallowRun and choose New -> DWORD (32-bit) Value as the following image is showing.
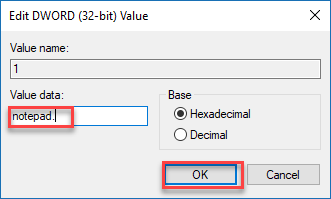
Rename this new word as 1. Double click on it and type any application in the Value data textbox which you want to block. Then click the OK button as the following image is showing.
Repeat this step and add all the applications which you want to block. Now all added applications will be blocked for a specific user.
Method#2
Click the Search button. Type Run in the search bar and choose the Run option as the following image is showing.
As soon as you click the Run option, the following dialogue box will appear.

Type gpedit.msc in the Open textbox and then click the OK button as highlighted in the above image.
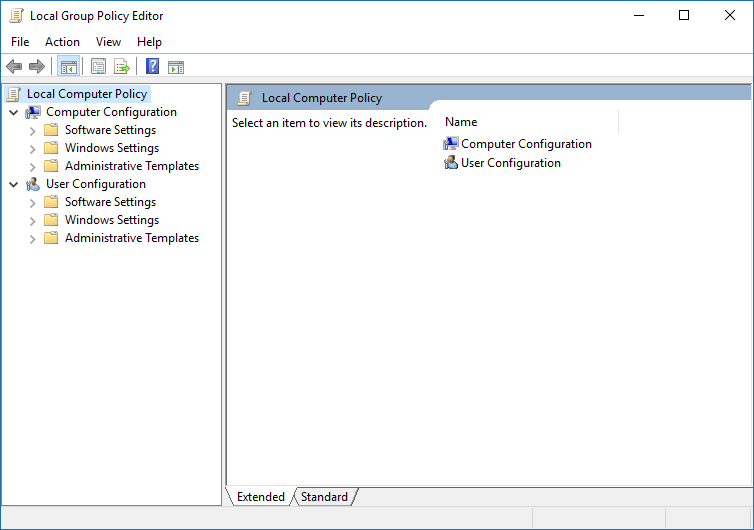
Navigate through the following path.
Computer Configuration -> Administrative Templates -> System
As you click the System option, the right pane of the screen will show some options as follows.
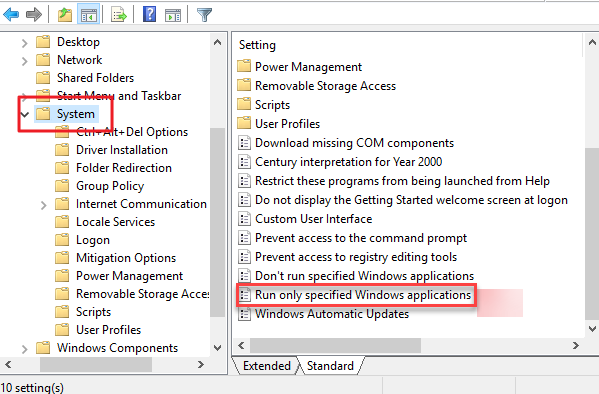
Double click the Run only specified Windows applications option and the following dialogue box will appear.
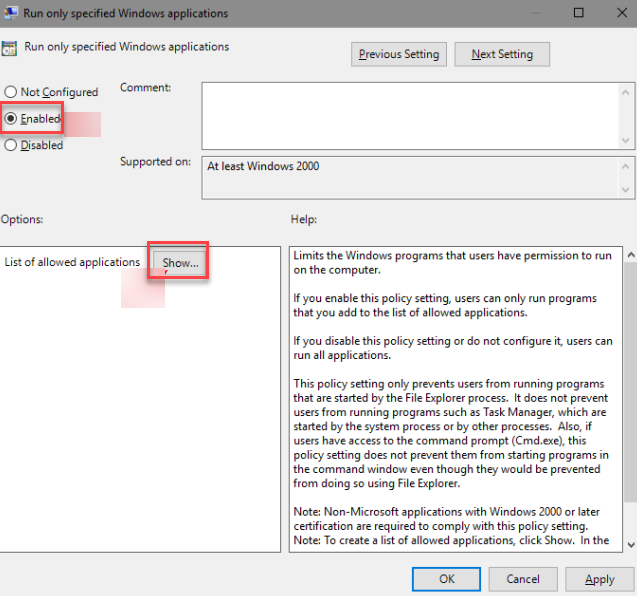
Choose the Enabled radio button and then click the Show button as highlighted in the above image. As soon as you click the Show button, the following dialogue box will appear.
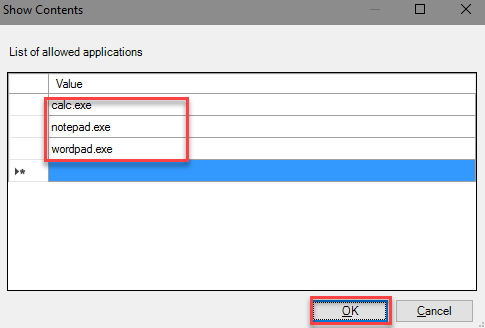
Type application names in each line which you want to block and then click the OK button as highlighted in the above image. Now close the Local Group Policy Editor. Now whenever you open the blocked application, an error message will be displayed.
Conclusion
By following this procedure, you will be able to block or allow other users for certain applications in Windows 10.