Installing Windows 7 Pro
This tutorial explains the installation of Windows 7 Professional on a personal computer or Notebook in 11 easy steps. We provide screenshots for each step that needs to be taken. You should have your Windows 7 DVD at hand to get started.
Step 1: Insert a DVD of Windows 7 Pro in your machine and restart it. When you are prompted to press any key, click Enter from your keyboard

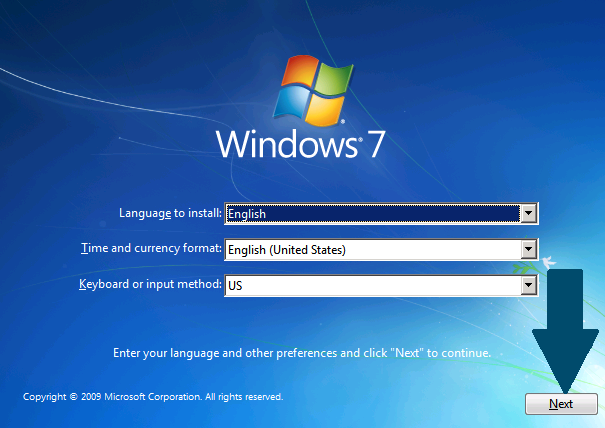
Step 2: Choose language, time and currency format, keyboard or input method and click Next to continue
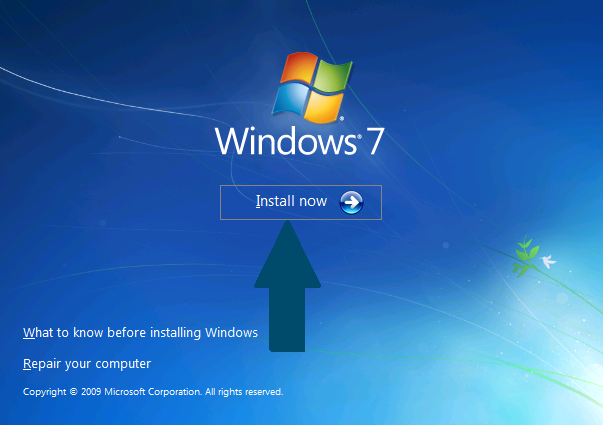
Step 3: Click Install now to start the installation.
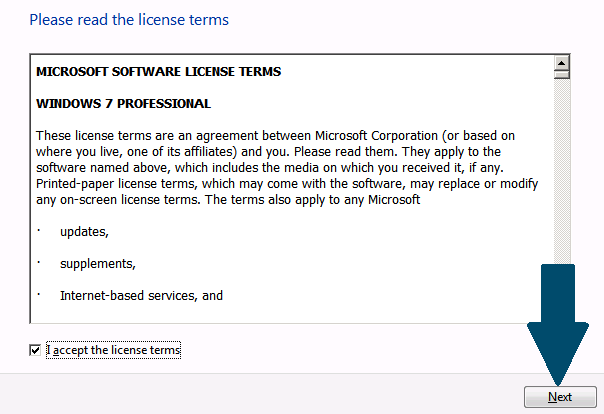
Step 4: Read the EULA (End User License Agreement) and accept it. Click Next
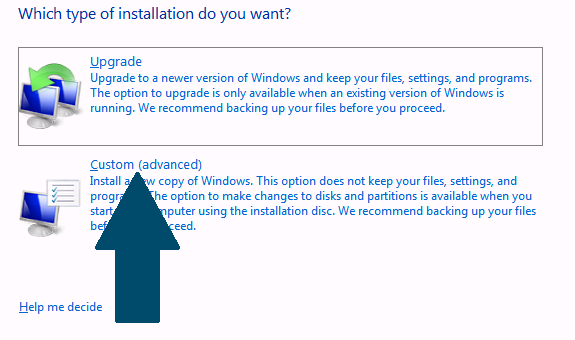
Step 5: Click Custom (advanced) to install a fresh Windows operating system.
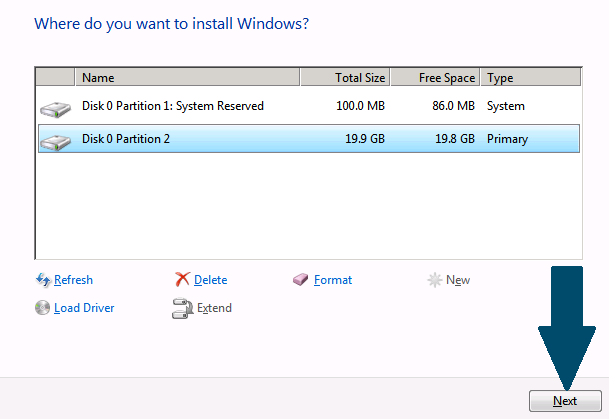
Step 6: At this point, you can create the partitions for your Windows installation. When you are done, choose the desired partition as target and click Next.
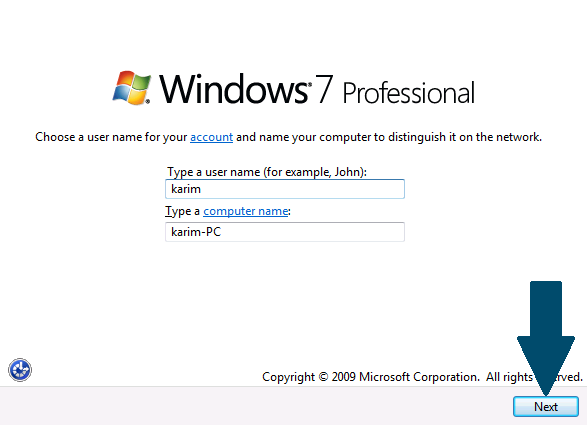
Step 7: Provide user name for your account and a computer name and click Next.
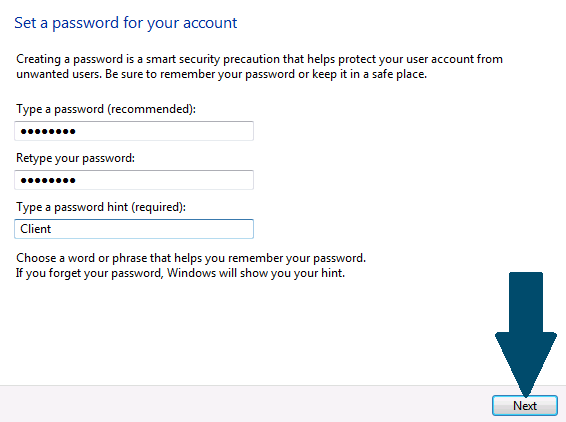
Step 8: Provide a strong password and a password hint to be used in case you forgot your password and click Next to continue
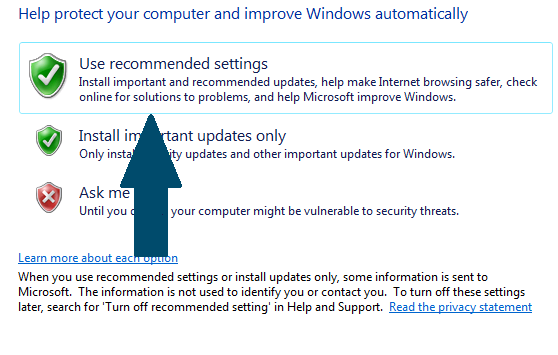
Step 9: Click Use recommended settings.
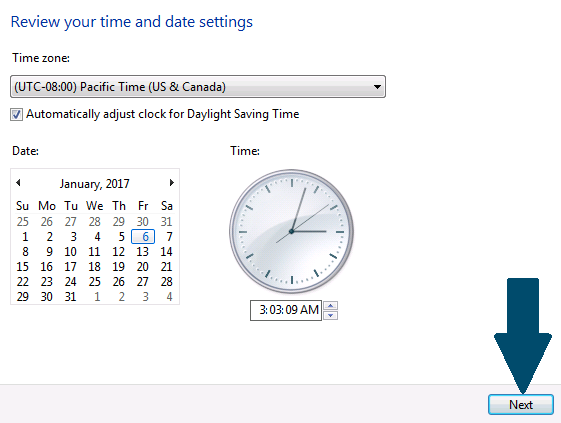
Step 10: Choose the correct date, time and timezone according to your location and click Next
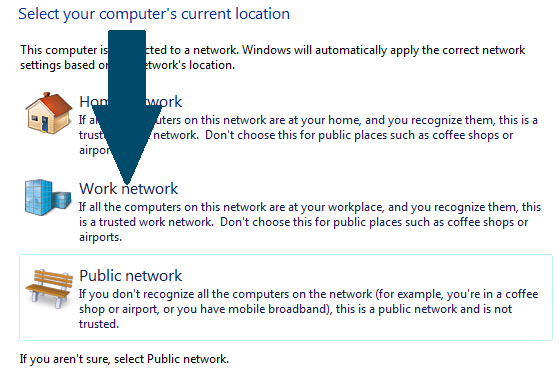
Step 11: Click Work network to finish setting Windows 7 pro on your machine.
Conclusion
We have walked you through installing Windows 7 professional on your machine. Adjust the time, date and time zone according to your location. You can join this machine to a domain if you have already configured an active directory domain controller on your network.
