This tutorial explains how to install an additional domain controller in an existing active directory domain. Additional AD domain controller is used to balance the load among existing domain controllers. It also provides fault-tolerance that in case primary AD DC is down, additional AD DC can be used for authentications without any business discontinuity.
The article is categorized into following two parts:
- Installing active directory domain service role on a server
- Promoting that server to act as an additional active directory domain controller
Prerequisites
Along with AD domain controller, following six prerequisites should be met:
- Administrator account has strong password
- Static IP is configured
- Latest windows updates are installed
- Firewall is turned off
- Active directory domain controller is configured and up
- DNS settings of server are pointing towards correct AD domain controller
Installing Active Directory Domain Services
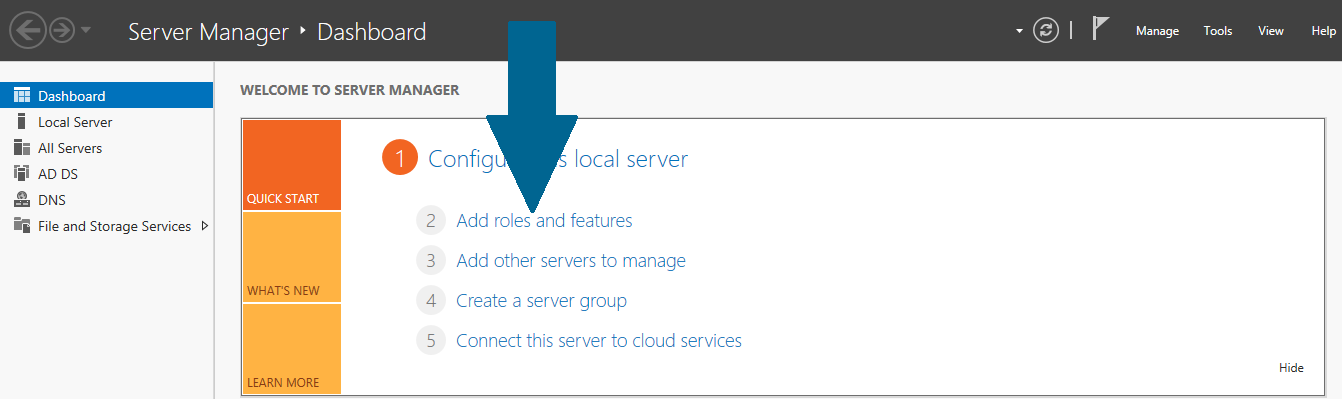
Step 1: Open Server Manager dashboard from task bar and click Add roles and features
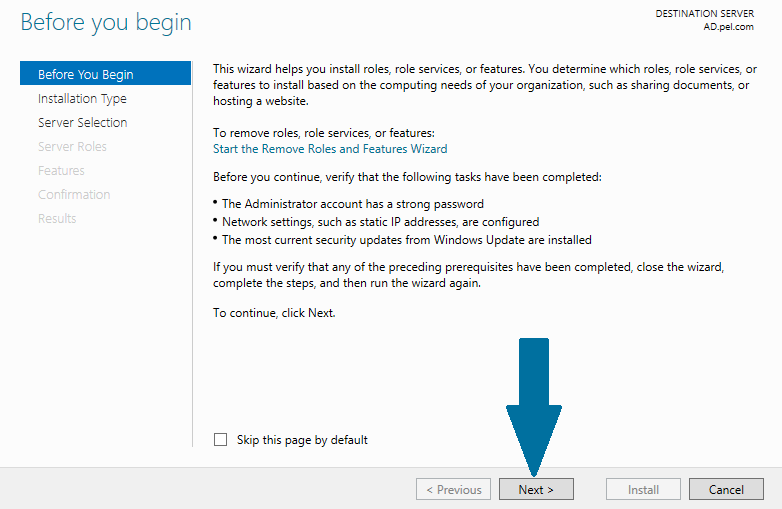
Step 2: Cross check the important notes and click Next
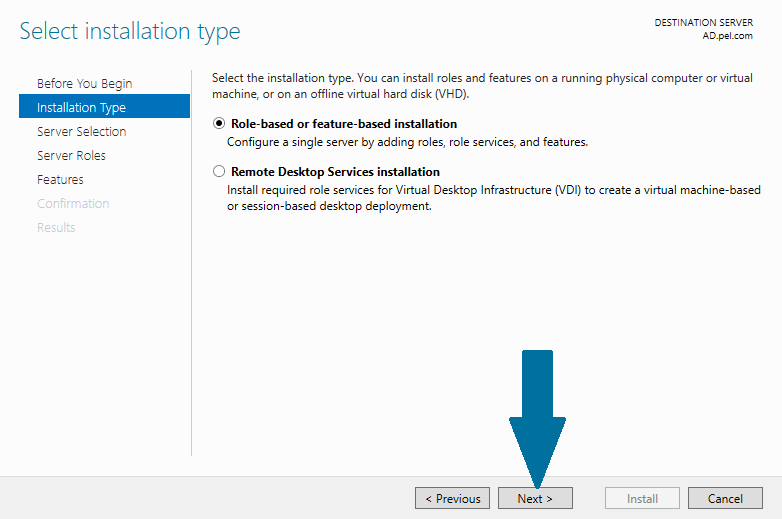
Step 3: Choose Role-based or feature-based installation and click Next
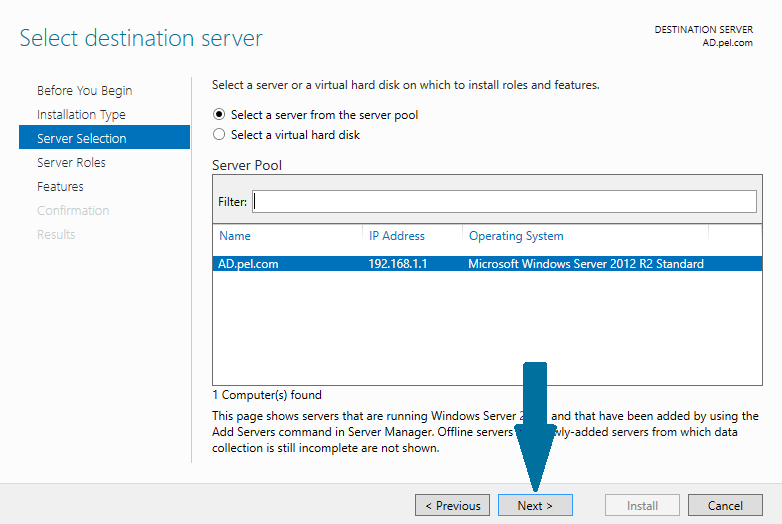
Step 4: Choose a desired destination server from server pool you want to configure it as additional domain controller and click Next
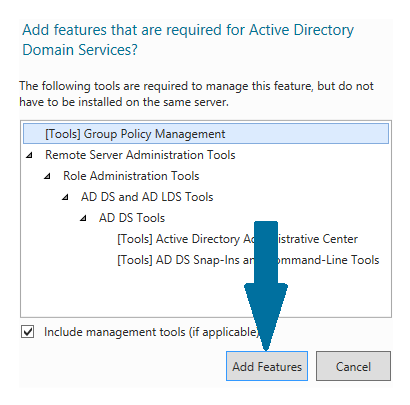
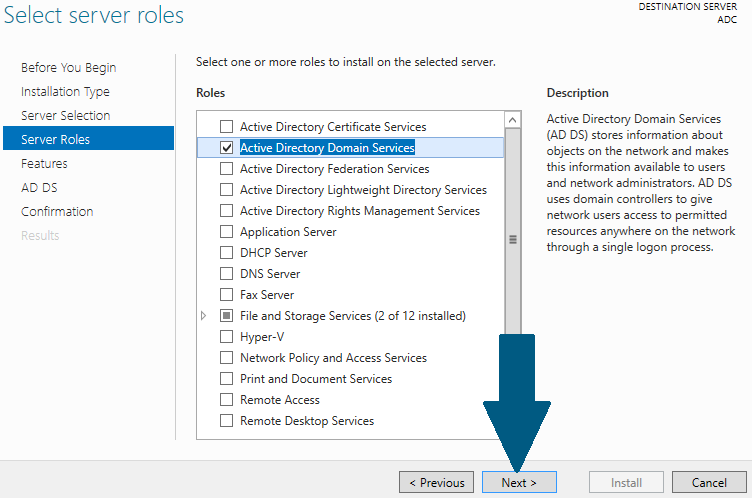
Step 5: Choose Active Directory Domain Services from roles. As soon as you check the box, a small window will pop up prompting you to install other necessary features along with Active Directory Domain Services. Click Add Features
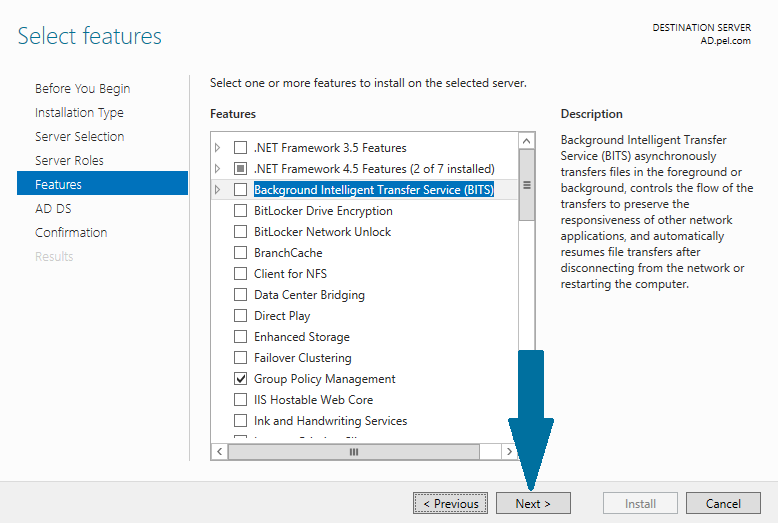
 Step 6: Click Next
Step 7: Click Next
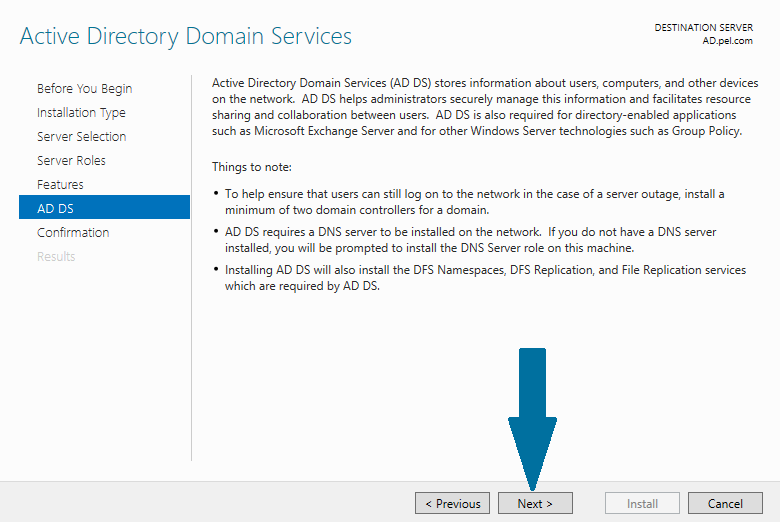
Step 8: Read related Active Directory Domain Services note and click Next
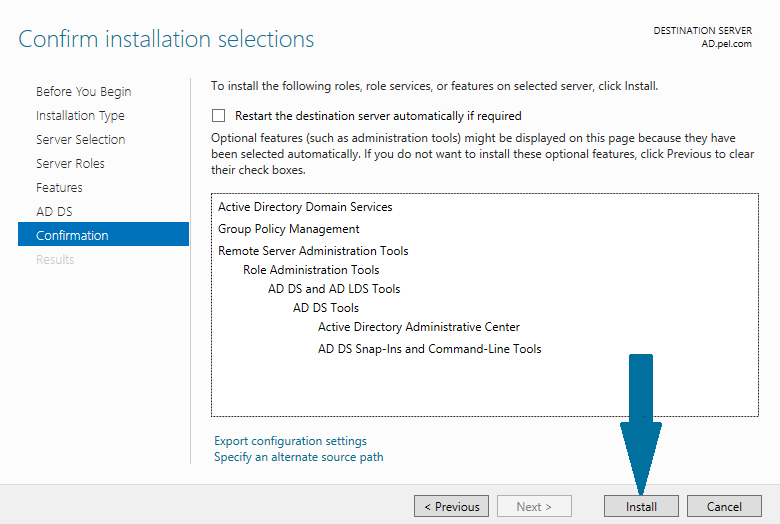
Step 9: Confirm your installation selections and click Install
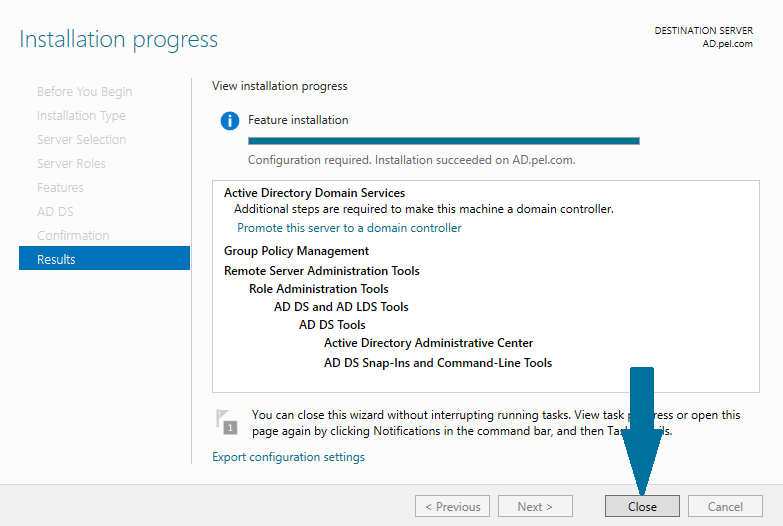
Step 10: It takes a while before an installation completes, click Close
Configuring Additional Domain Controller
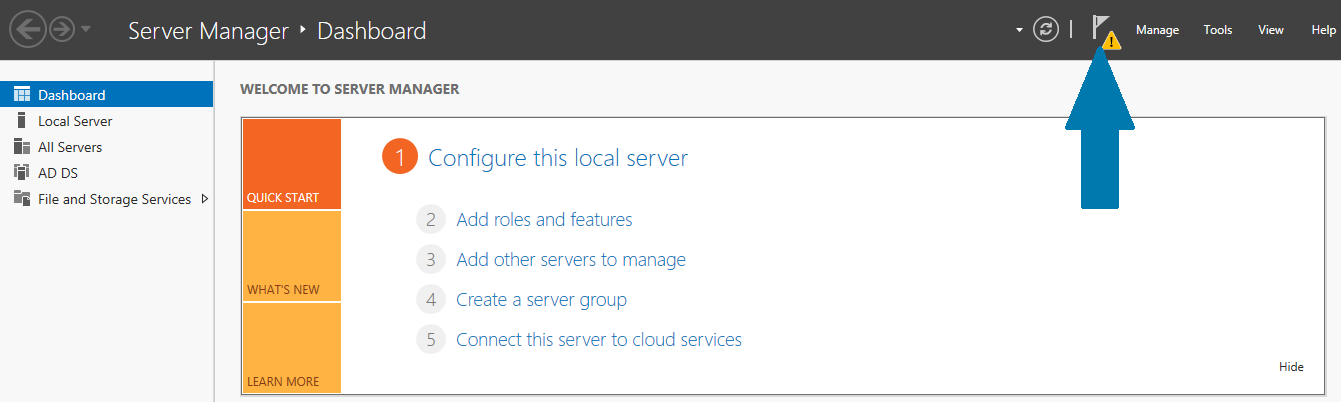
Step 11: Open Server Manager from task bar and click notifications icon located at the top left corner of window
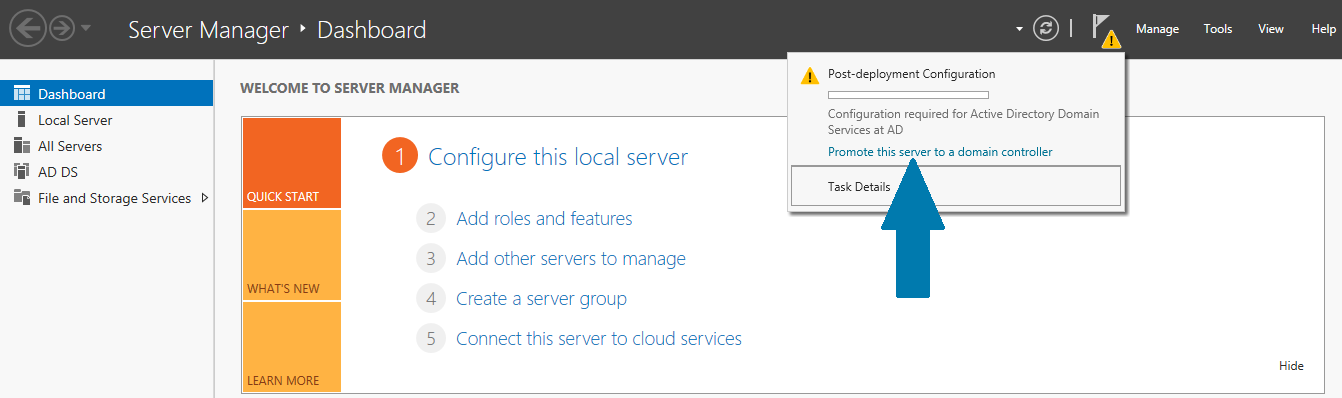
Step 12: Click Promote this server to a domain controller
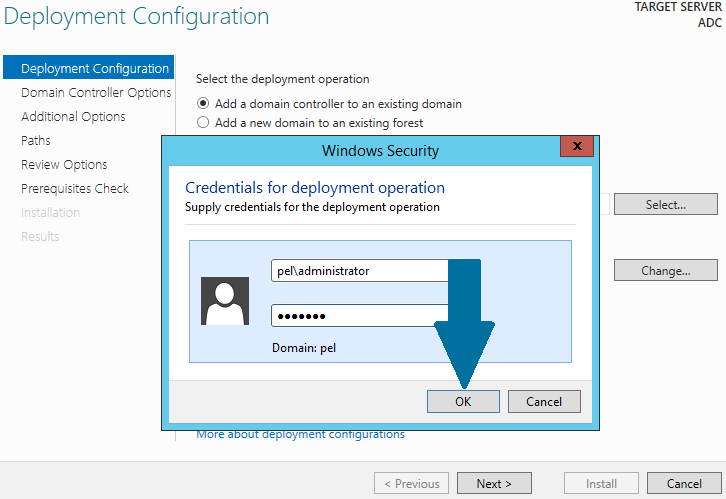
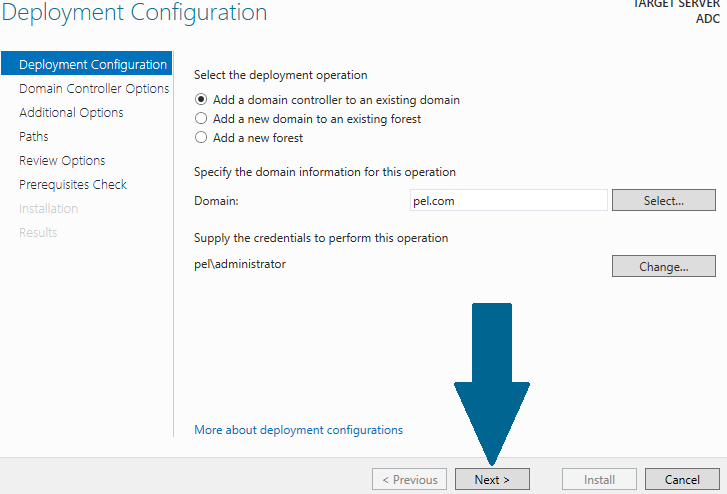
Step 13: Choose Add a domain controller to an existing domain. Provide a domain name and click Select. A security window will pop up, provide user name in the format <domain>\<username> and password. When done, click OK. Choose the domain from forest and click OK. Click Next
Step 14: Click Next
Step 15: Provide Directory Service Restore Mode (DSRM) password and click Next
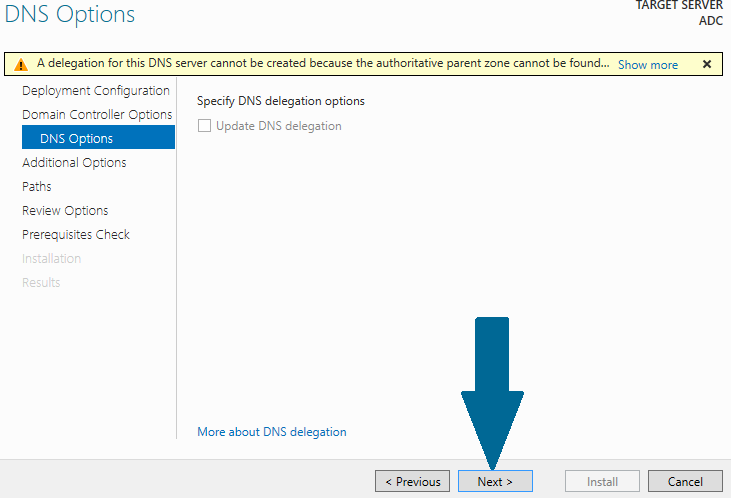
Step 16: Ignore warning and click Next
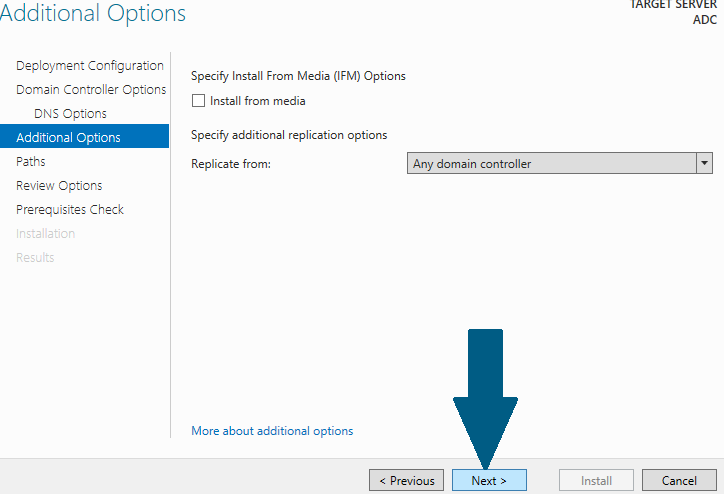
Step 17: Click Next and keep default selections
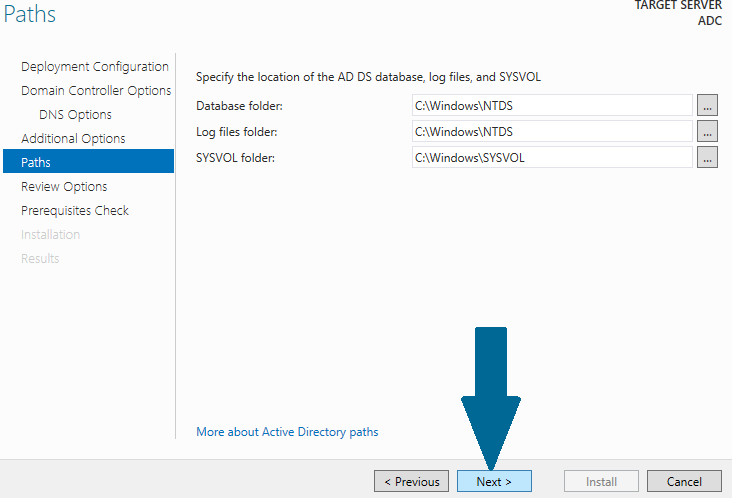
Step 18: Note down the AD DS database, log files, and SYSVOL paths and click Next
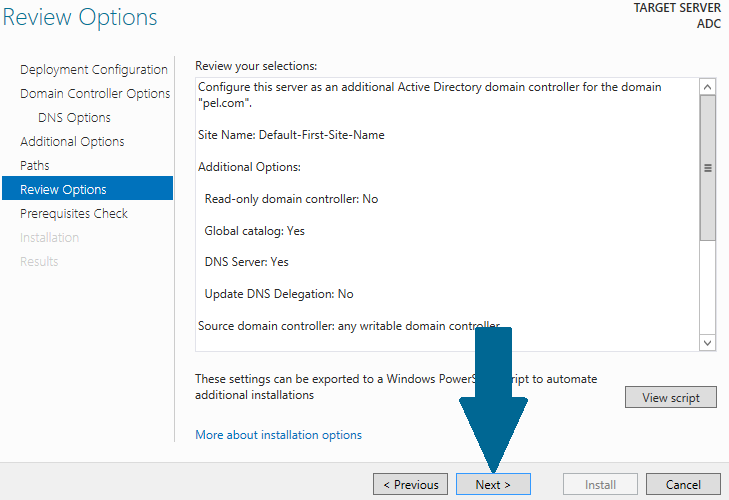
Step 19: Review an options and click Next
Step 20: Click Install after prerequisites check

Installation will begin and take few minutes to complete. After a successful configuration, click Close and server will be rebooted.
Conclusion
Great, your additional domain controller is now ready. You can also add more backup DC's by following these steps.