DHCP is used to dynamically assign IP addresses to client machines. This tutorial is written to help you to install and configure the DHCP service on Windows Server 2016. Once you have followed this article, go ahead with creating scopes and start leasing out IP addresses (which I have documented in another article).
Prerequisites
- The administrator account has a strong password.
- Latest updates are installed.
- Firewall is turned off.
- Static IP is configured.
Configure DHCP on Windows Server 2016
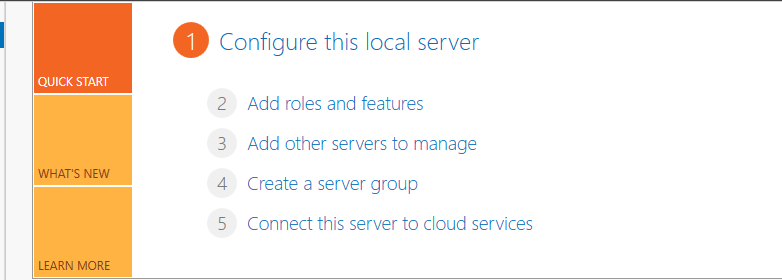
Step 1. Open Server Manager and click Add roles and features.
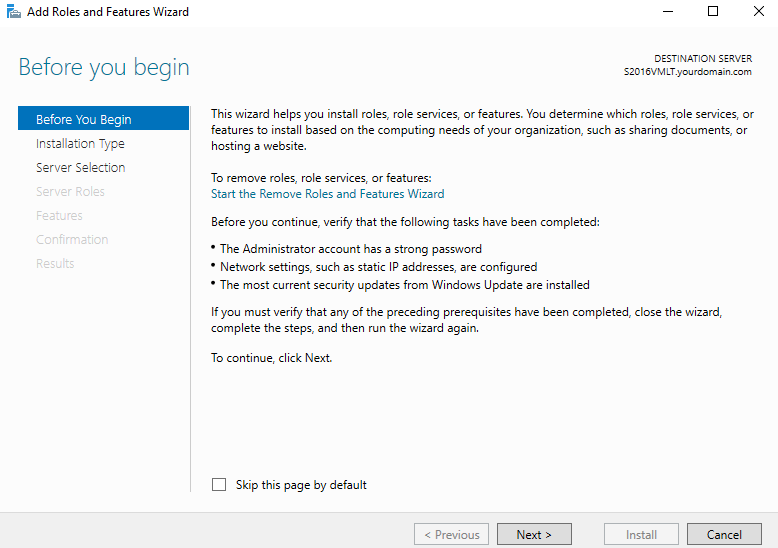
Step 2. Click Next to start the Role and Feature Wizard.
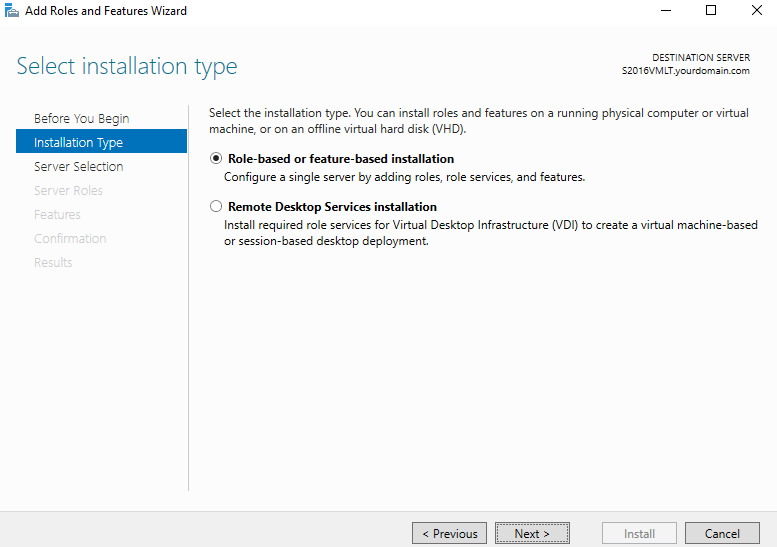
Step 3. Choose Role-based or feature-based installation and click Next.
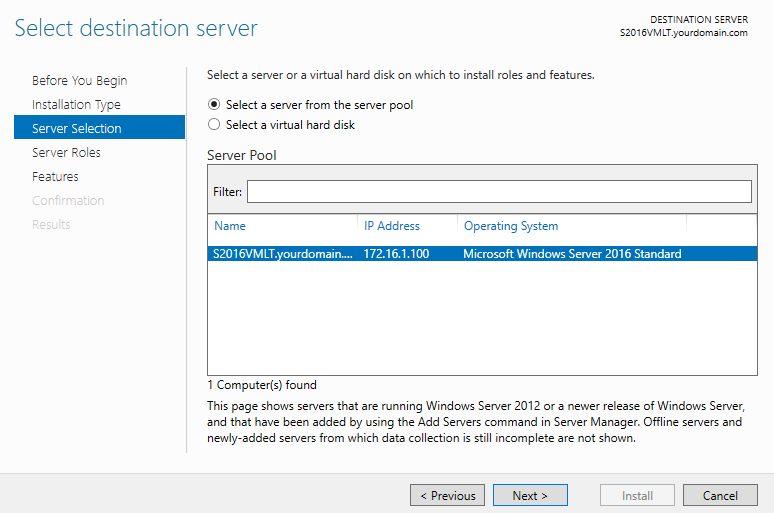
Step 4. Choose the server on which you want to configure DHCP and click Next.
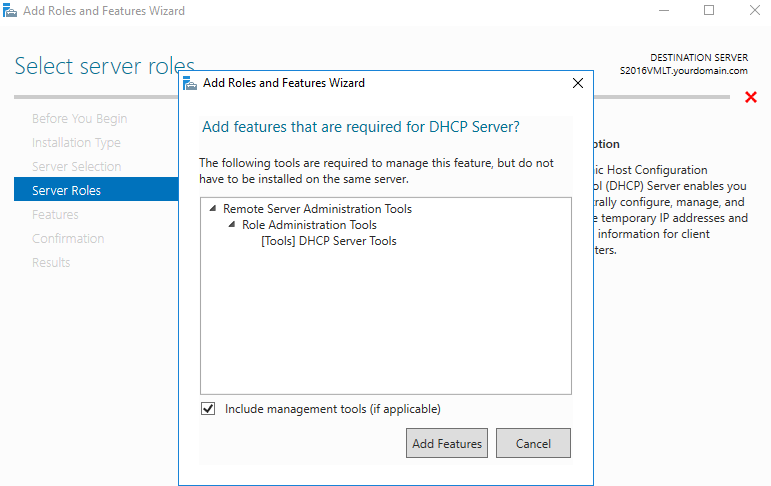
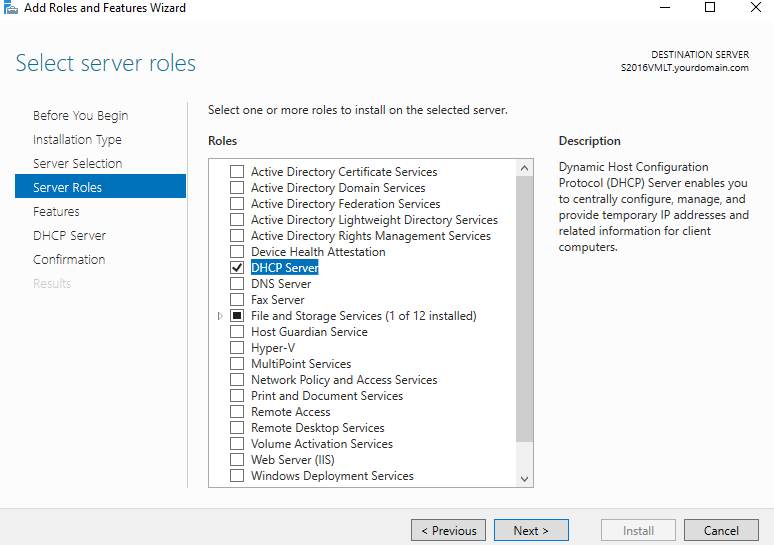
Step 5. Choose DHCP from server roles. As soon as you choose DHCP, a new window appears. Click Add Features.
Step 6. Click Next. The DHCP Server Feature is enabled.
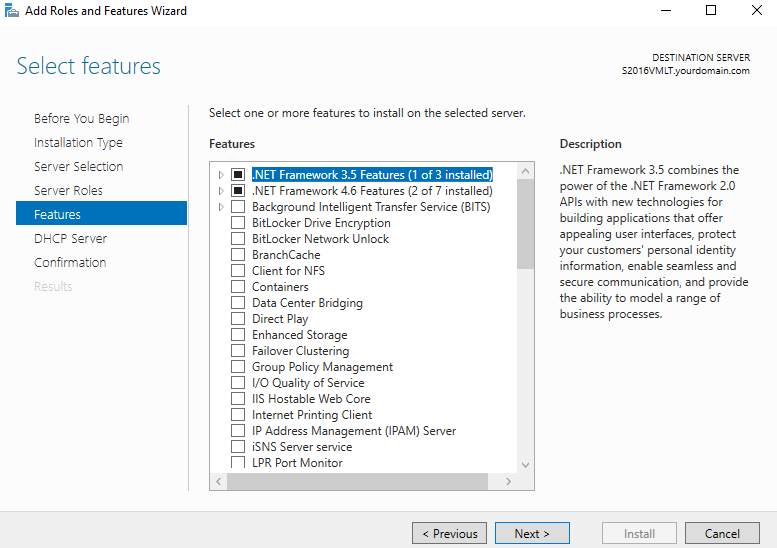
Step 7. Click Next. The .NET Frameworks that are required for the DHCP server are already pre-selected.
Step 8. Read the explanation about the DHCP function, then click Next.

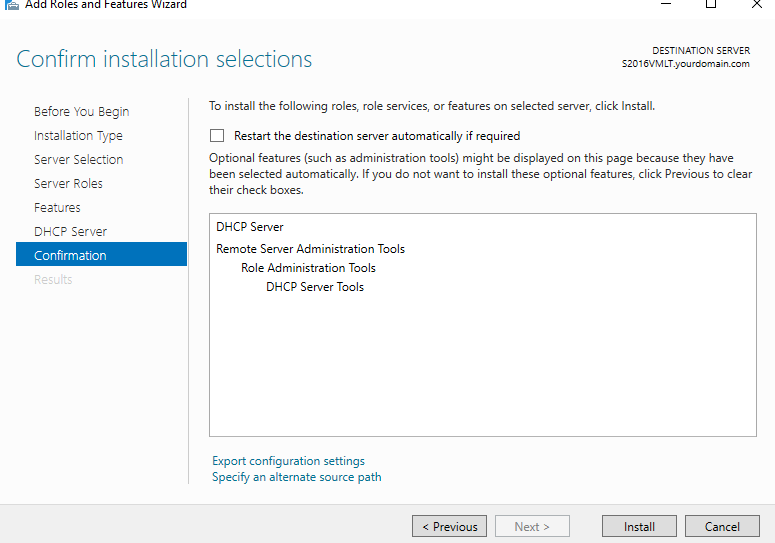
Step 9. Click Install.
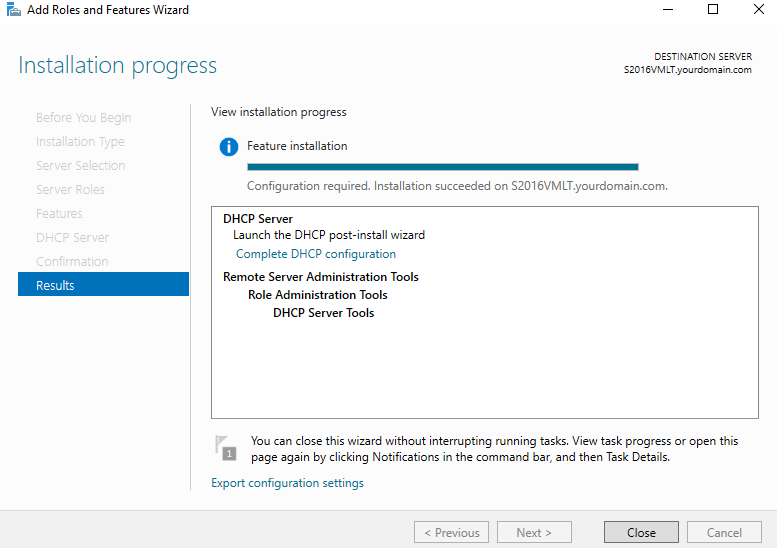
Step 10. Click "Complete DHCP configuration".
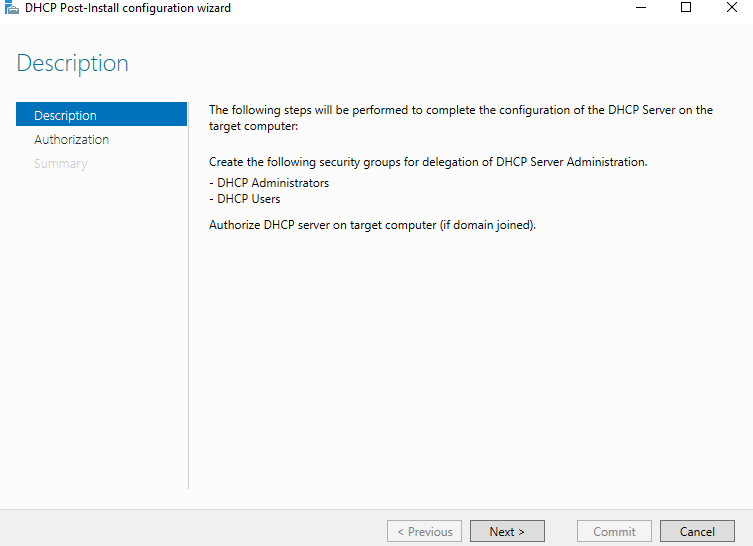
Step 11. Click Next to continue with the DHCP Post-Install Wizard.
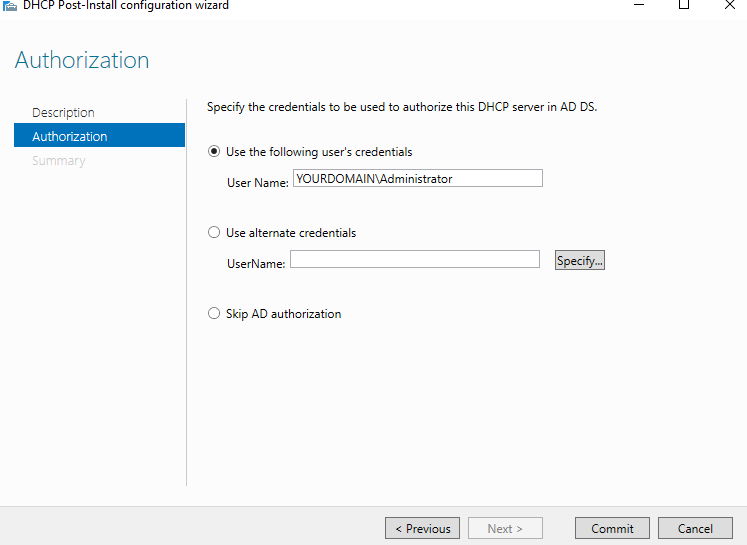
Step 12. Click Commit (Choose Skip AD authorization if your machine is on workgroup).
Step 13. Click Close and you are done with configuring DHCP.

