If you are a Linux user, and are looking for a way that takes complete care of downloading/installing dependencies for .deb packages, you'll be glad to know that there exists a tool - dubbed GDebi - which lets you do just that. In this tutorial, we will discuss how to use the tool, both through the command line as well as graphically.
Please note that all the instructions/commands mentioned in this tutorial have been tested on Ubuntu version 16.04.
GDebi
According to the utility's official documentation: "GDebi lets you install local deb packages resolving and installing its dependencies. apt does the same, but only for remote (http, ftp) located packages."
GDebi Installation
To install GDebi on your Ubuntu machine, run the following command:
sudo apt-get install gdebi
This command will install both command line as well as the GUI client apps of the tool.
GDebi Usage
To install a .deb package through the GDebi package installer on the command line, use the following command template:
sudo gdebi [package.deb]
Needless to say, you'll have to replace the [package.deb] argument with the .deb package name in your case.
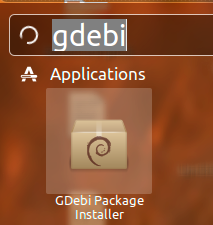
On the other hand, to use the GUI client of the application, first launch it through Ubuntu Dash:

And then, open the .deb package by heading to File->Open. For example, I opened a Python-related .deb package in GDebi.
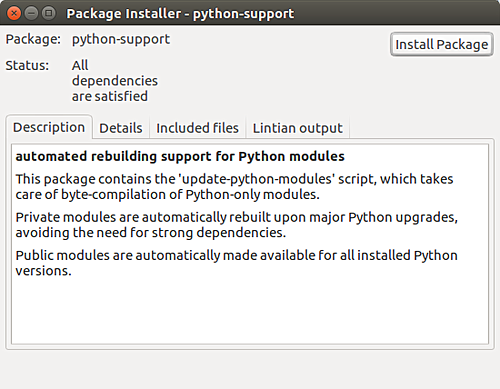
You'll see that the Install Package option in the app's UI got enabled. Click it, and the package will get installed.
So that was all about GDebi's basic usage. Please keep in mind that the tool resolves dependencies based on the packages that are available in standard Ubuntu repos. This means that if there's a .deb package that depends upon something that's not there in these repos, GDebi won't be of any help to make the installation successful.
