If you have used VirtualBox, You might have noticed that display, performance, and communication between host and guest operating system leave a lot to be desired.
VirtualBox Guest Additions is a piece of software that enables you to use the guest operating system in its true form and it also lets you communicate with the host operating system which makes the use of the guest operating system a lot smoother. Unfortunately, installing VirtualBox Guest Additions in CentOS/RockyLinux/AlmaLinux has become more problematic due to missing dependencies and version inconsistencies.
In this article, You will learn to install VirtualBox Guest Additions in your CentOS 8, Rocky Linux, or AlmaLinux system.
Prerequisites
A user account with sudo privileges.
Terminal access
Note: The commands in this tutorial are executed on the Rocky Linux system. As AlmaLinux is a successor of CentOS, the steps in this tutorial are also valid for the AlmaLinux operating system.
Update System
Update your system as recommended to ensure that packages are of the latest version.
To update your system in CentOS, use the following command.
sudo yum update

Installing Kernel
Install the kernel using the following command.
sudo dnf -y install kernel
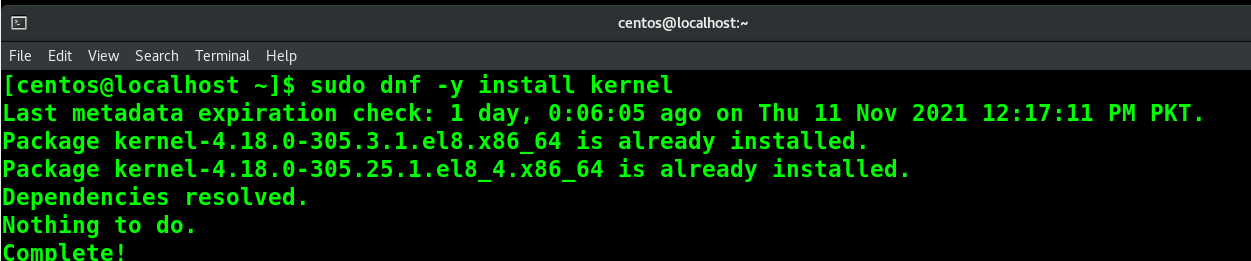
After kernel Installation, reboot your system using the sudo reboot or sudo systemctl reboot command to ensure changes take effect.
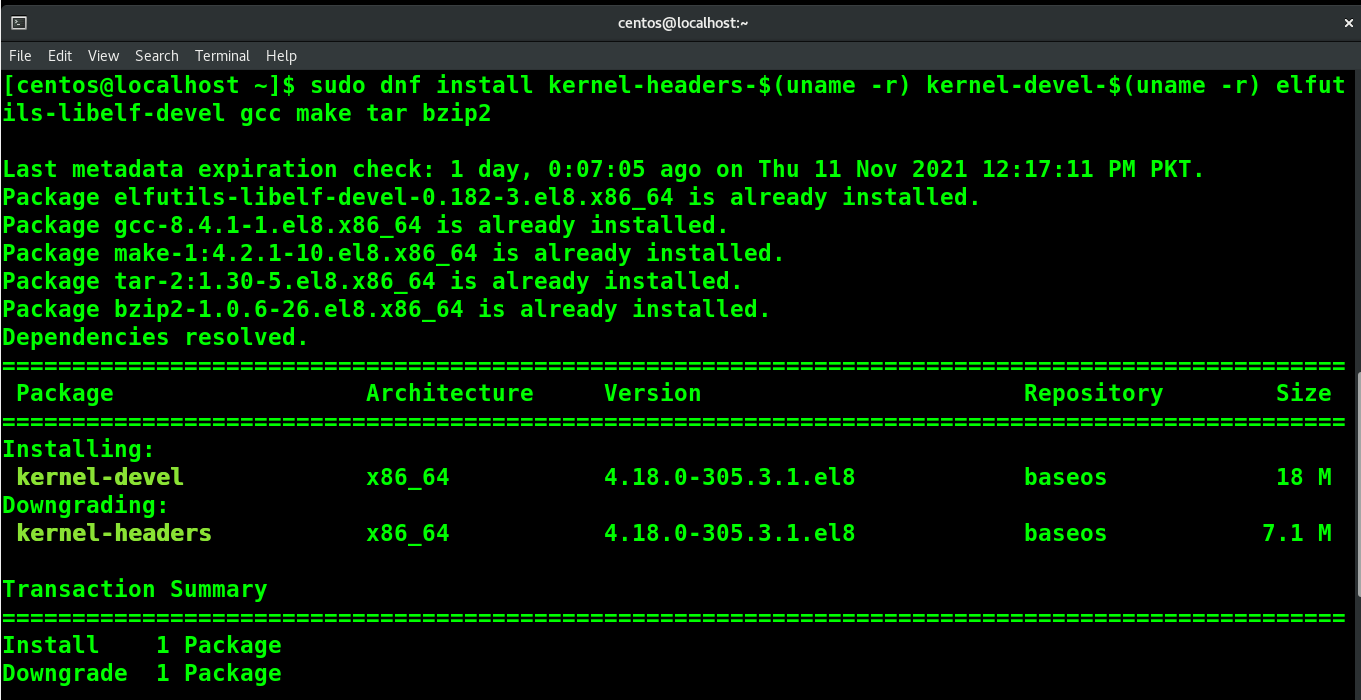
Installing Package Dependencies
You need to make sure that the version of dependencies packages of the kernel like kernel-devel and kernel-headers are the same as the core kernel package version.
Use the following nested command to resolve dependencies.
sudo dnf install kernel-headers-$(uname -r) kernel-devel-$(uname -r) elfutils-libelf-devel gcc make tar bzip2
Note: uname -r command result is the kernel current version.
Once you are done, now you can proceed to install VirtualBox Guest Additions. There are two options available, you can mount and run VirtualBox Guest Additions through GUI or mount and run it using the terminal.
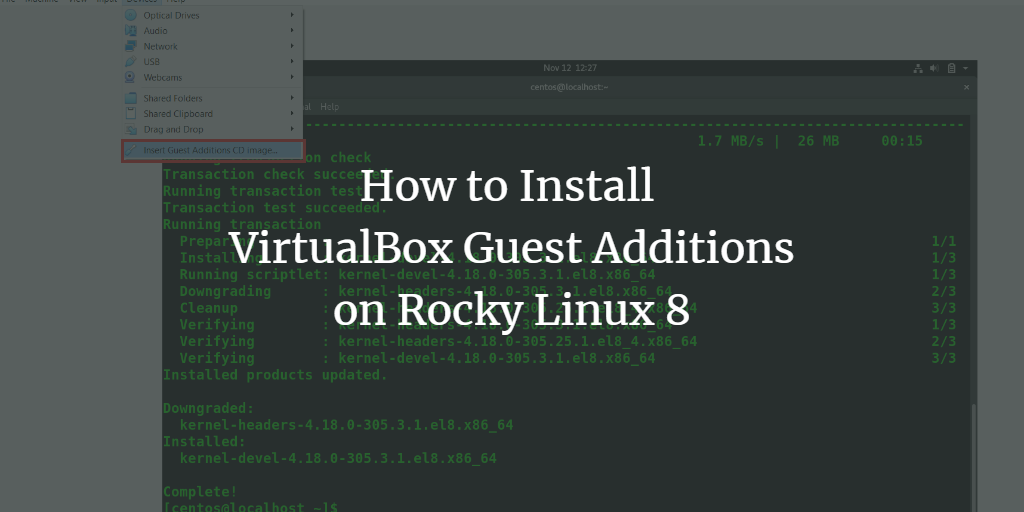
Install VirtualBox Guest Additions Using GUI
Go to the Devices in the VirtualBox toolbar and select the Insert VirtualBox Guest Additions CD image option.
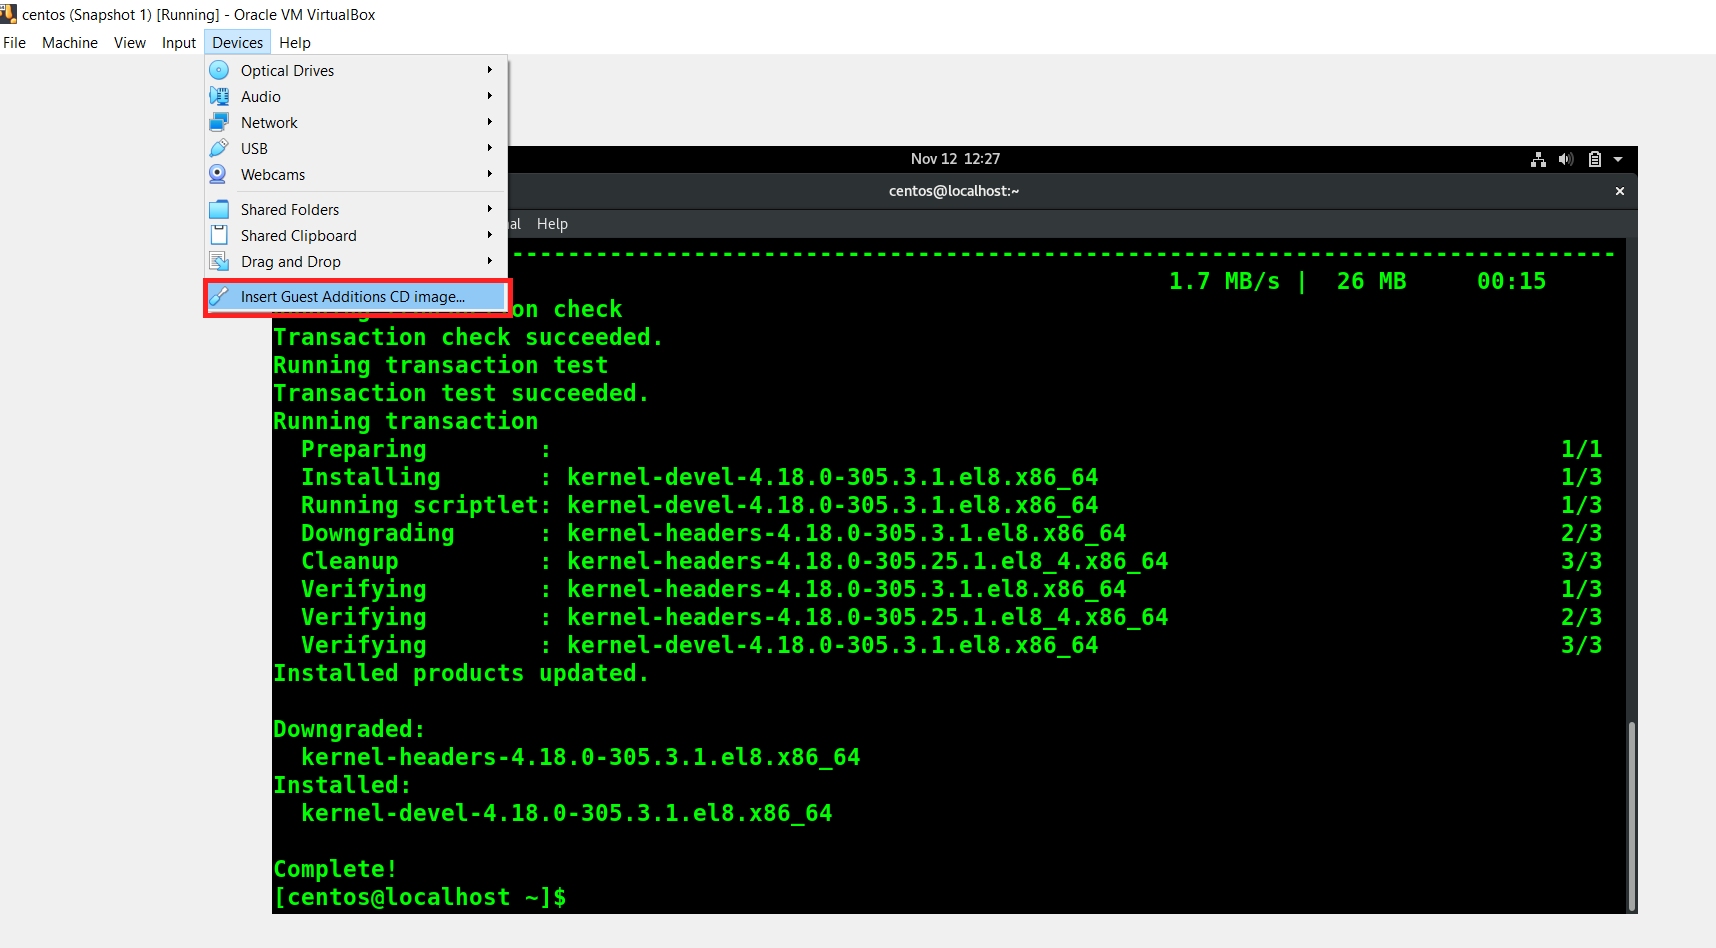
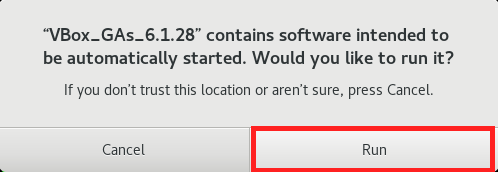
You will be prompted to run the VirtualBox Guest Additions. Press Run and Provide password when prompted to authenticate.
You will see the VirtualBox Guest Additions running in the terminal.
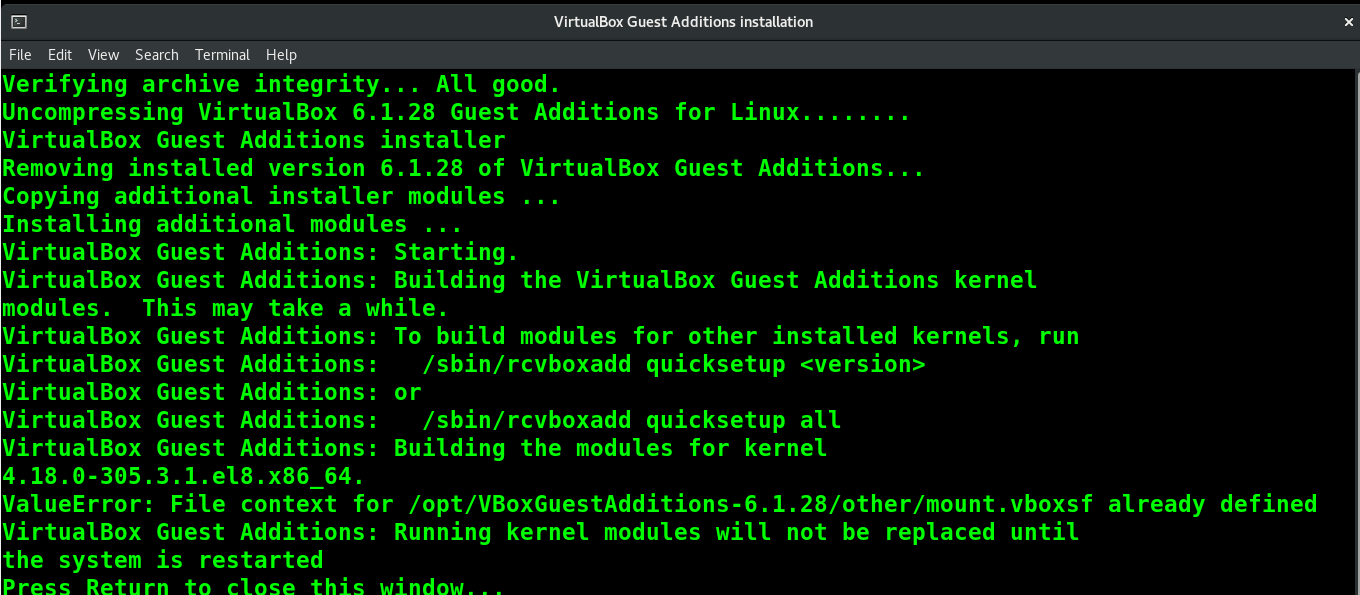
Press Enter and reboot your system.
Install VirtualBox Guest Additions Using Terminal
Alternatively, You can cancel the prompt and mount the VirtualBox Guest Additions CD manually.
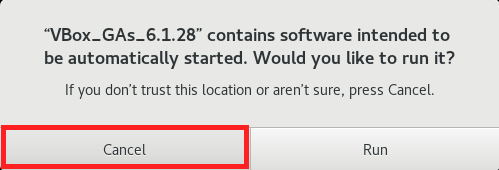
To mount the VirtualBox Guest Additions CD, run the following command.
sudo mount /dev/cdrom /mnt/

Once you have mounted the Guest Additions CD, run the VirtualBox Guest Additions using the following command.
sudo sh /mnt/VBoxLinuxAdditions.run
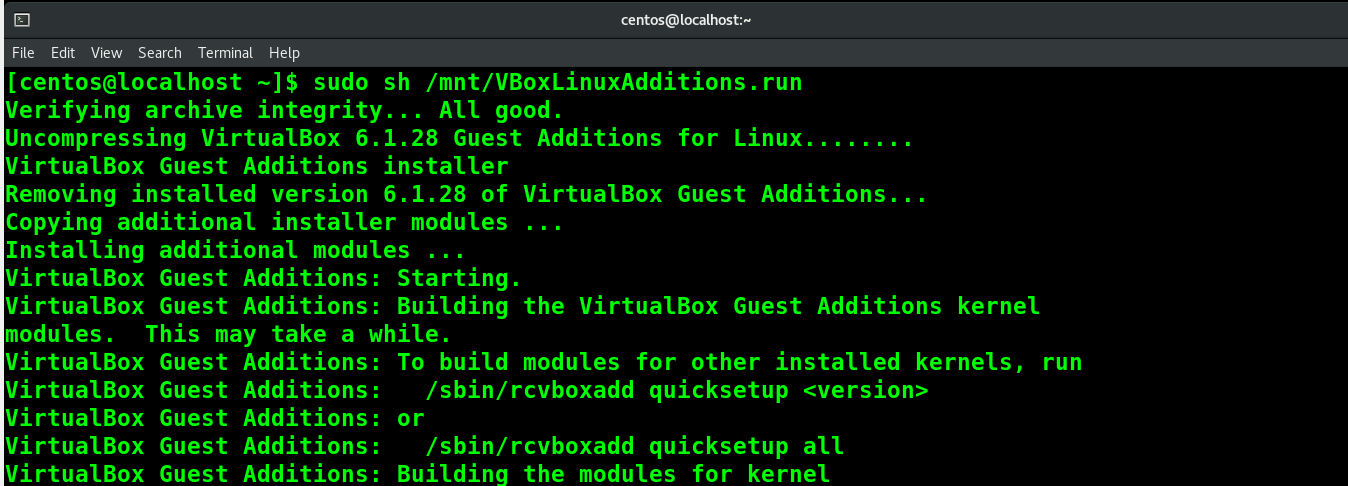
Press Enter and reboot your system.
sudo systemctl reboot
You can verify the VirtualBox Guest Additions on a restart when your operating system runs with the fullscreen display.
Conclusion
This article shows you can add and run VirtualBox Guest Additions on CentOS, Rocky Linux, and AlmaLinux. You can now experience the other perks of VirtualBox Guest Additions, such as shared clipboards and file sharing.