
Sublime Text is one of the most popular text and source code editors which is designed for software and web development. It is fast, flexible, and comes with a lot of sophisticated features. Custom settings and hundreds of plugins are available for the customization of sublime text. Its functionality can be enhanced to the extent that many professionals refer to it as an Integrated Development Environment(IDE) instead of a simple editor.
Also because of its flexibility, it provides more control over their editor or environment. In this article, You will learn how to install Sublime Text on the Ubuntu operating system.
Prerequisites
- Terminal access
- A user account with sudo privileges.
Note: The commands in this tutorial are performed on the Ubuntu 20.04 system. All the methods in the tutorial are valid for any Linux-based system.
Download and install the Sublime Text GPG key
First of all, you will need a Sublime Text Gnu Privacy Guard (GPG) key to install Sublime Text.
To download and install the GPG key, run the following command.
wget -qO - https://download.sublimetext.com/sublimehq-pub.gpg | sudo apt-key add -

You will be prompted to provide the sudo password. Enter the password and press Enter.
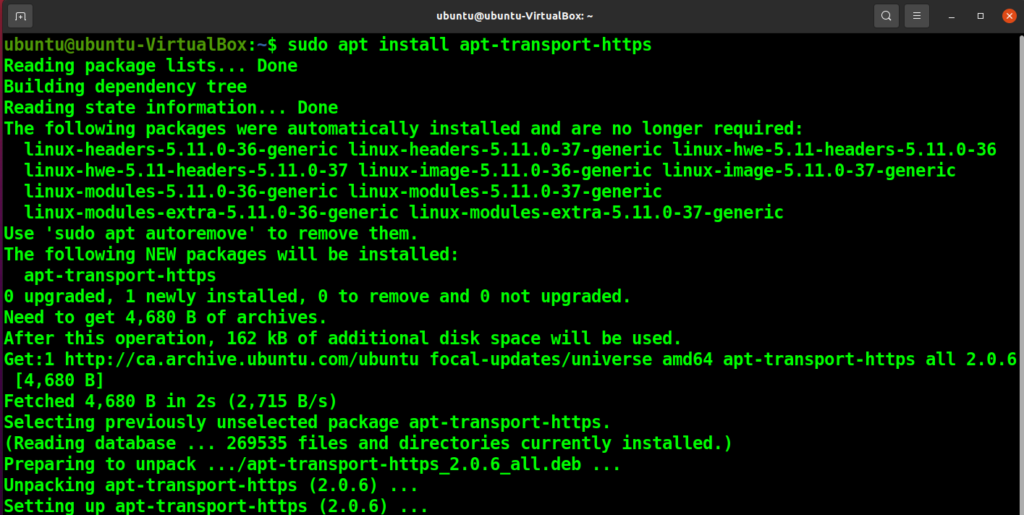
Install apt-transport-https Package
Now you need to install the apt-transport-https package so that the Sublime Text repository can be accessed over the HTTP protocol.
sudo apt install apt-transport-https
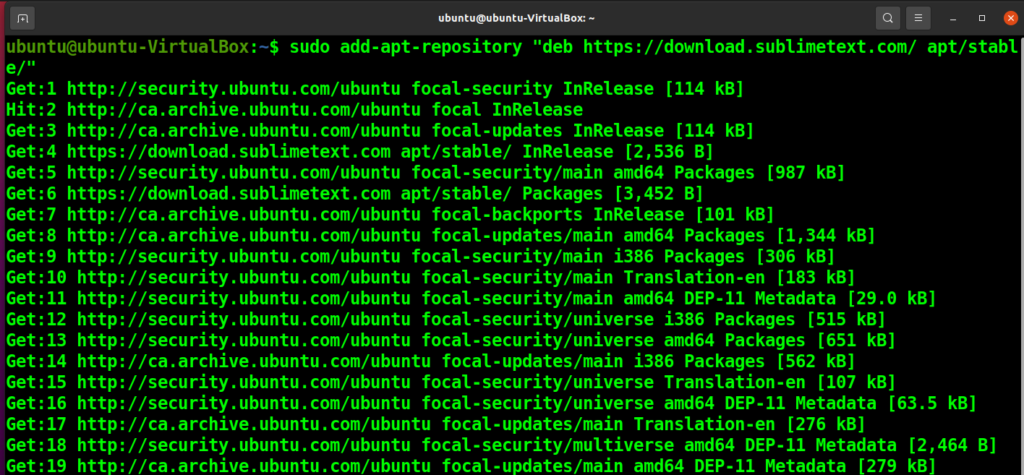
Add Sublime Text Repository
To add the Sublime Text repository to your Software repository list, run the following command.
sudo add-apt-repository "deb https://download.sublimetext.com/ apt/stable/"
Update System
Once You are done with the above steps, Update your system with the following command. This will add the GPG key and update the software repository list in your system.
sudo apt update

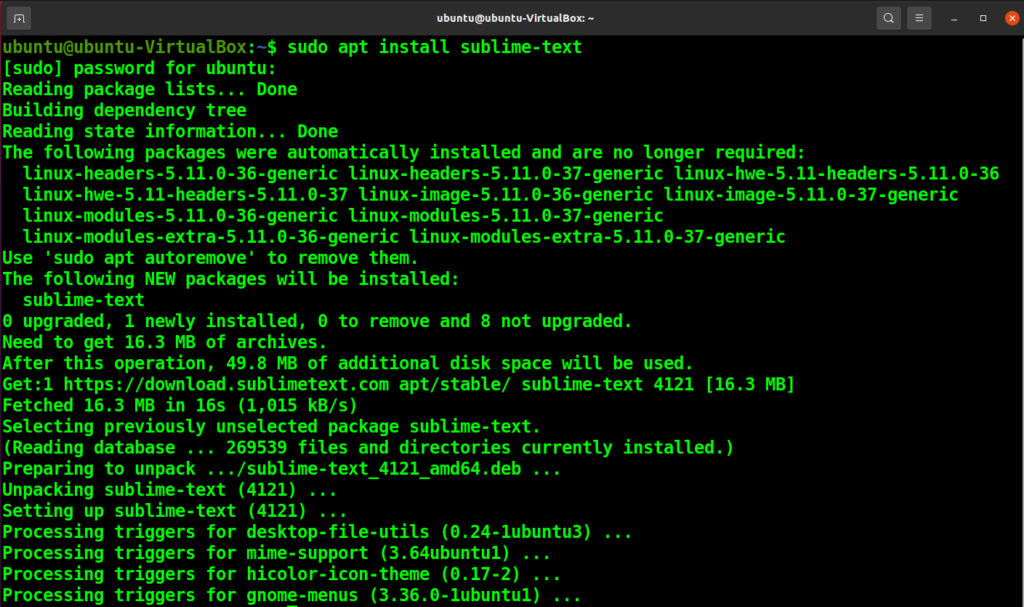
Install Sublime Text
Finally, run the following apt command to install the Sublime Text editor in your system.
sudo apt install sublime-text
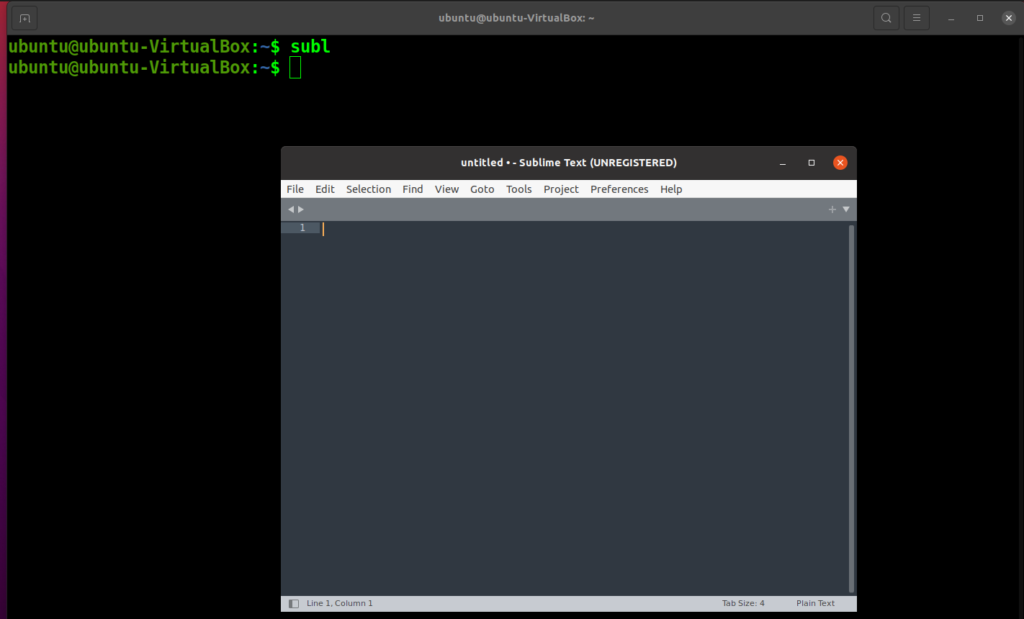
Start Sublime Text
Once the installation is done, you can open the Sublime Text editor by typing the following command in the terminal or searching through the system applications.
subl
Check Sublime Text Version
To check the Sublime Text version in your system, run the following command.
subl -v

Uninstall Sublime Text
If you do not need the Sublime Text on your system anymore. You can uninstall it by running the following command in the terminal.
sudo apt remove --autoremove sublime-text
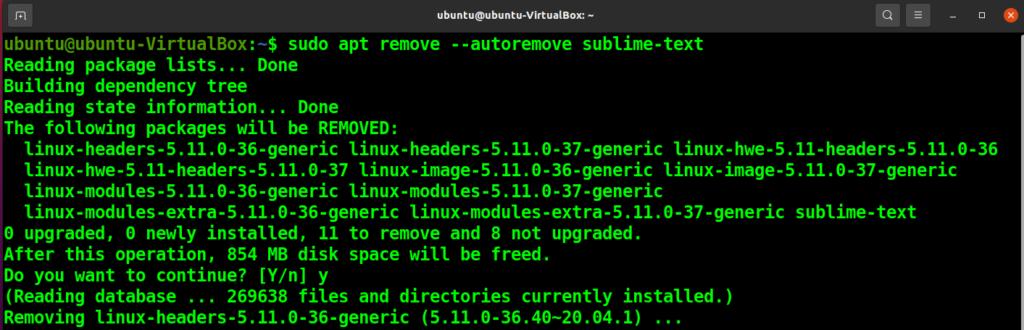
The autoremove option will ensure that even the inactive and unused packages will be removed along with the Sublime Text.
Conclusion
Sublime Text is an editor that has a lot of potential. It is easy to use and customize.
In this article, you have learned how to install the Sublime Text editor on your Ubuntu System. Now that you have the Sublime Text editor installed in your system, You can start customizing it according to your need. You can even go a step further and install Sublime Text Package Control to enhance your editor and get the full functionality of an IDE.