
Are you tired of keeping track of different time zones for your work? Have you experienced time mix-ups and missed committed online meetings because of the time difference? If the answer to the above questions is yes, this article will show you how you can set the multiple time zones right there on your desktop bar.
Gnome-clocks is an extremely simple and easy-to-use utility that can help you set up multiple time zones with just a few clicks.
Prerequisites
- Linux-based system
- Terminal access
- A user account with sudo privileges.
- GNOME Desktop
Note: These instructions in this tutorial are only valid for GNOME desktop environments. GNOME desktop environments is a user-friendly desktop utility that offers the more traditional look and feel of the desktop.
Installation of Gnome-clocks
Once you have logged into the GNOME desktop environment, you can install the gnome-clocks software through the command-line interface (CLI) or graphical user interface (GUI) according to your preferences.
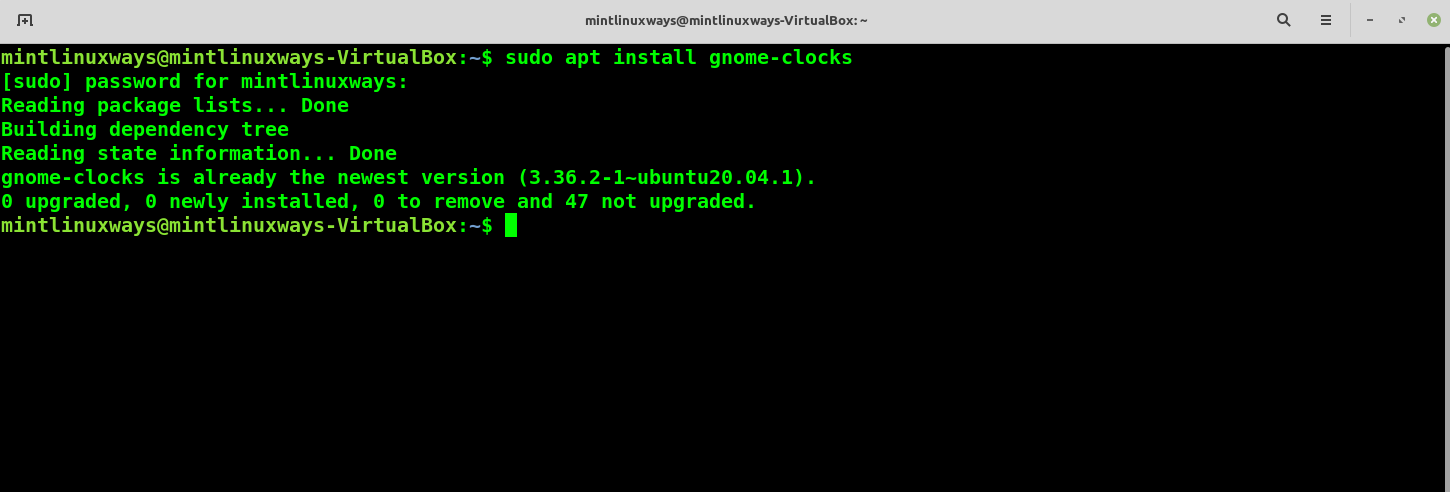
To install it through the command-line interface, use the following command in the terminal.
sudo apt install gnome-clocks
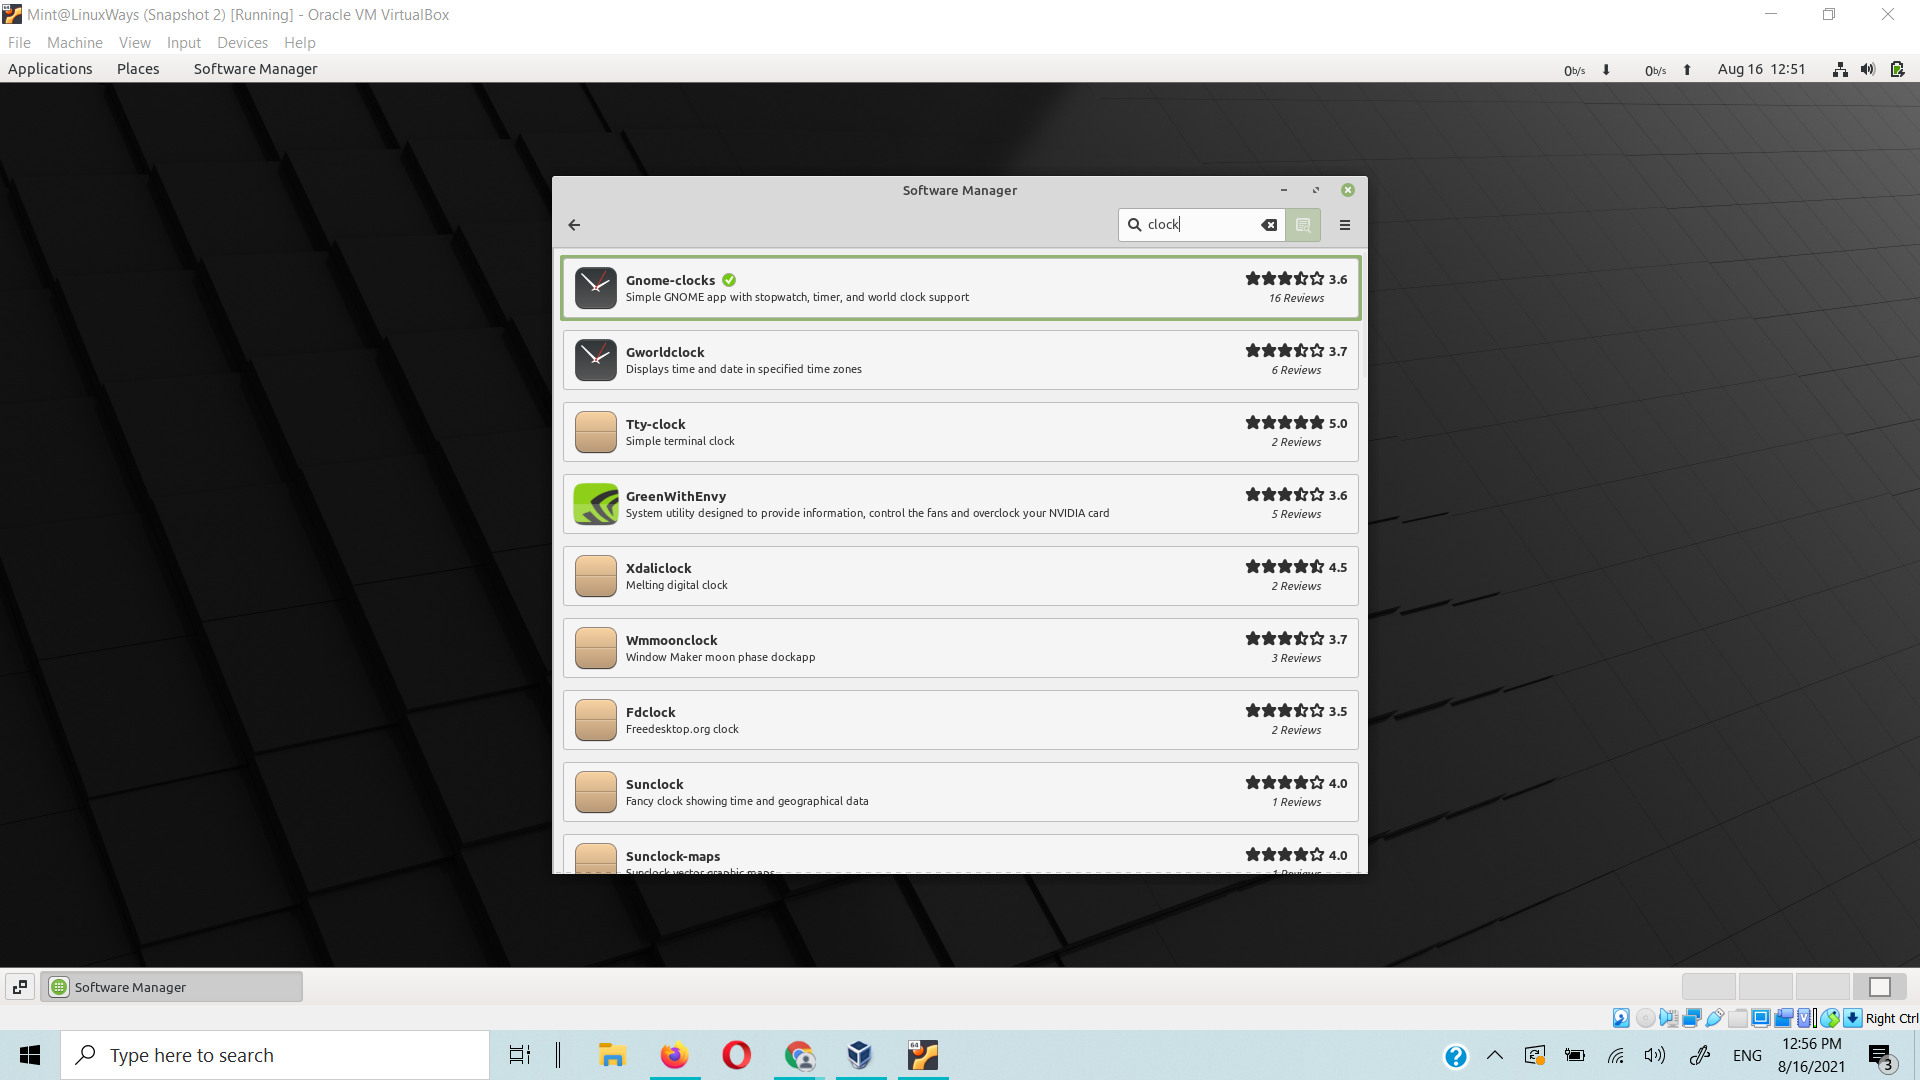
Alternatively, to install gnome-clocks through a graphical user interface, you can search for it in the software manager.
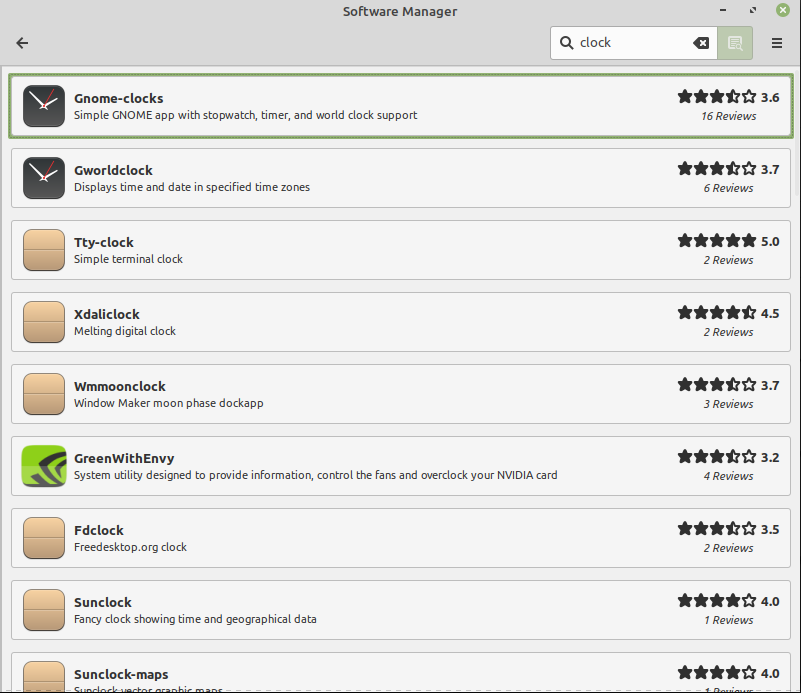
Once you find the software, open it and click on the Install.
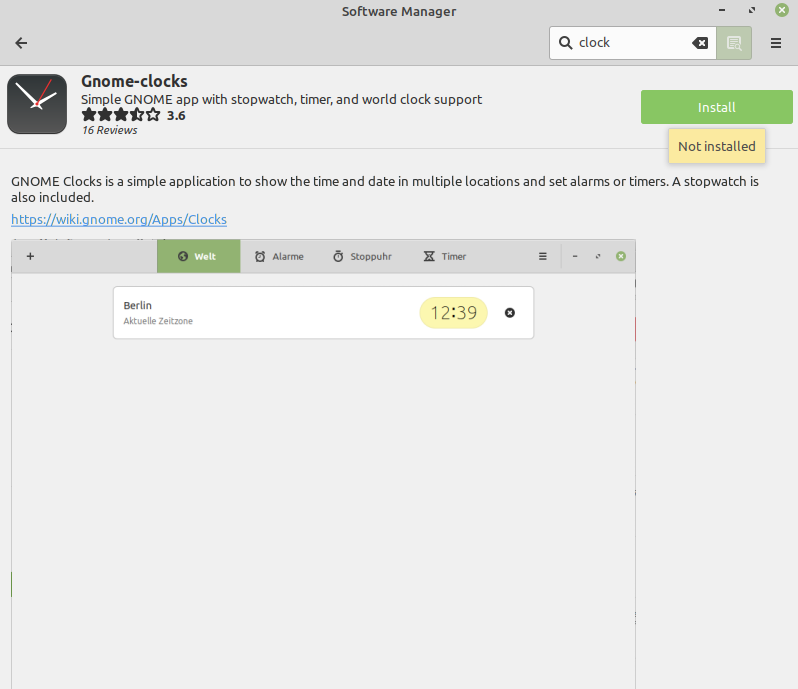
After you click Install, you will be prompted for authentication.
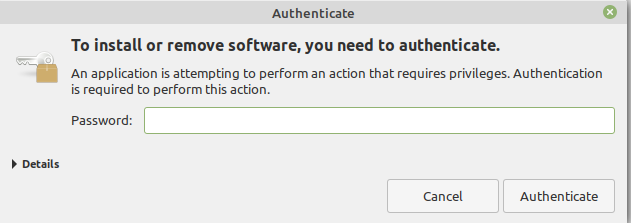
Once you are done with authentication, gnome-clock will be installed on your system. Now you are ready to set up the multiple time zones with your clock timing.
How To Set Multiple Time Zones With Clocks?
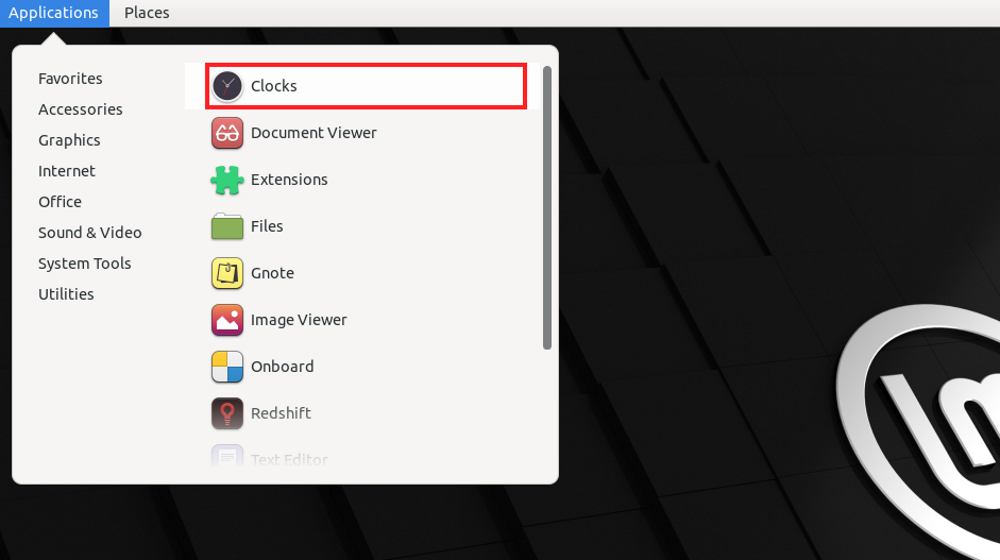
Search and open Clocks software from the Applications.
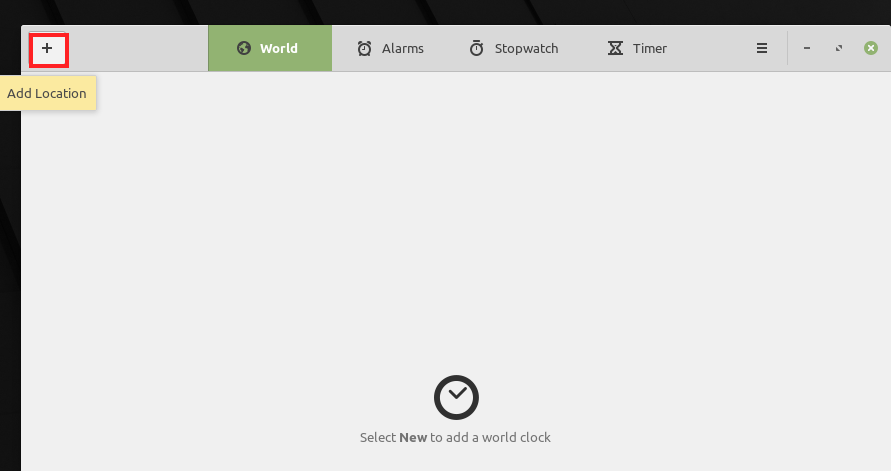
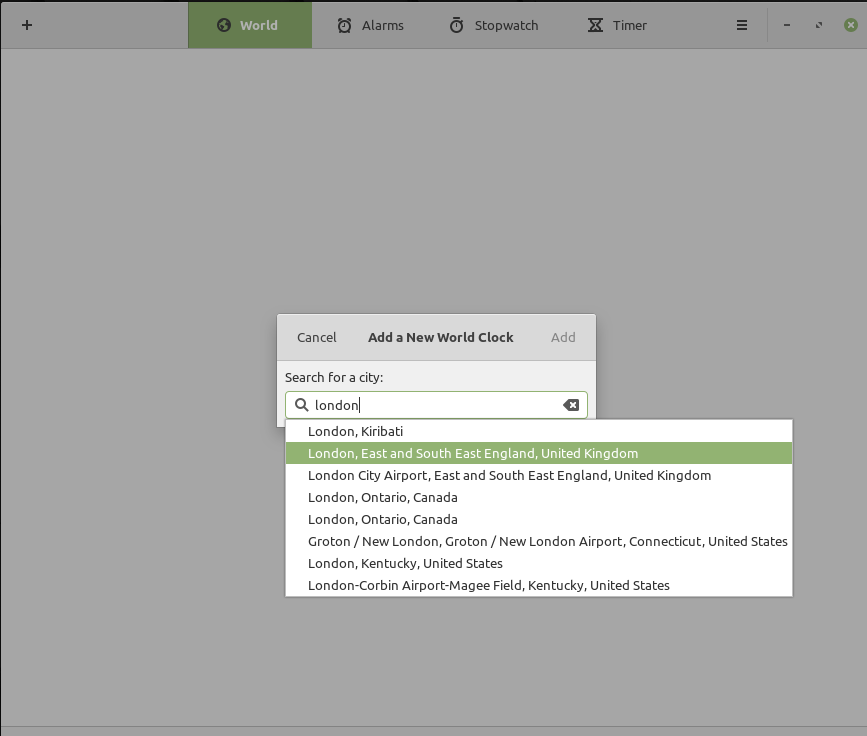
On opening, you will see the blank screen. Go to the “+’’ icon in the top left corner of the window to add and set up the new time zone.
.
You will be shown places with different geographic regions, select the geographic region with the desired timezone.
Note: We recommend setting your current time zone as the first time zone as you will be shown that in the desktop bar consistently.
You can set up as many time zones as you want by repeating the above method.

Once you are done with adding time zones, close the gnome clocks. Click on the time displayed in the top right corner of your desktop. You can see a drop-down window with the different time zones you have set up under
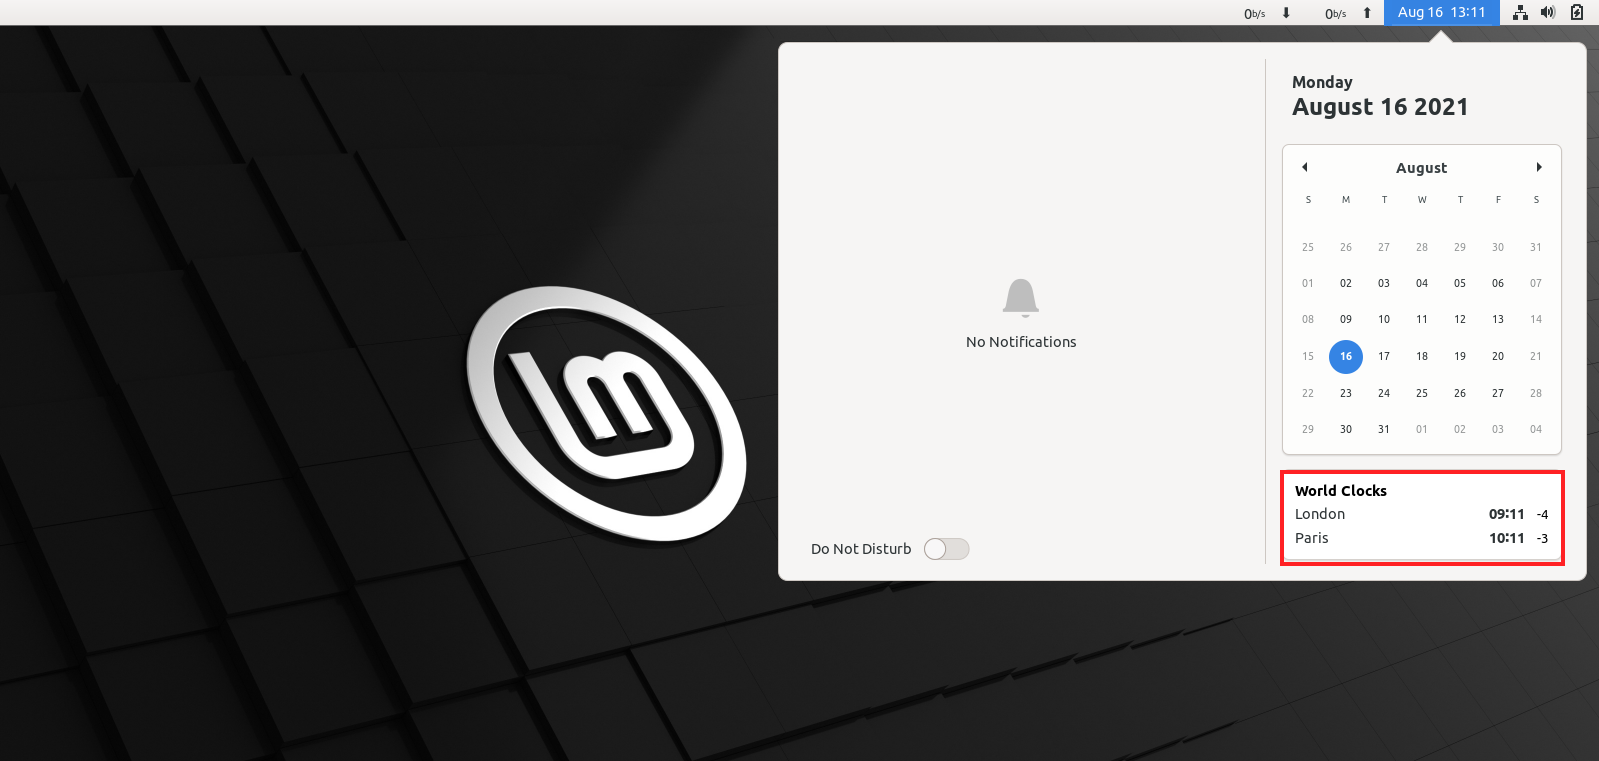
You will see a number with “-” or “+” sign next to the time. This icon refers to the time zone difference in hours from Greenwich Mean Time (GMT) or Coordinated Universal Time (UTC) which are different time standards.
Conclusion
This article teaches you how Gnome-clocks can help keep track of time in multiple time zones for you. Now you can keep up with your work meetings and deadlines across the globe with a simple click.
You can explore and use Gnome-clocks other features like timer, stopwatch, and Alarms and get a hundred percent performance out of it.