Gobby is a fantastic collaborative editor with the support of multiple documents in one session. The most amazing thing it includes the chat system. All the collaborators can chat and share their ideas on one document. With such a unique feature, Gobby is popular among system admins and software engineers.
I personally like Gobby, and I use it on Ubuntu. In this tut, I will express my way of installing Gobby Collaborative Editor on Ubuntu 20.04 LTS Edition. Be careful before applying these instructions to a different Linux distribution.
Prerequisites to Install Gobby Collaborative Editor
Gobby Editor does not have any dependencies.
Step 1. Install Gobby Editor on Ubuntu LTS
Whenever you have a chance to install a new software then update the system repositories first. Do that using the following command.
$ sudo apt update
Now system is ready to accept any new software. Try the following install command to install Gobby editor.
$ sudo apt install gobby

This will install the Gobby Collaborative Editor on your Linux system in no time. Move to the next step to verify the installation.
Step 2. Verify Gobby Editor Installation
The gobby editor is now installed and we are ready to verify the installation. The installation can be verified using both the command line and graphical user interface.
$ gobby --version
Using the above command will display a clean version number of the Gobby editor existing on your system.

In the above screenshot, you can see that we have the latest Gobby version running on our system.
The same can be achieved using the graphical user interface.
I want you to go to your system dashboard and search about the Gobby editor.
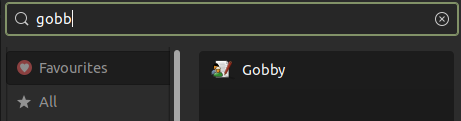
There you are now. The Gobby editor is ready to launch.
Step 3. Launch Gobby Collaborative Editor
Now we are ready to launch Gobby collaborative editor for our needs. Invoke the editor in the dashboard and we are ready to go.
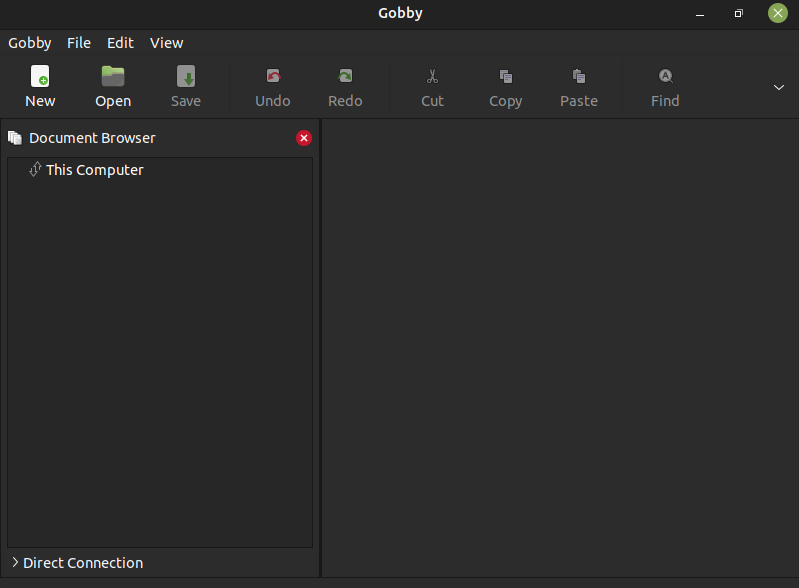
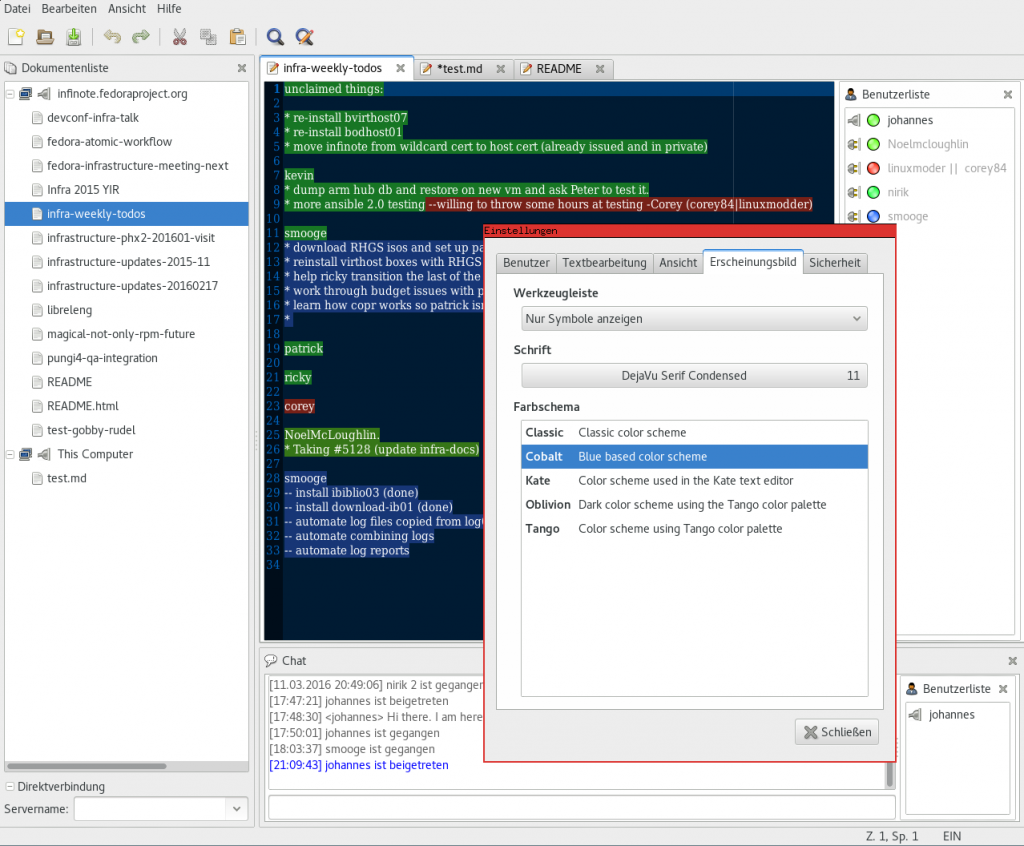
Once launched we can begin creating documents and start collaborating. For demo purposes, I will show you a simple document in the next screenshot.
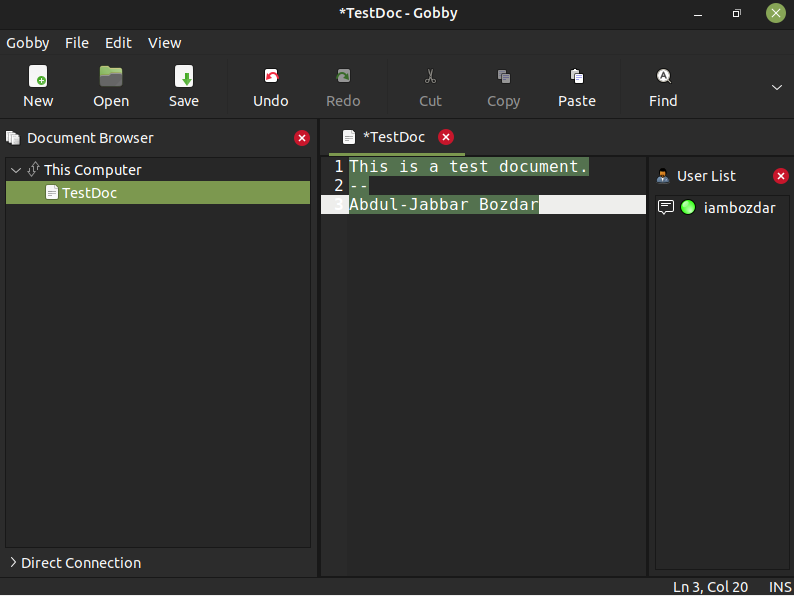
You can see that it is me when is online at the moment of writing the document in the above screenshot.
Step 4. Uninstall Gobby Collaborative Editor From Ubuntu
If for whatever reason you want to remove the editor from your system. Use the following command.
$ sudo apt remove gobby
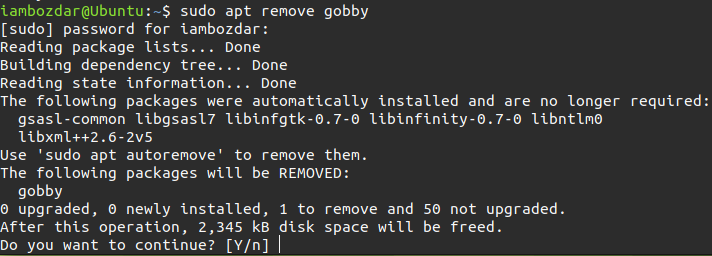
Confirm and proceed.
The editor is now uninstalled.
Conclusion
We learned how Gobi editor is useful for developers on Ubuntu Linux. I hope you enjoy using it.