How to Enable, Disable, Start and Stop a Service in Windows 10
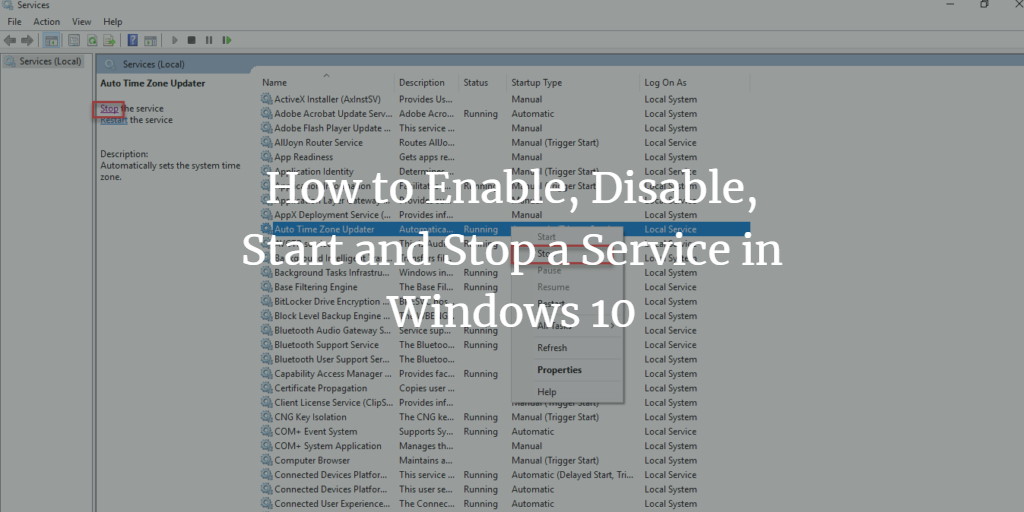
Sometimes your Windows Service needs to be opened and managed. You may intend to start, stop, enable or disable a specific service. At this time, you can get help by Windows Services which is a built-in Windows operating system tool. You can enable, disable, start and stop the services in different ways. In this article, ... Read more