DHCP high availability or failover on Windows Server can be configured in two ways.
- Load balancing
- Hot standby
Load balancing allows you to share the load between two DHCP servers while hot standby provides DHCP redundancy. In hot stand by mode, if a primary DHCP is down, secondary will keep on working and providing IP addresses to client machines. In this guide, I'll show you how to configure DHCP high availability in load balancing mode.
DHCP High Availability in Load Balancing Mode on Windows Server
Prerequisites
This tutorial has the following prerequisites:
- Administrator account has a strong password.
- Static IP is configured.
- Latest Windows updates are installed.
- Firewall is turned off.
- A secondary or partner server with DHCP is already configured.
Installing DHCP on Primary Server
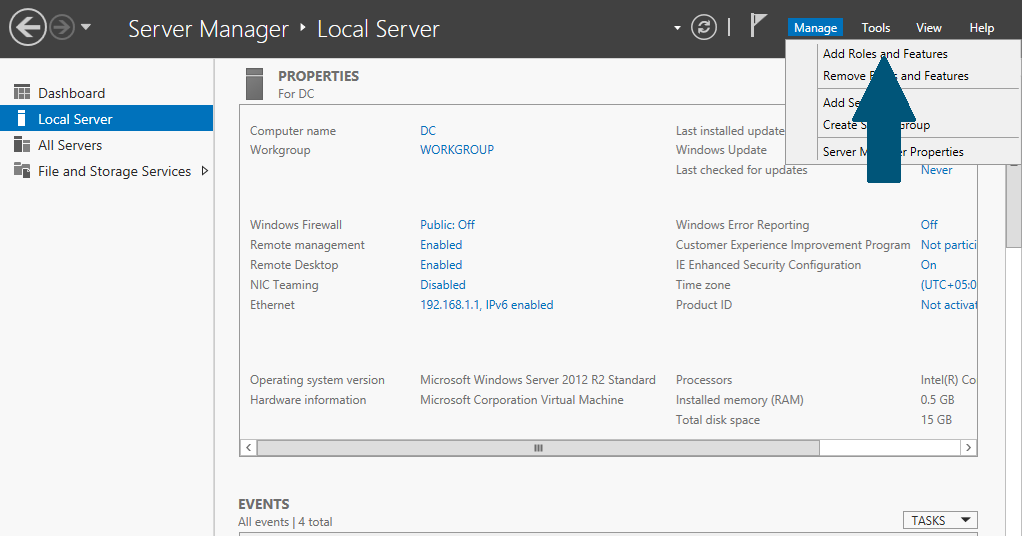
Step 1: Open server manager dashboard from task bar and click Add Roles and Features
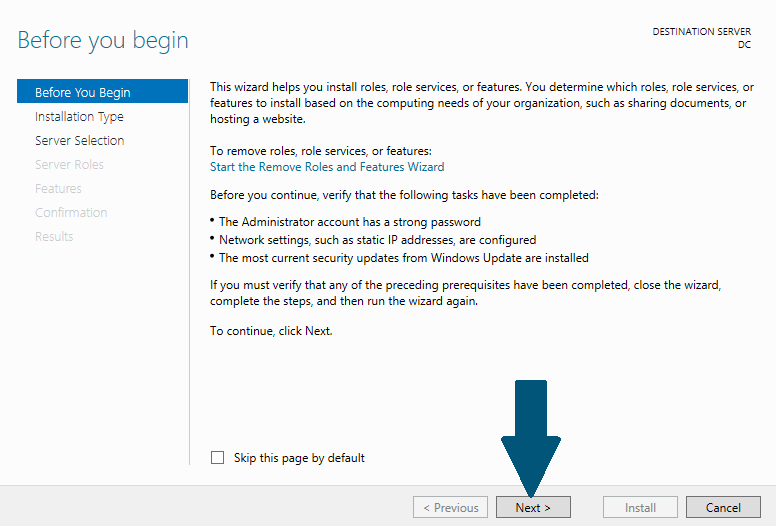
Step 2: Ensure the mentioned requirements are met and click Next
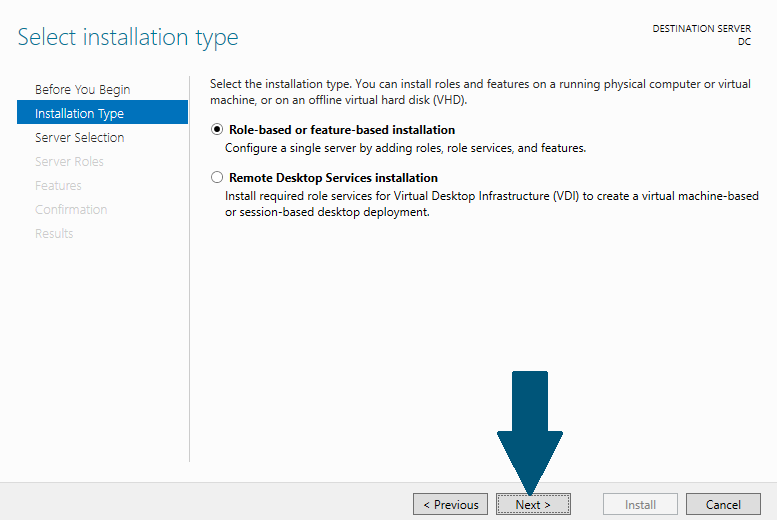
Step 3: Choose Role-based or feature-based installation and click Next.
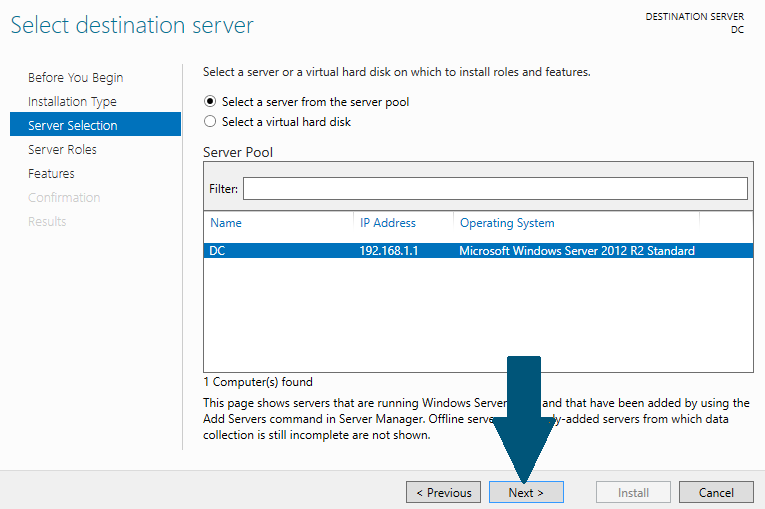
Step 4: Choose the destination server on which you want to install DHCP and click Next.
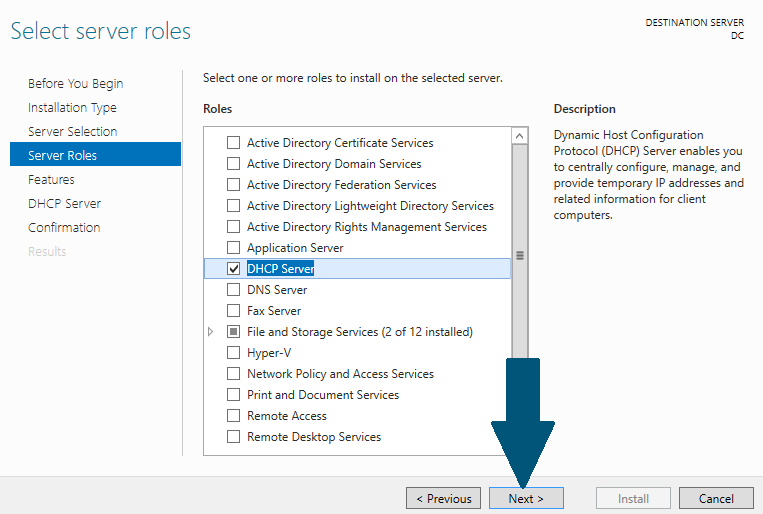
Step 5: Choose DHCP Server from roles and click Next.
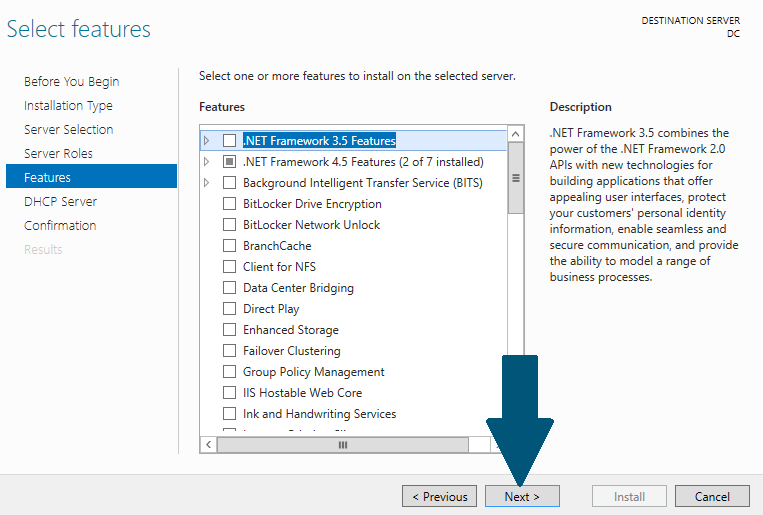
Step 6: Click Next.
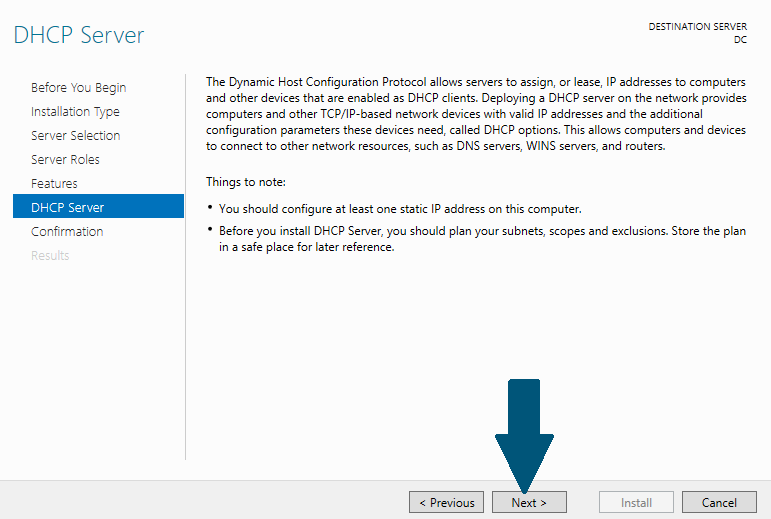
Step 7: Read the notes and when you are finished reading it click Next.
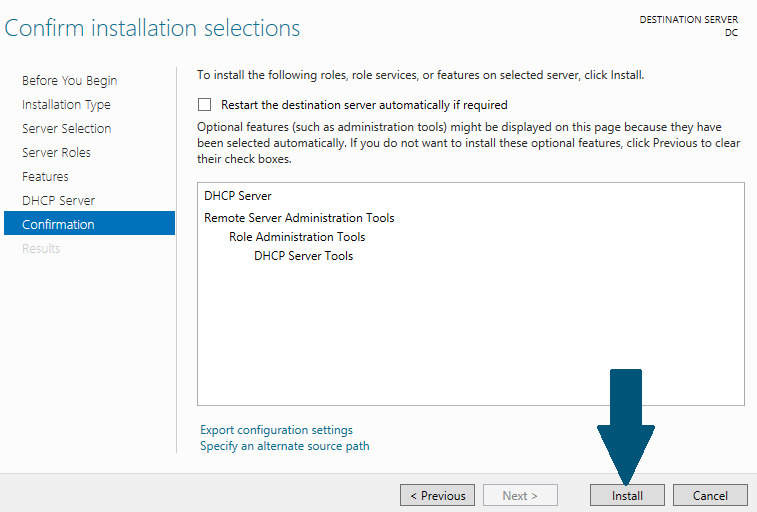
Step 8: Click Install to start the installation process.
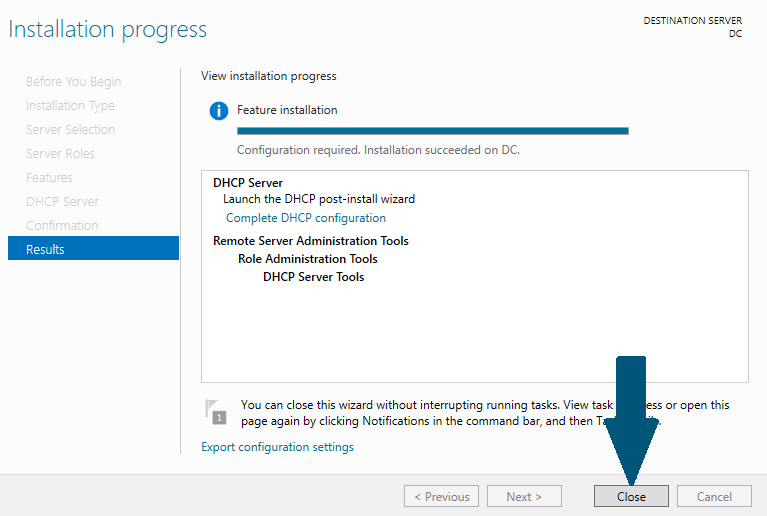
Step 9: Click Complete DHCP configuration.
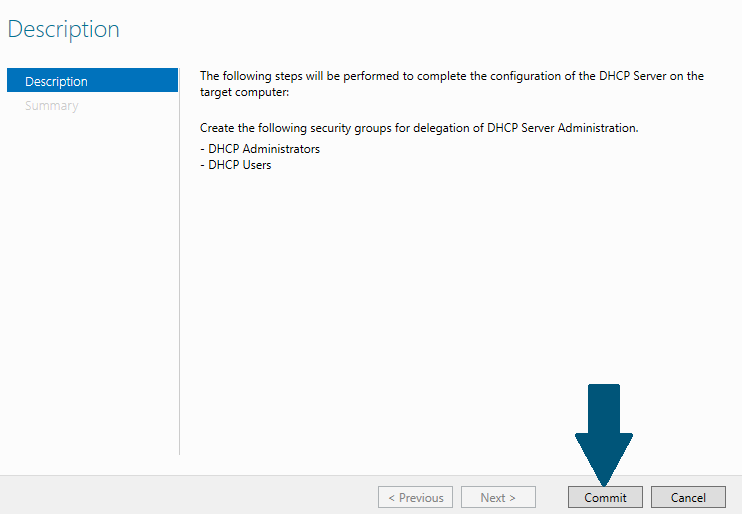
Step 10: Click Commit to complete the configuration of the DHCP server on the target computer.
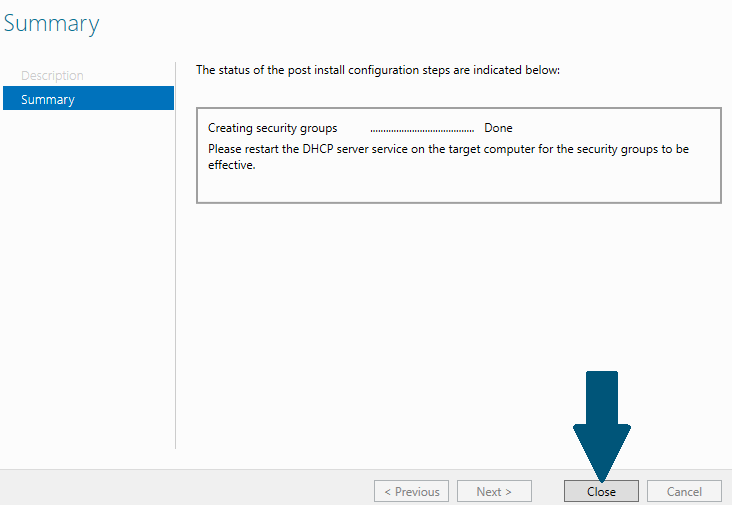
Step 11: Click Close when the security groups have been created.
Step 12: Click Close when an installation succeeded.

Creating New Scope on Primary DHCP Server
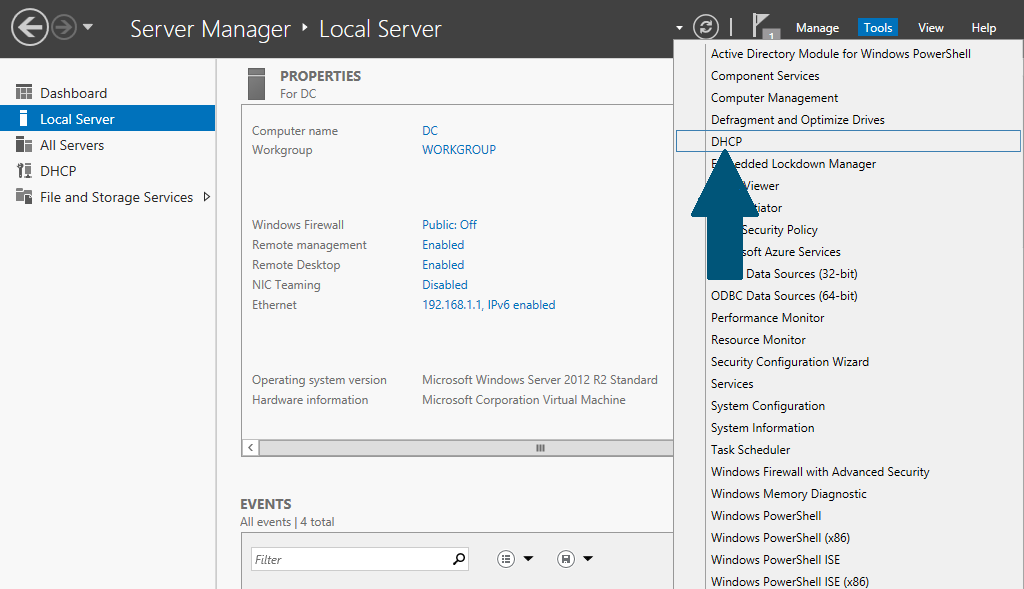
Step 1: Open server manager dashboard and click Tools and scroll down the menu. Click DHCP.
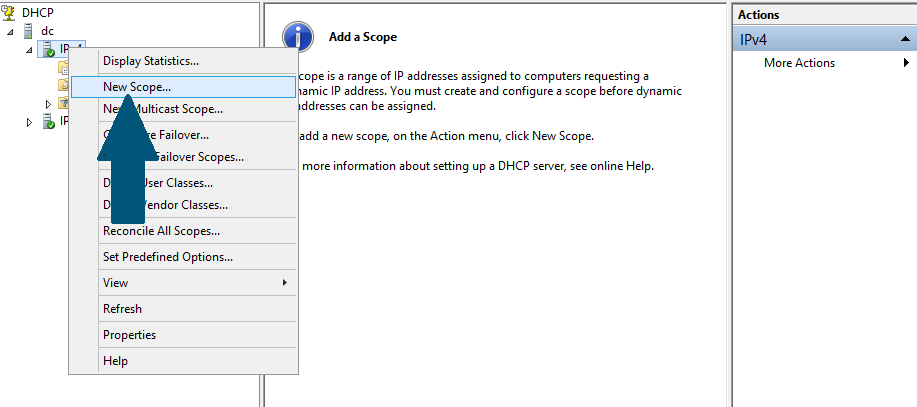
Step 2: Right-click IPv4 located under machine name and scroll down the menu. Click New Scope.
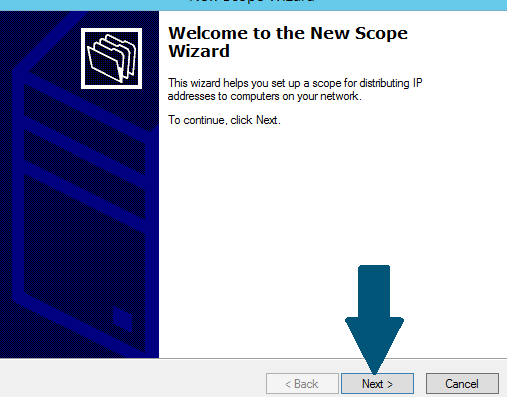
Step 3: Click Next to proceed with the new scope wizard.
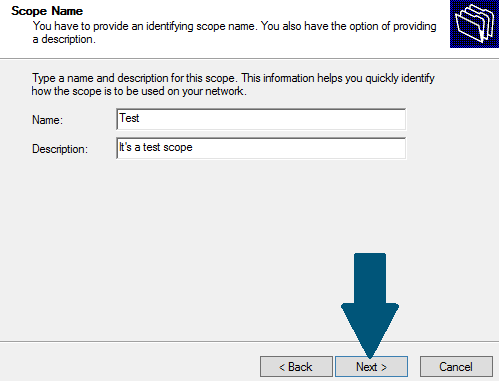
Step 4: Provide name and description. When you are done click Next.
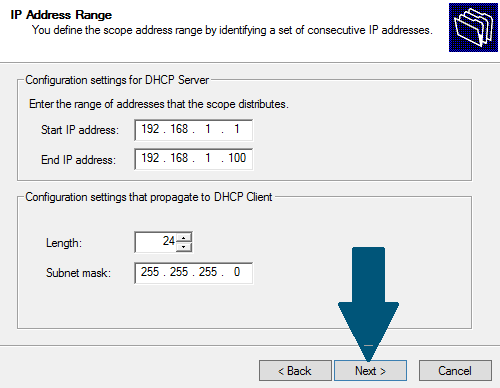
Step 5: Provide the IP address range for this new scope and click Next.
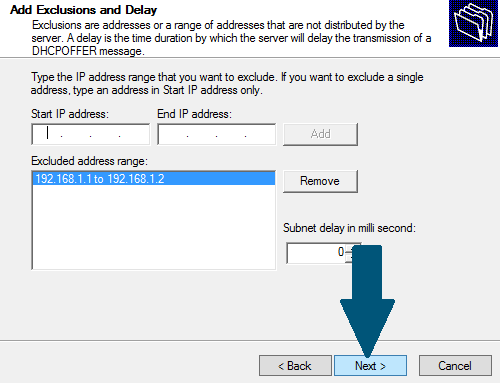
Step 6: Provide an IP address (es) you want to exclude and click Next.
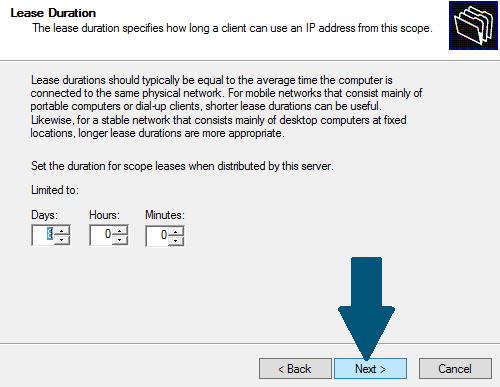
Step 7: Keep the default lease duration and click Next.
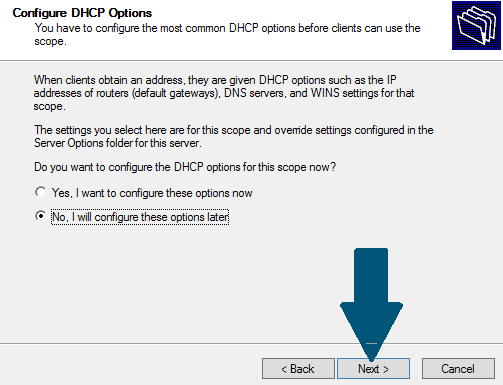
Step 8: Choose No, I will configure these options later.
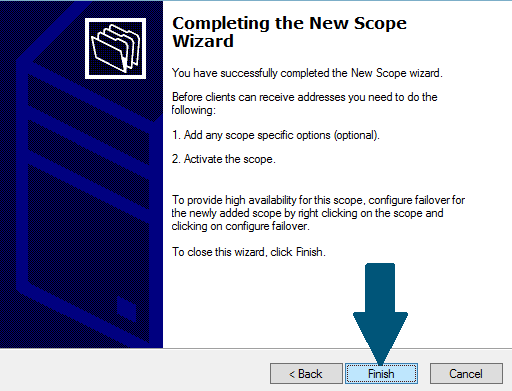
Step 9: Click Finish.
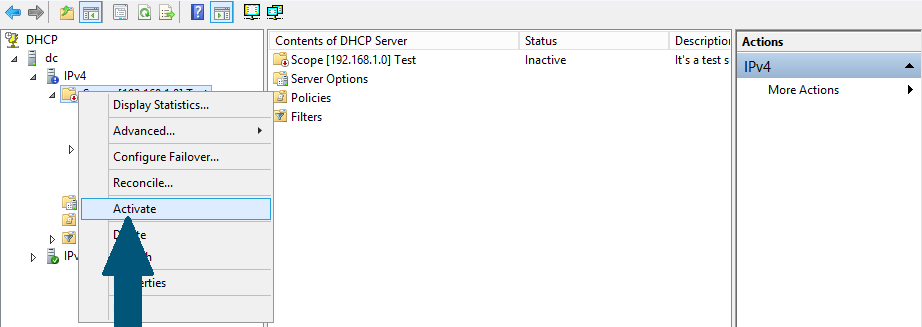
Step 10: Right-click the scope and scroll down the menu. Click Activate.
Configuring Failover at Primary DHCP Server
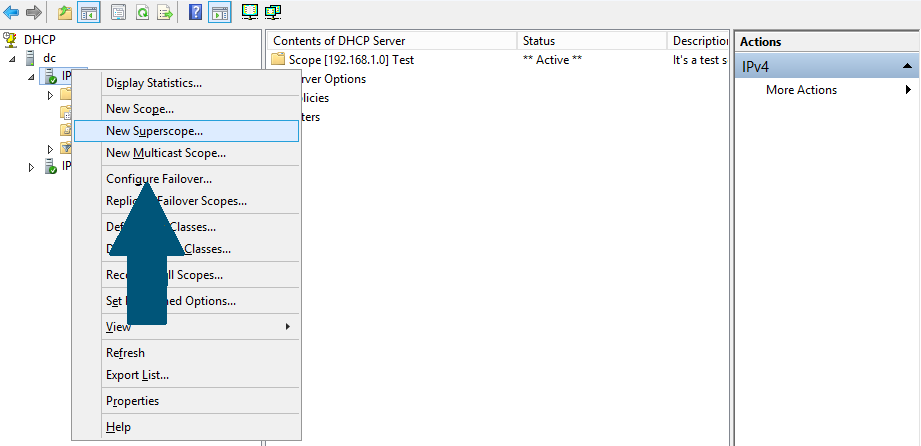
Step 1: From DHCP server console, right-click IPv4 and scroll down the menu. Click Configure Failover
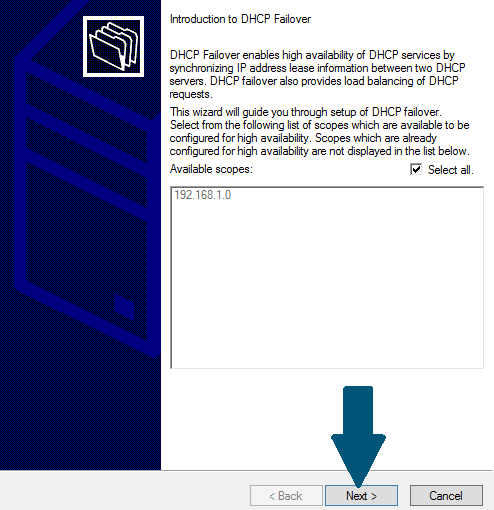
Step 2: Click Next in DHCP failover setup wizard.
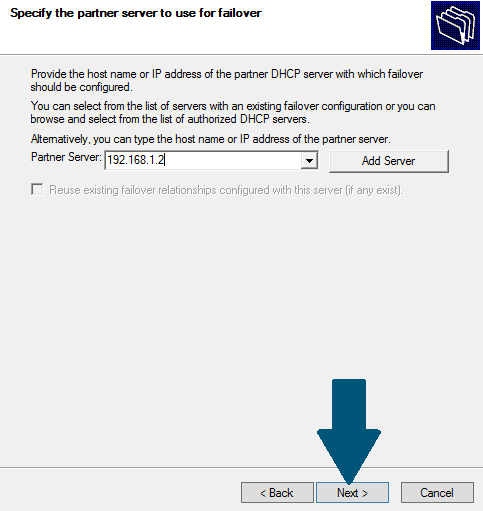
Step 3: Provide the IP address and hostname of the partner or secondary server. Click Next.
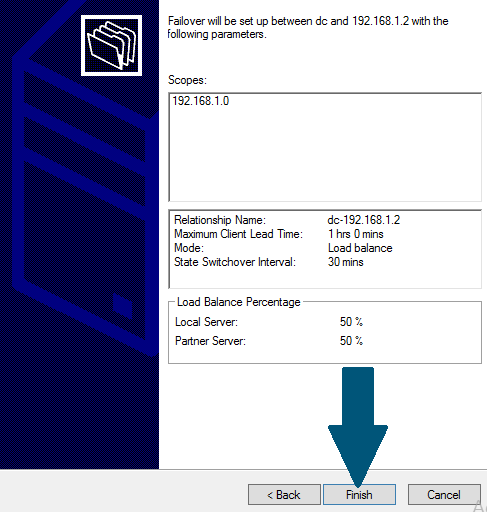
Step 4: Choose Load balance from Mode drop down and uncheck Enable Message Authentication. Keep other options as default. Click Next.

Step 5: Click Finish.
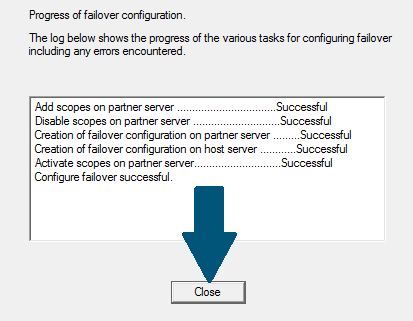
Step 6: Click Close and you are done configuring DHCP high availability.
Conclusion
I have configured DHCP high availability in load balancing mode and the configuration of hot standby mode is similar except there is a mode change at step 4. To confirm the configuration go to secondary or partner server and expand the Ipv4 node, you will notice the same scope of the primary server. You are done!!
