You can use the import and export feature to create a new virtual machine with the exact same configuration of an existing VM in Hyper-V. You can import the VM files on a new server and create as many VMs as you like.
Export Hyper-V Virtual Machine
Step 1. Open Hyper-V Manager.
Step 2. Right-click on your virtual machine and choose Export.
Step 3. Browse and choose the path where you would like to place your files.
Step 4. Click Export.
Import Hyper-V Virtual Machine
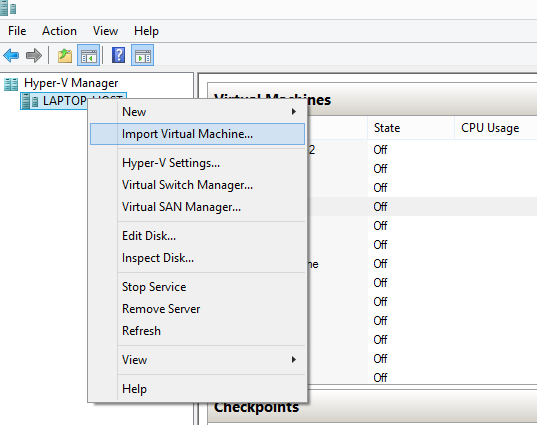
Step 1. In Hyper-V manager console, right-click your machine.
Step 2. Click Import Virtual Machine.
Step 3.Click Next.
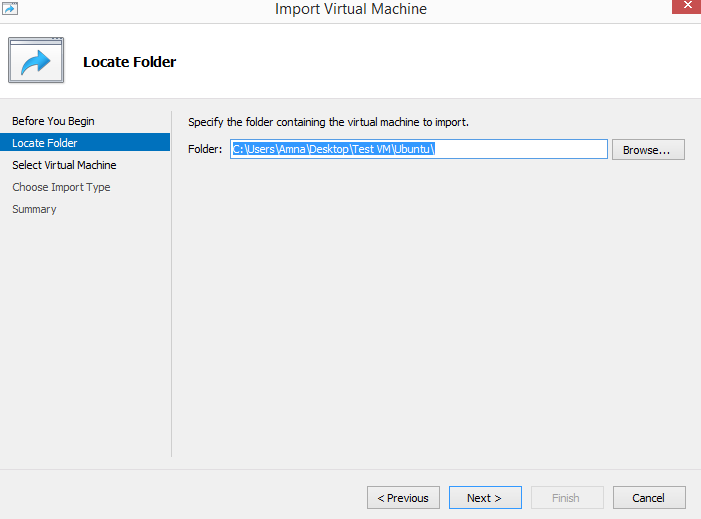
Step 4. Click browse and provide the path where the virtual machines files folder is located (The files you exported).
Step 5. Click Next.
Step 6. Choose the virtual machine to import and click Next.
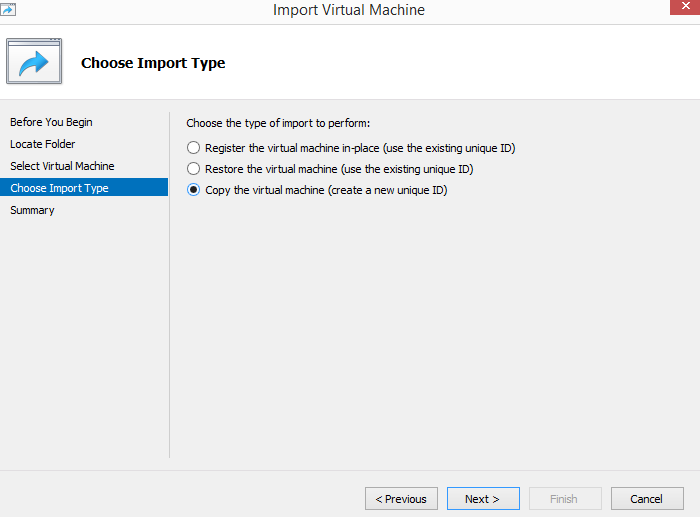
Step 7. Choose the import type (If you want to reuse exported files), you should select copy the virtual machine (create a new unique ID).
Step 8. Select the path where you would like to store virtual machine files (configuration and checkpoint file). You can also accept the default values.
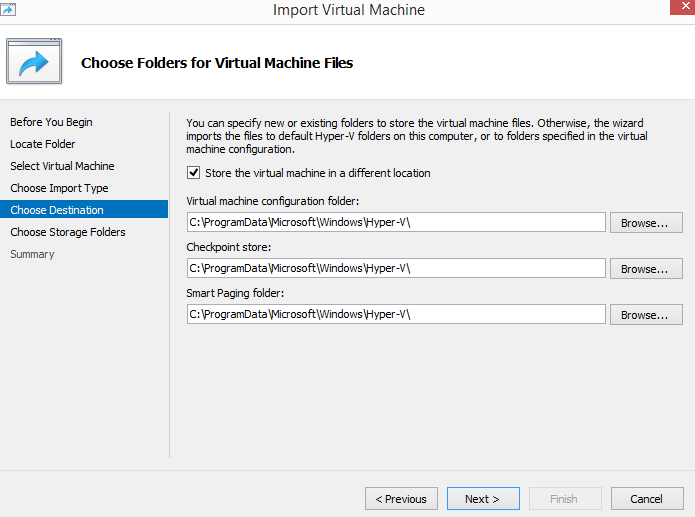
Step 9. Click Next.
Step 10. Choose the location where you would like to place virtual hard disk for this machine.
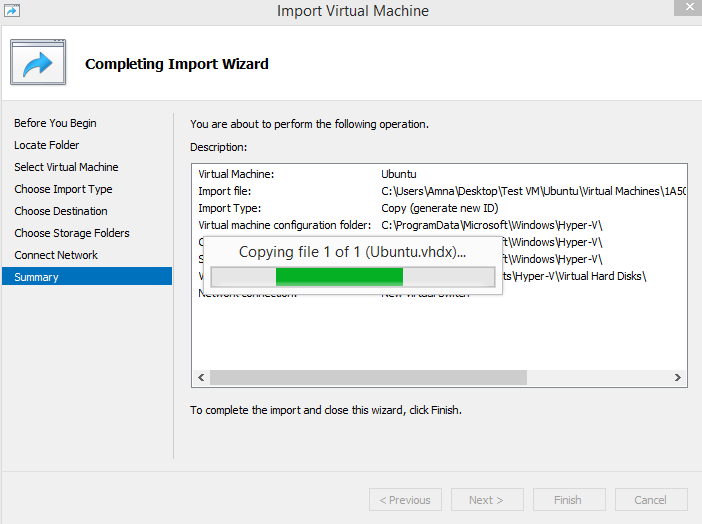
Step 11. Click Finish to start the import process.