WSUS or Windows Server Update Service is a server role which acts as the central repository for Microsoft updates for client computers on your network. Although, the configuration of WSUS server is very simple but it involves many steps.
Prerequisites
You should meet following requirements in order to configure the WSUS server.
- The Administrator account has a strong password.
- Static IP is configured.
- Latest Windows updates are installed.
- Firewall is turned off.
- Server on which you are installing the WSUS role on is a member your domain.
- Client computers which you would like to update from WSUS server should be in a separate OU in the DC.
Installing the WSUS Server Role
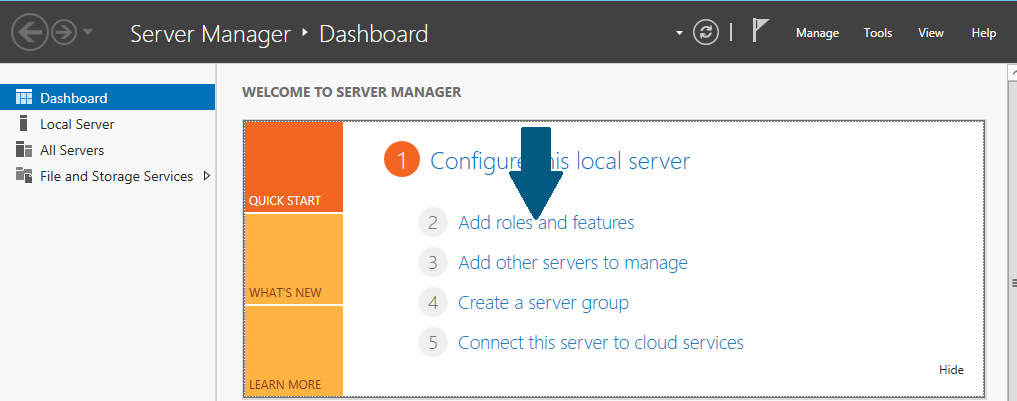
Step 1: Open the server manager dashboard and click on Add roles and features.
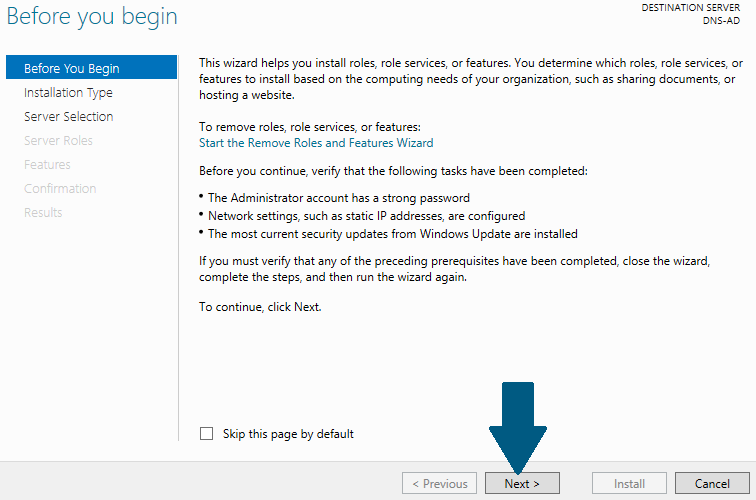
Step 2: Read the pre-requirements and make sure you meet all of them. Click Next.
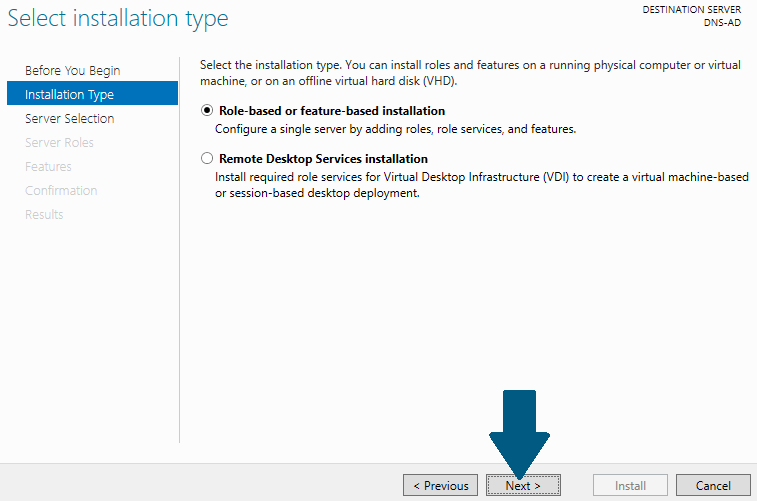
Step 3: Choose Role-based or feature-based installation and click Next.
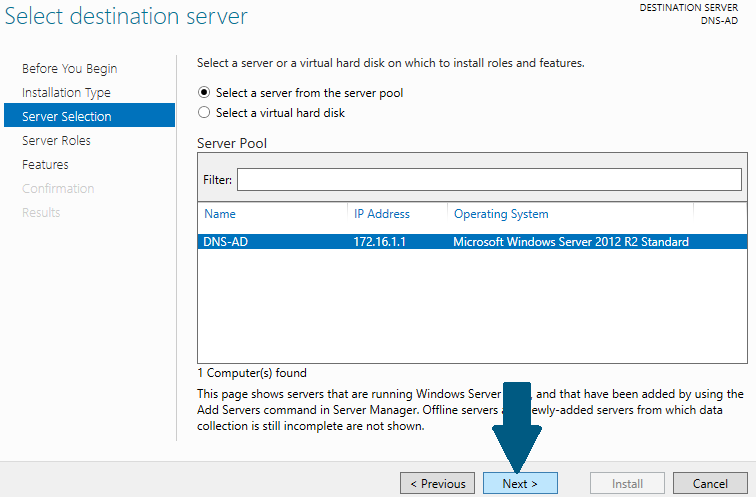
Step 4: Choose the destination server for WSUS role installation and click Next.
Step 5: Click Next.
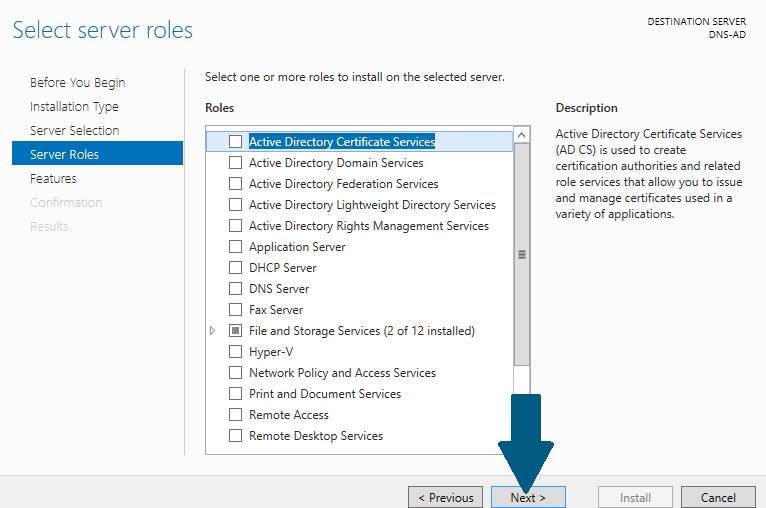
Step 6: Click Add Features.
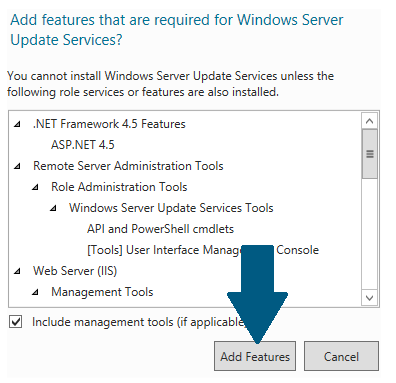
Step 7: Click Next.
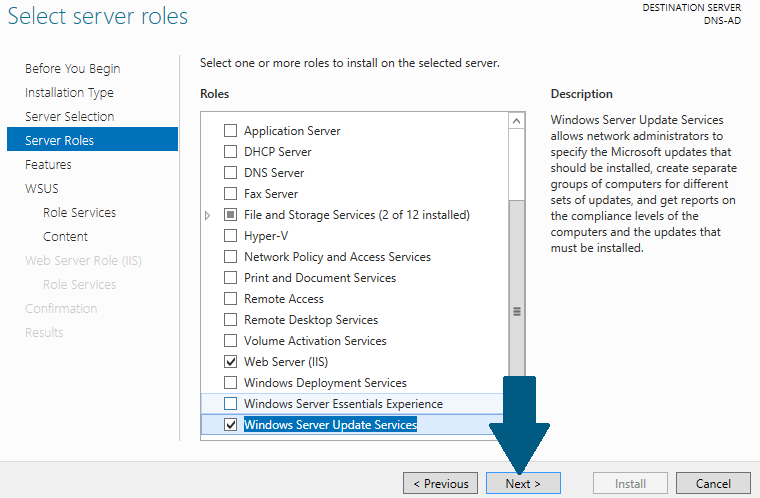
Step 8: Click Next.
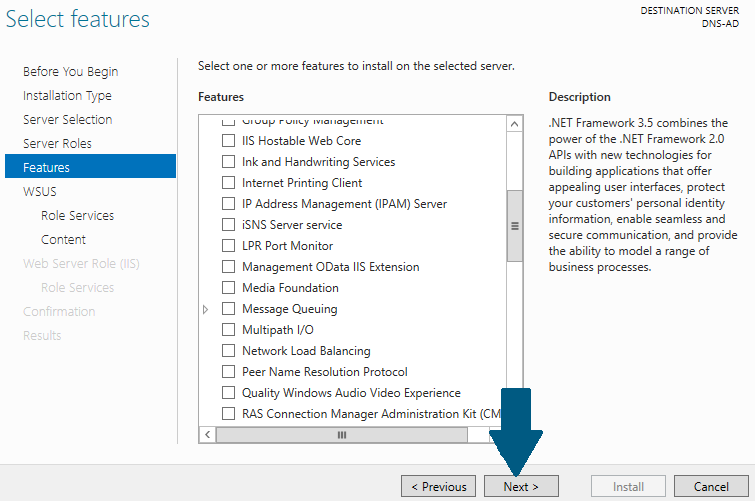
Step 9: Click Next.
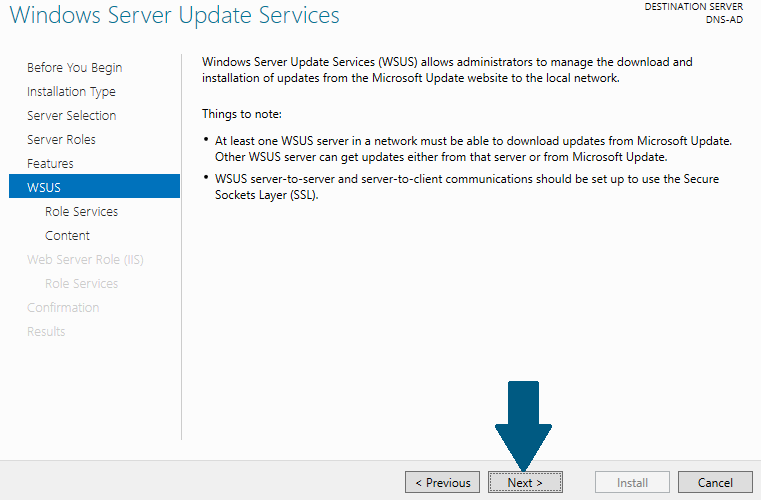
Step 10: Leave default selections and click Next.
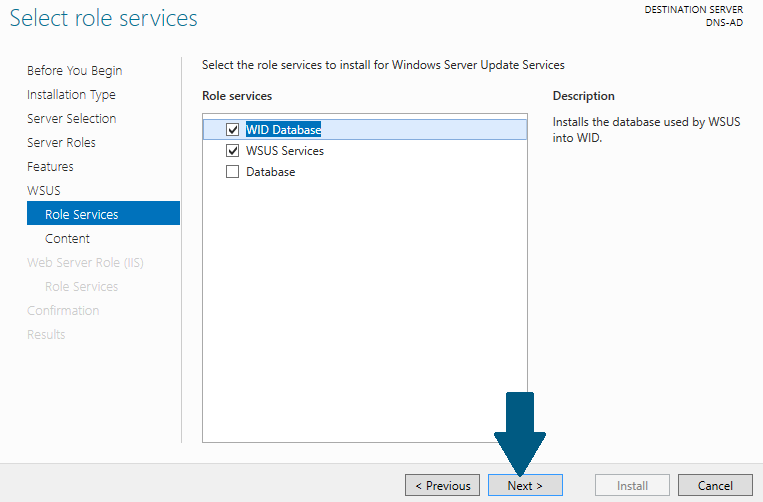
Step 11: Click Next.
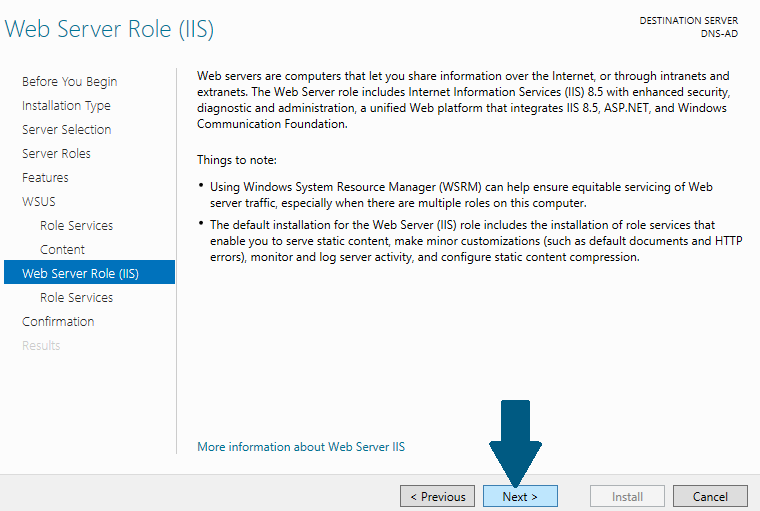
Step 12: Click Next.
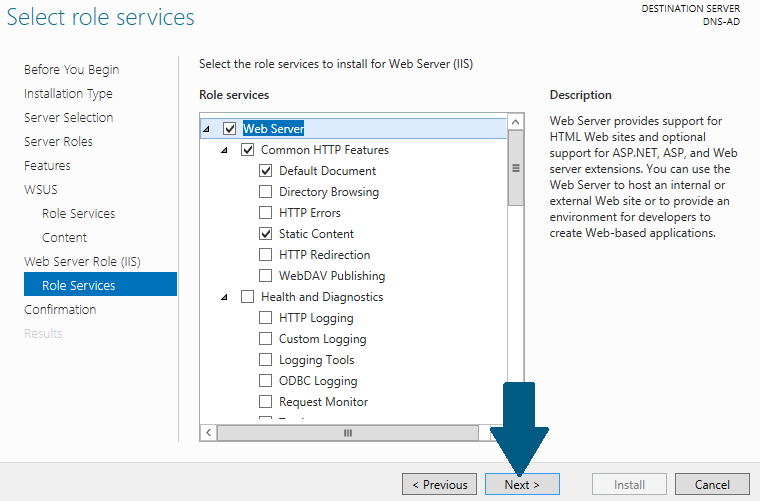
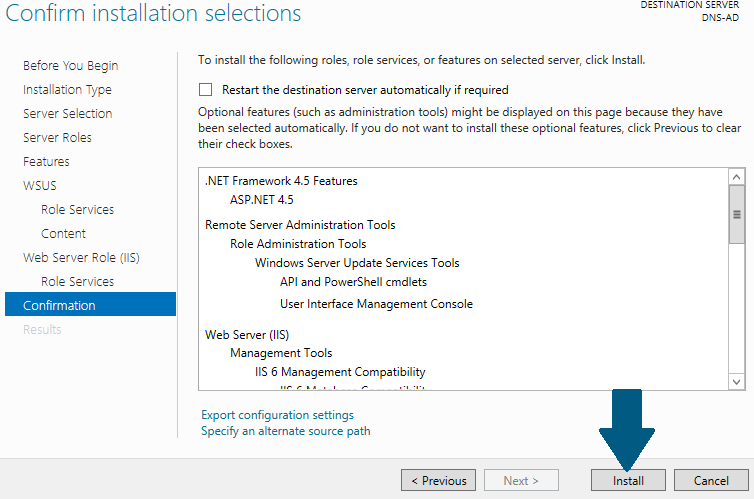
Step 13: Click Install.
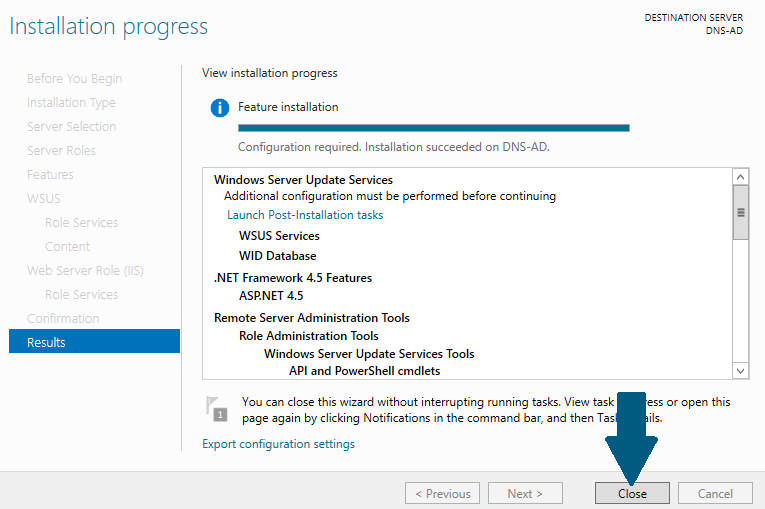
Step 14: Click Launch Post Installation tasks. This could take 10 minutes. When you are done proceed to next step 15.
Configuring WSUS Server
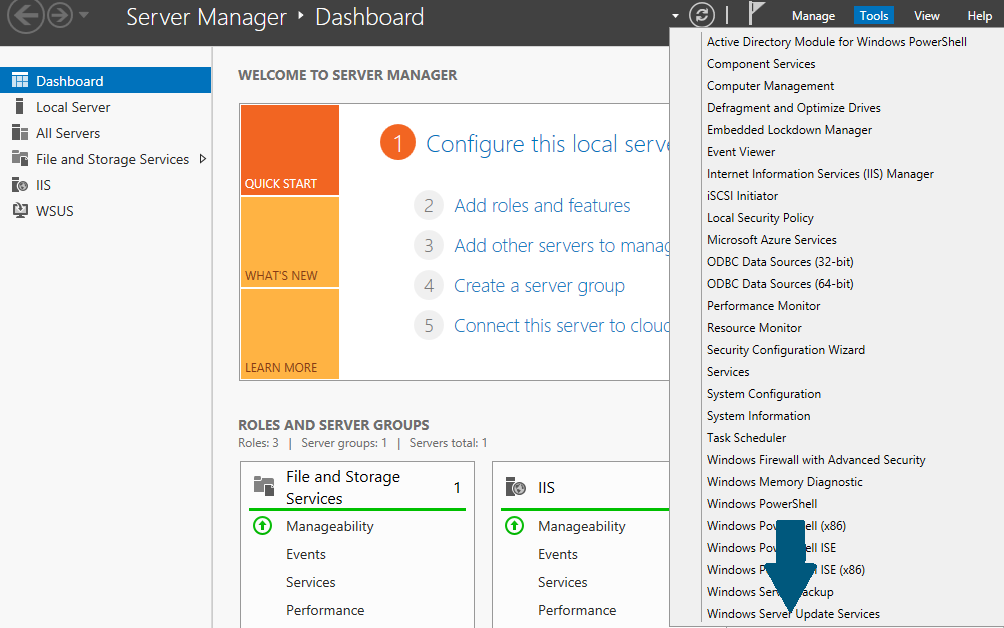
Step 15: From server manager dashboard, click Tools. Scroll down the menu and click Windows Server Update Services.
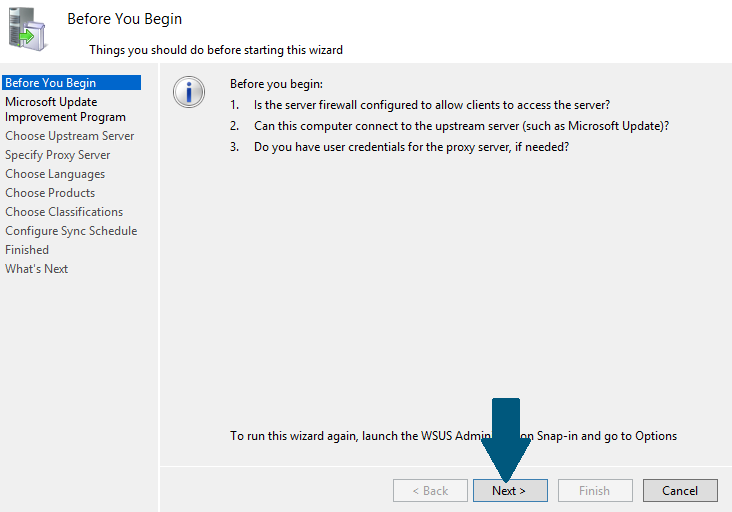
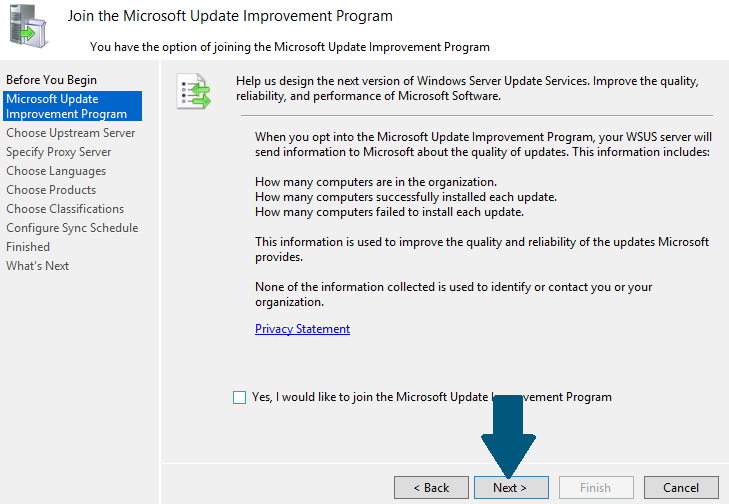
Step 16: Click Next.
Step 17: Click Next.
Step 18: Click Next.
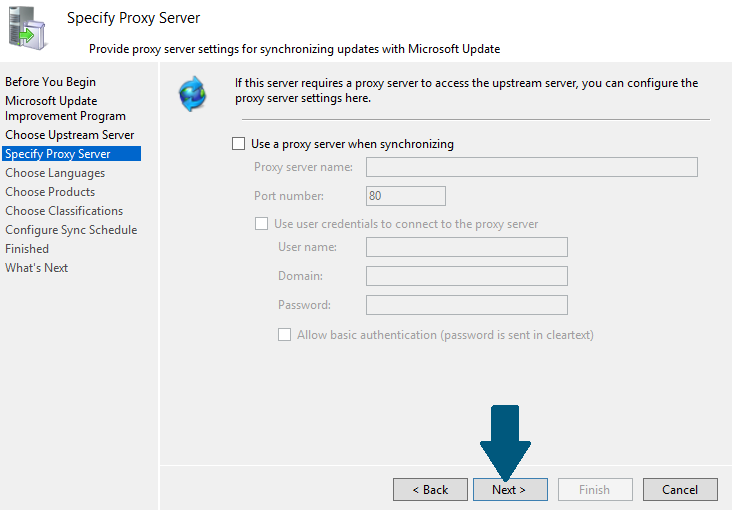
Step 19: Click Start Connecting.
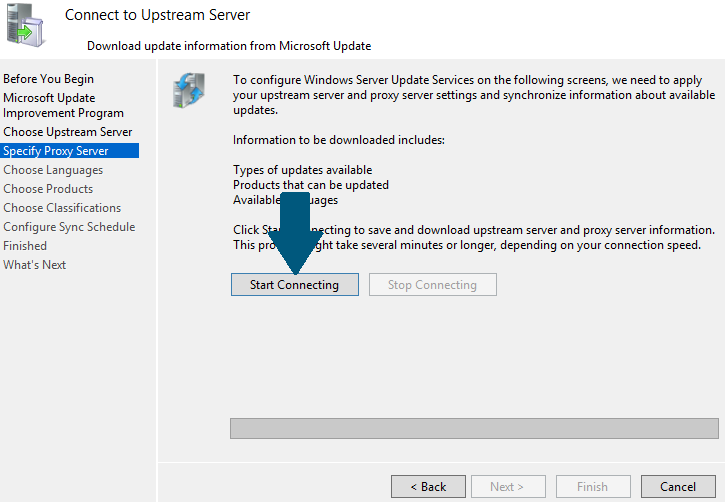
Step 20: Click Next.
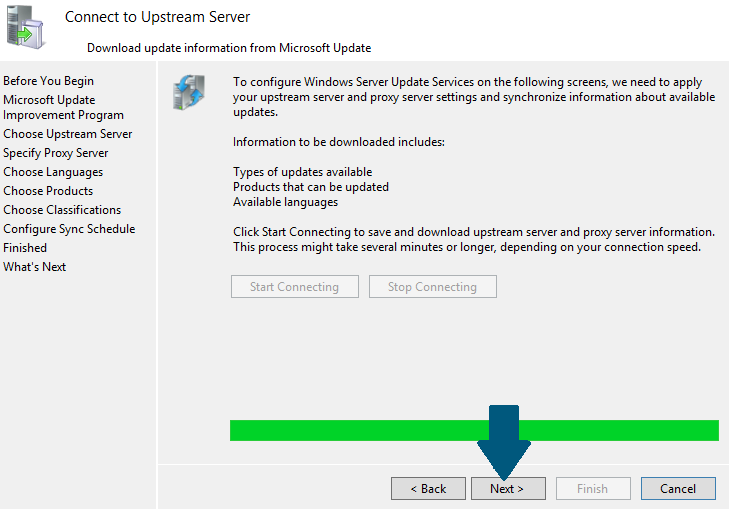
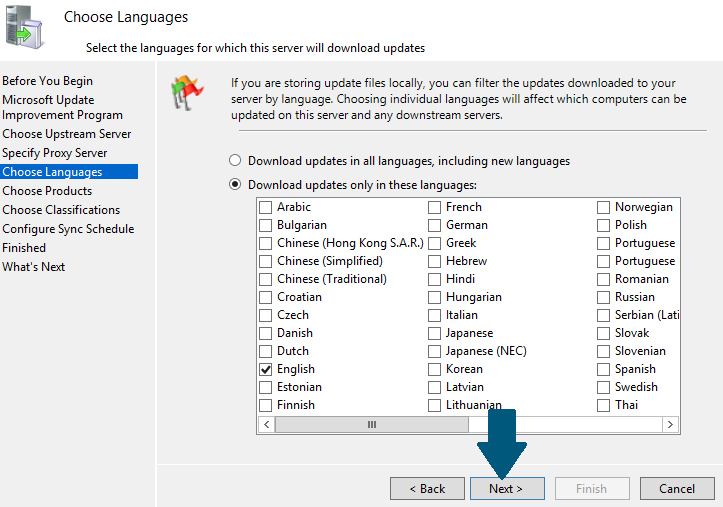
Step 21: Choose English language and click Next.
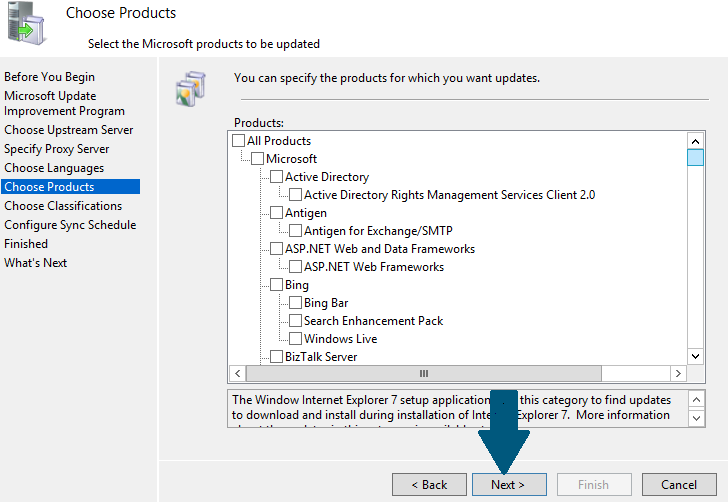
Step 22: Click Next.
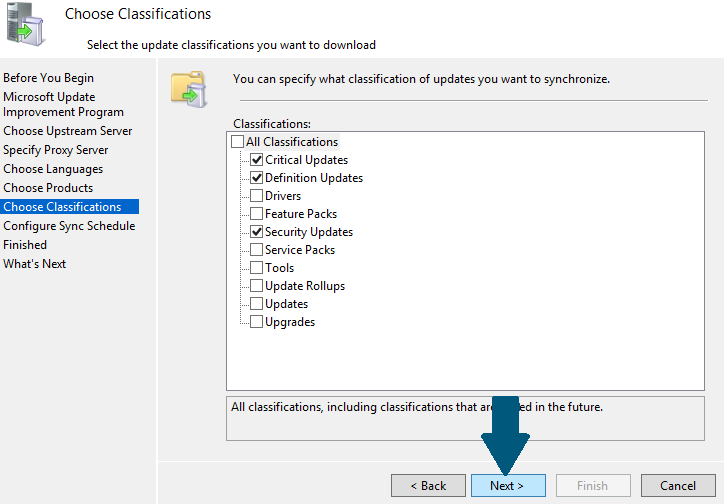
Step 23: Click Next.
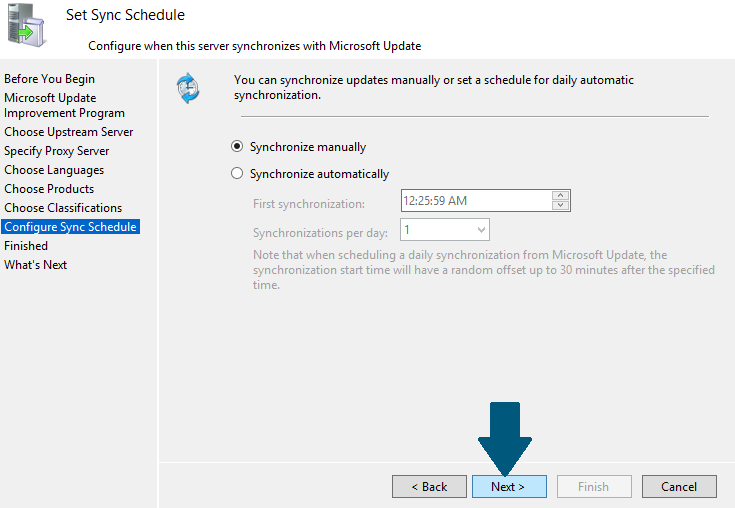
Step 24: Choose Synchronize manually and click Next.
Step 25: Click Next.
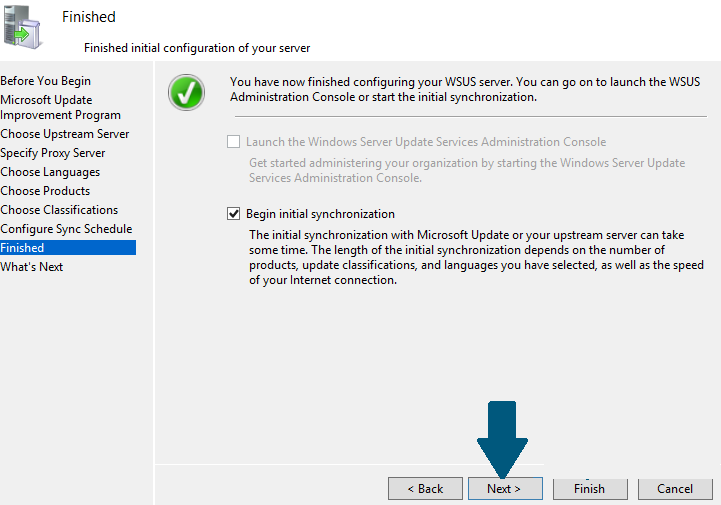
Step 26: Click Finish.
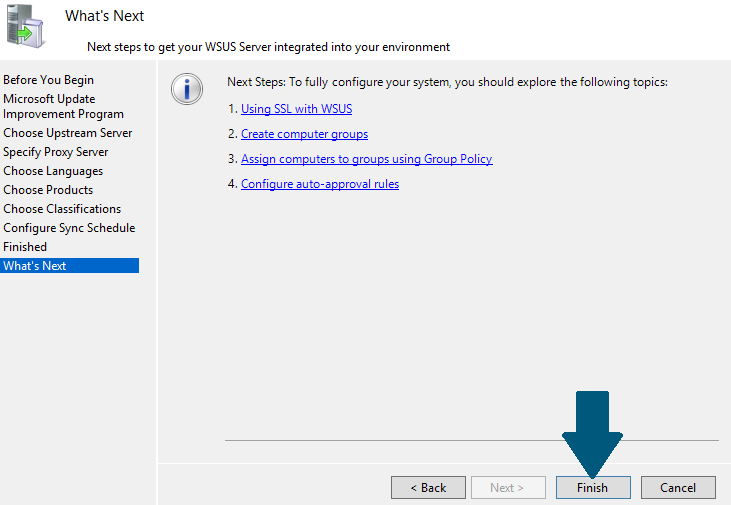
Creating Group Policies on the DC Server
Step 27: Go to your DC server. From Server manager dashboard, click Group Policy Management.
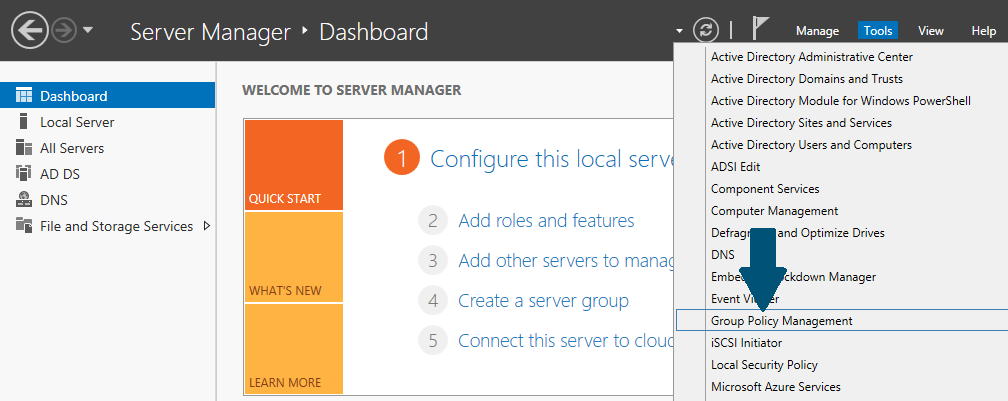
Step 28: In the group policy management window, right-click Group Policy Objects. Click New
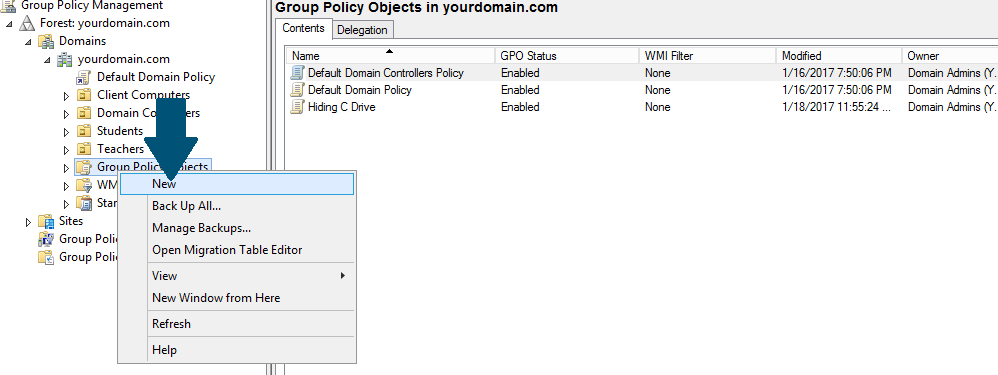
Step 29: Provide the name to this GPO and click OK.
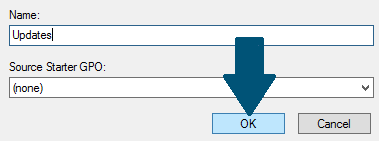
Step 30: Right-click the GPO created in step 29 and scroll down its menu. Click Edit.
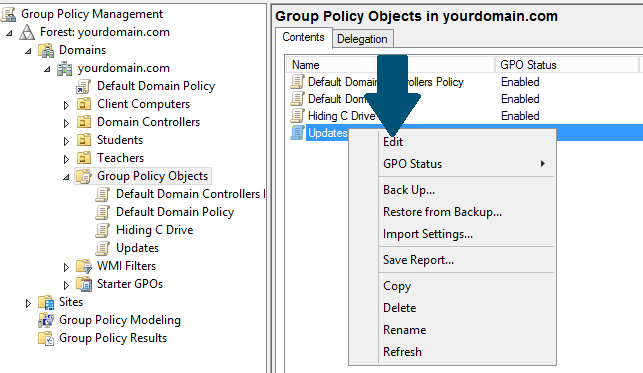
Step 31: Expand Computer Configuration -> Policies -> Administrative Templates -> Windows Components and click and click Windows Updates. Right-click Configure automatic updates and click Edit.
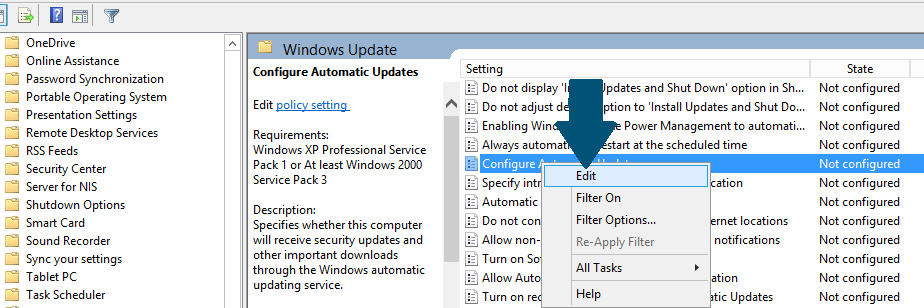
Step 32: Choose Enabled and option 3 from "configure automatic updating" and click OK.
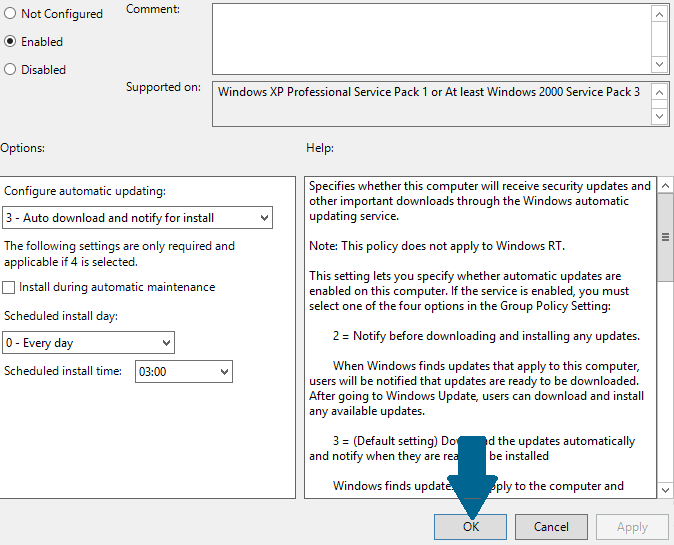
Step 33: Expand Computer Configuration -> Policies -> Administrative Templates -> Windows Components and click and click Windows Updates. Right-click Specify intranet Microsoft update service location and click Edit.
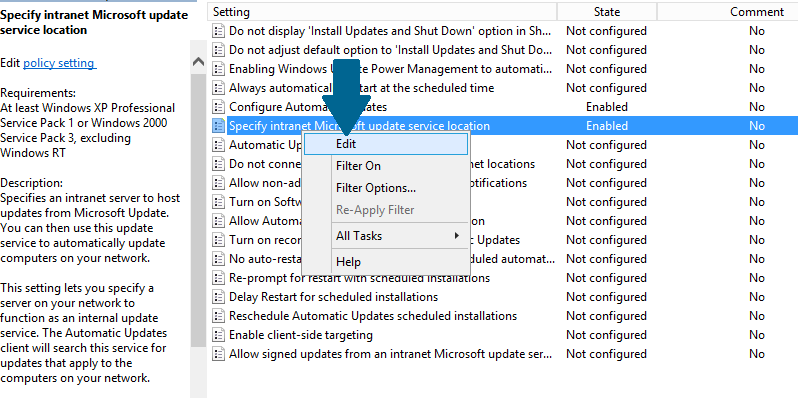
Step 34: Choose Enabled and provide the FQDN of WSUS server in the form http://<WSUS.mydomain.com>:8530. Click OK.
Step 35: Right-click the OU and scroll down the menu. Click Link and Existing GPO.
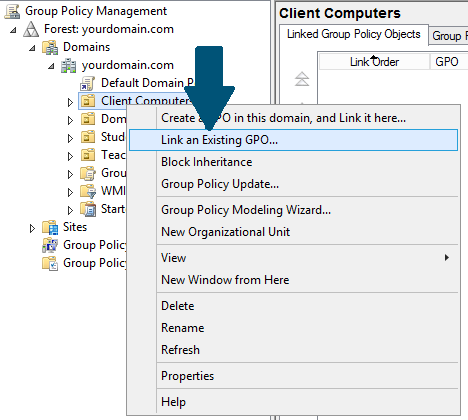
Step 36: Choose the GPO created in above steps and click OK.
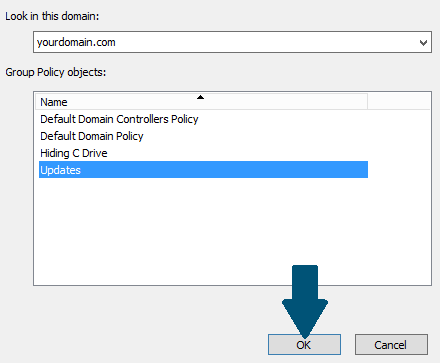
Testing and Approving Updates on WSUS Server
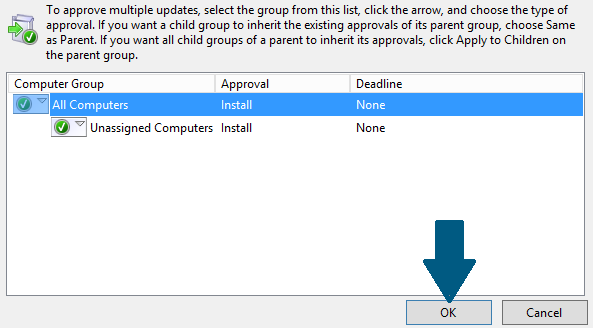
Step 37: Click All Updates. Select the updates and click Approve so that client computers can see these updates.
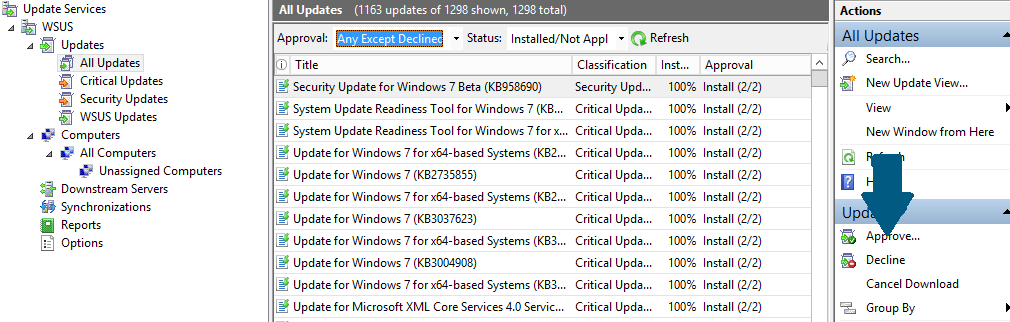
Step 38: Click Approved for Install. Click OK and you are done. Now when client computer perform their updates they will pull all the approved updates.