DHCP (dynamic Host Configuration Protocol) is used to dynamically assign IP addresses to client machines. We are going to demonstrate how to configure this DHCP server on Windows Server 2012 R2. This tutorial is divided into following two parts:
- Part 1. Installing DHCP Server role on Windows Server 2012 R2
- Part 2. Configuring and creating IP address pool in order to distribute those addresses to client machines
Prerequisites
Before you proceed with setting up DHCP server on your Windows Server 2012 R2, you have to fulfill following four requirements for an installation and configuration to be successful.
- Administrator account has strong password
- At least one static IP is configured
- Current security updates from Windows Update are installed
- Firewall is turned off
Part 1: Installing DHCP Server
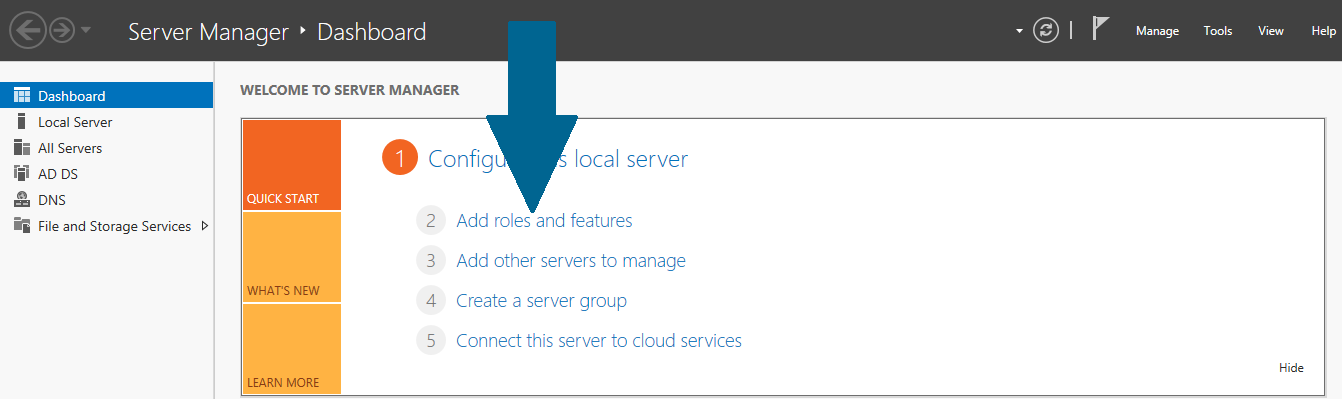
Step 1: Open Server Manager from task bar and click Add roles and features
Figure 1
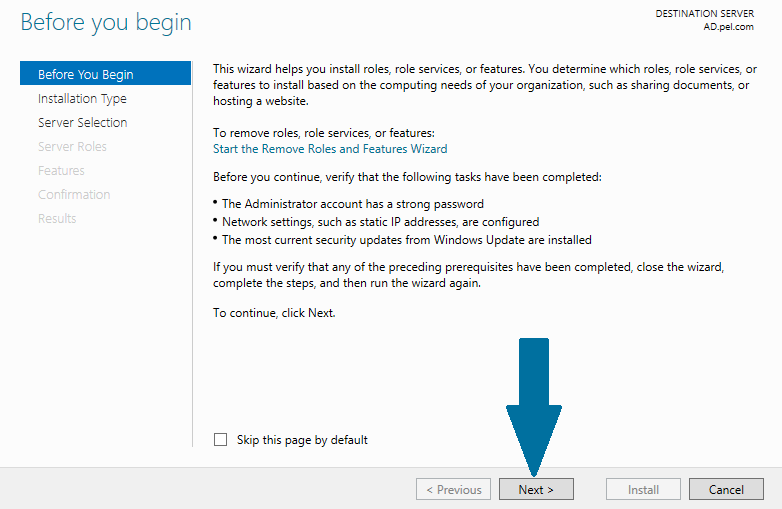
Step 2: Before you run the installation wizard, make sure that an administrator account has a strong password, static IP is configured, and security updates from Windows updates are installed. When you are done, click Next
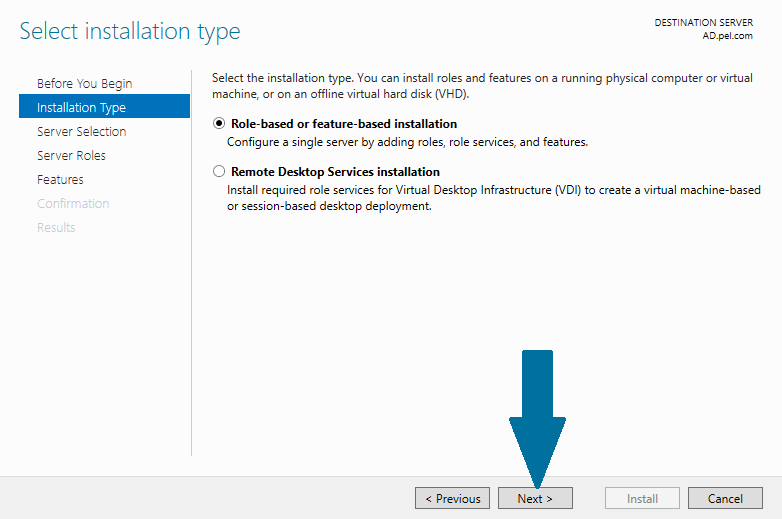
Step 3: Select Role-based or feature-based installation and click Next
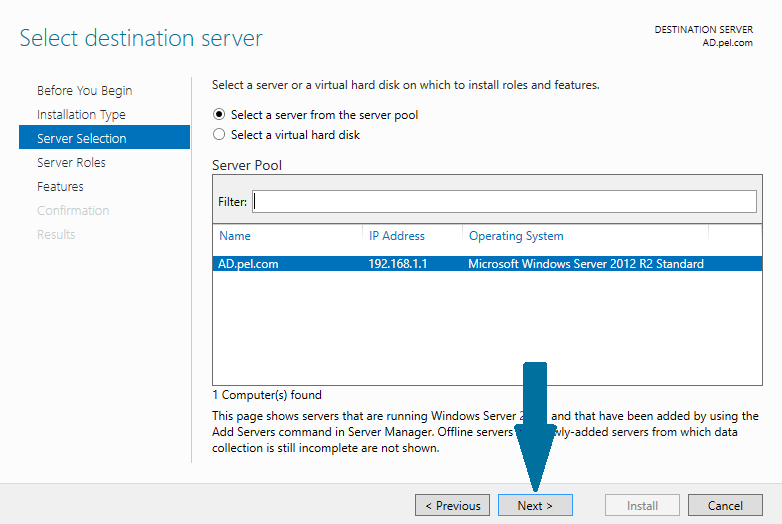
Step 4: Select a destination server on which you want to install the DHCP server. In our case, there is only one server which is local server and it is selected by default. Click Next
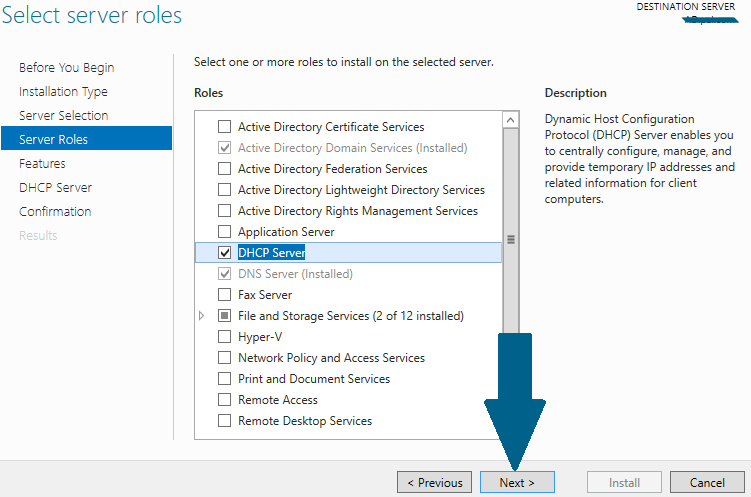
Step 5: Select DHCP server role by checking the appropriate box. As soon as you check the box, a small window will pop up alerting you that there are some other features which are also required to be installed along with DHCP server. Click Add Features
Figure 5
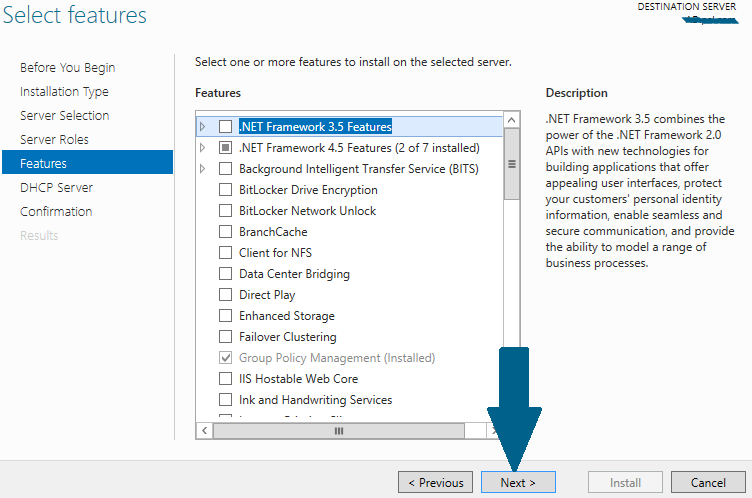
Step 6: Click Next
Step 7: Click Next
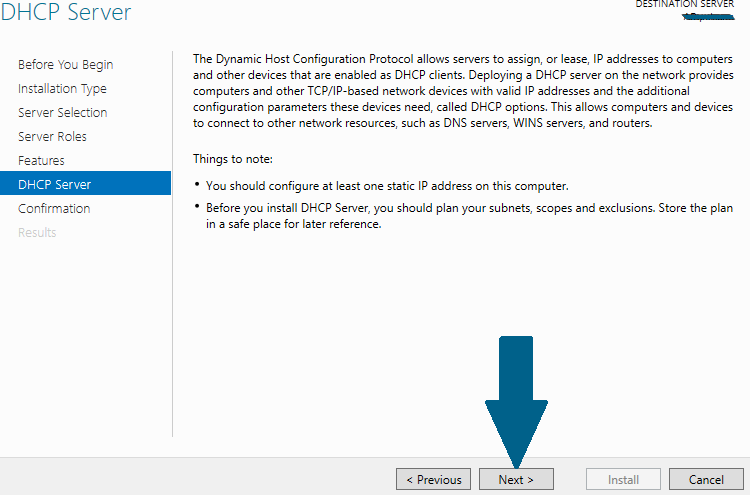
Step 8: Note the things outlined in the screen and click Next
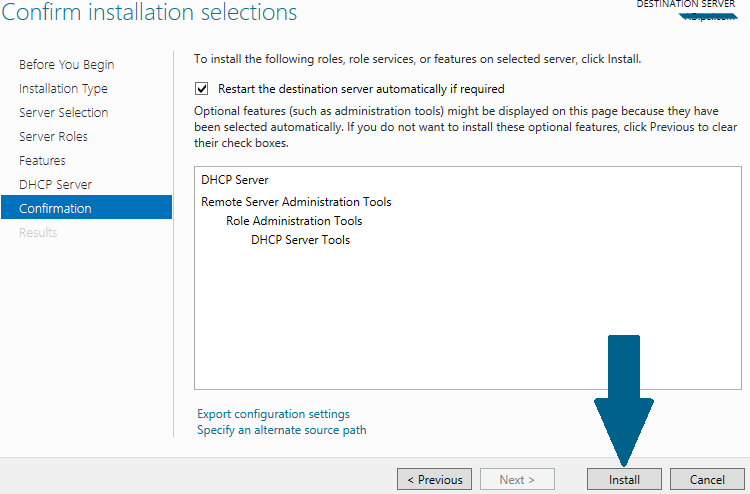
Step 9: Confirm your installation selections and click Install
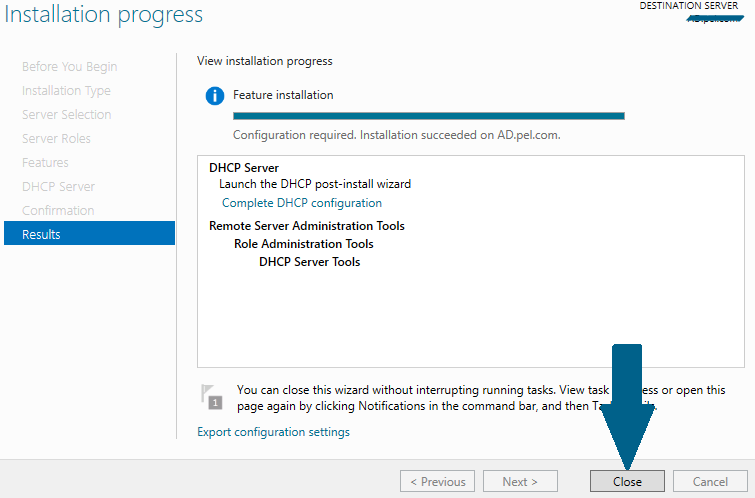
Step 10: Click Close to finish the installation
Part 2: Configuring DHCP Server and Creating Scope
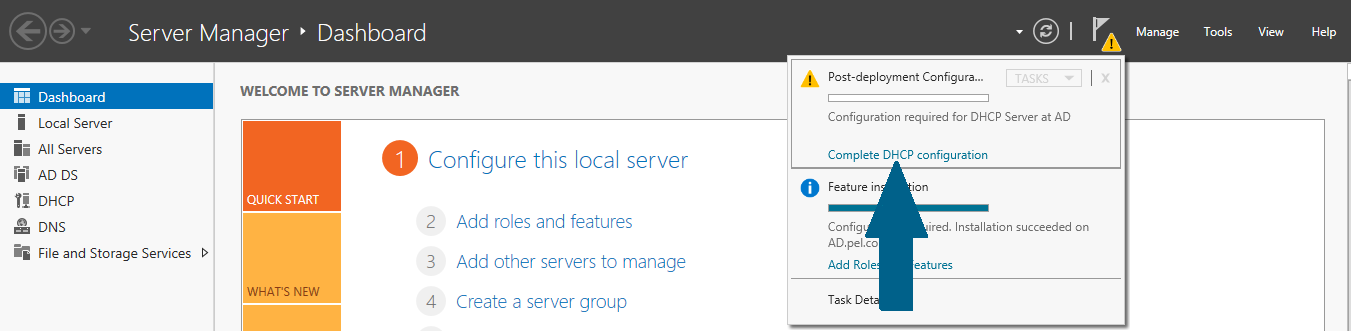
Step 11: Open Server Manager and click notifications icon. A small window will appear. Click Complete DHCP configuration
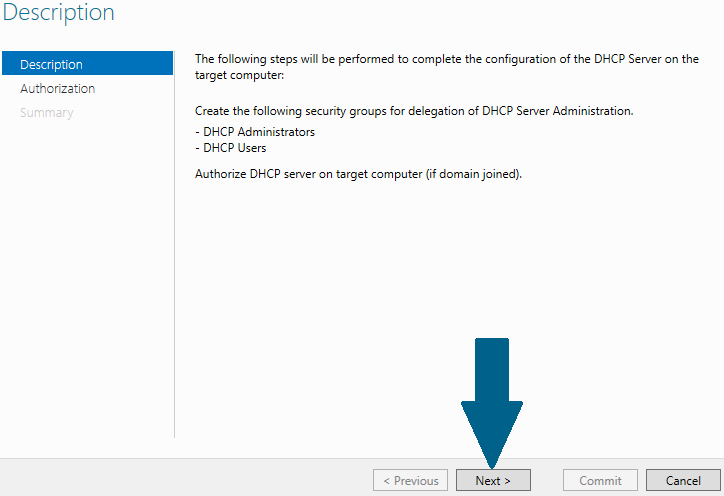
Step 12: Click Next
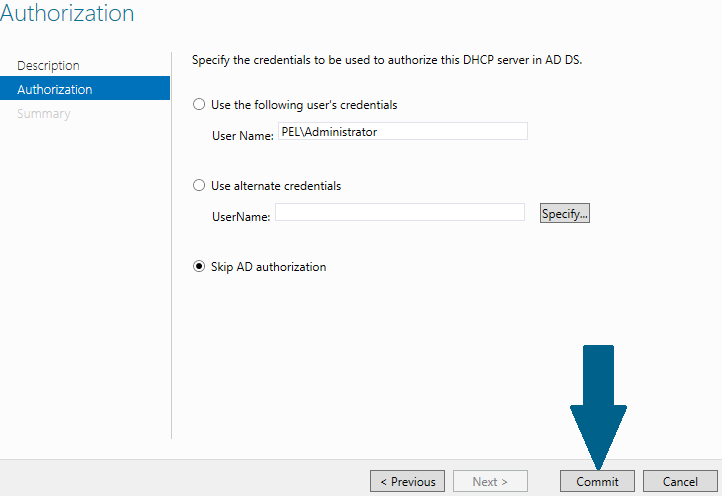
Step 13: Choose Skip AD authorization since we do not have any AD configured and click Commit
Step 14: Read the summary and click Close
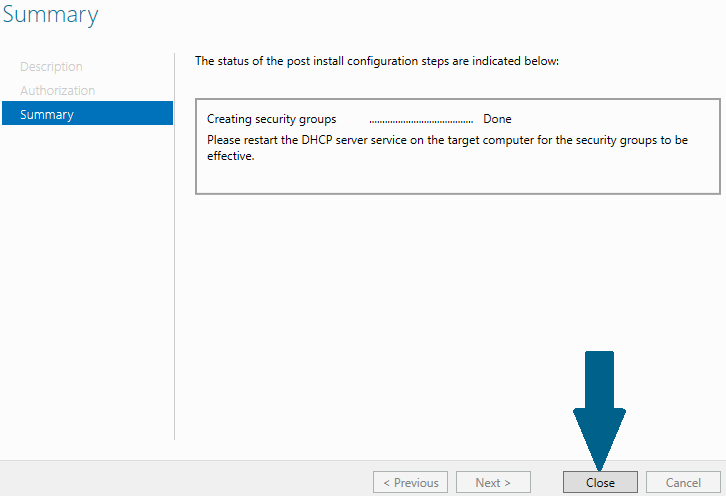
Step 15: Open Server Manager and click on Tools. When a small window appear, scroll to DHCP and click it
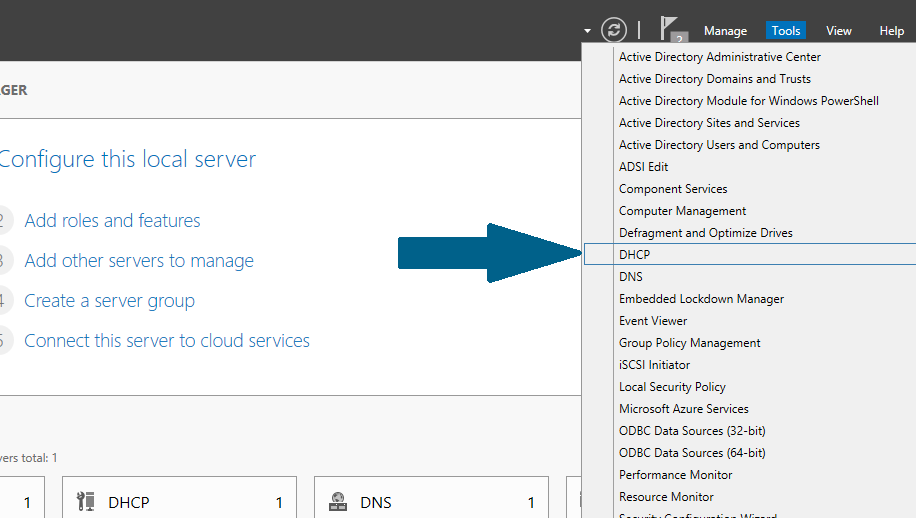
Step 16: In management console, right click on IPv4 and scroll to New Scope and click it
Step 17: Click Next
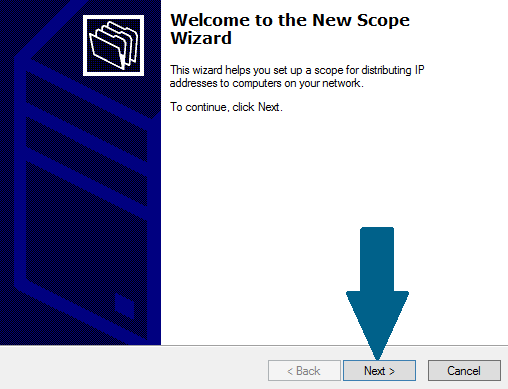
Step 18: Provide name and meaningful description of this new scope and click Next
Step 19: Provide IP address range along with sub net you need to distribute to client machines and click Next
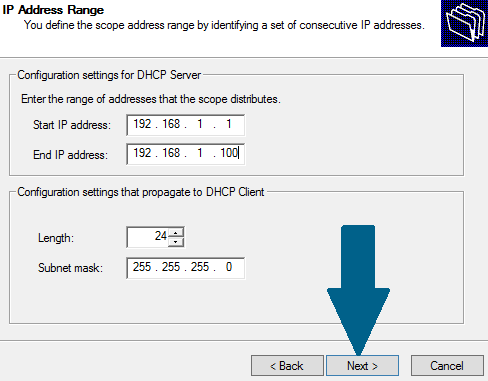
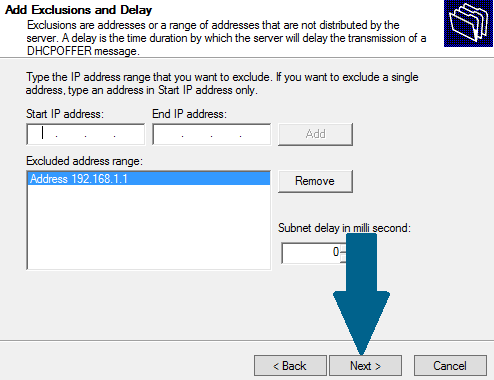
Step 20: Provide any IP addresses you need to exclude from pool and click Add. I have excluded a first IP address which is statically assigned to my DHCP server. Click Next
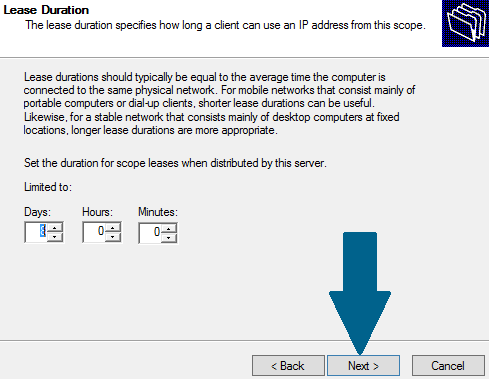
Step 21: Keep lease duration as 8 days and click Next
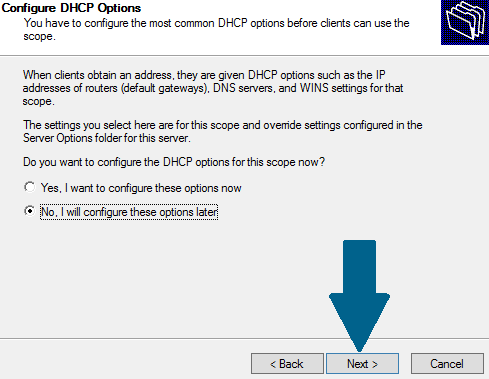
Step 22: Choose No, I will configure these options later and click Next
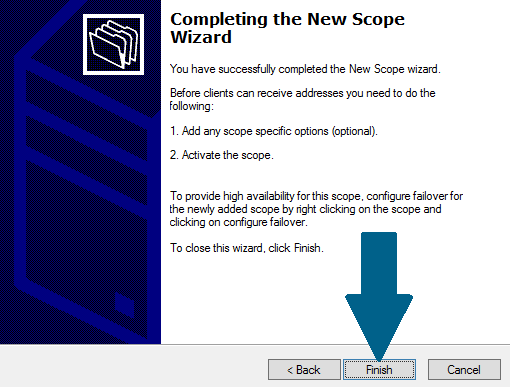
Step 23: Click Finish to end the new scope wizard
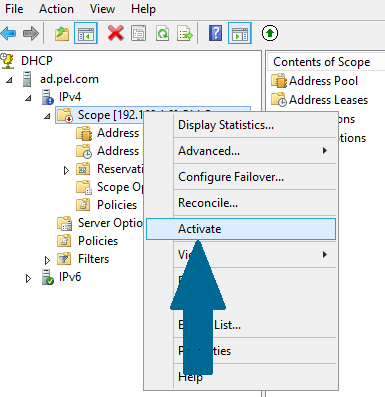
Step 24: Right-click on new scope you just created in above step and click Activate
Figure 24
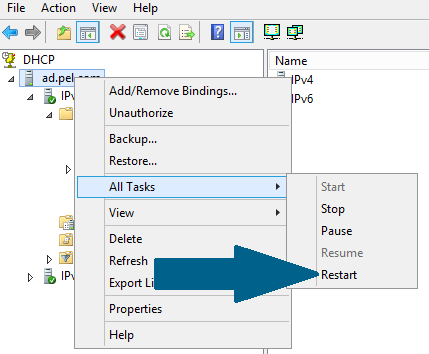
Step 25: Right-click on your server, scroll to All Tasks and then click Restart to finish with configuration
Figure 25
Conclusion
DHCP server has been successfully set up on Windows Server 2012 R2. You should test this configuration by using a client machine and setting it to obtain an IP address automatically in TCP/IPv4 Properties.