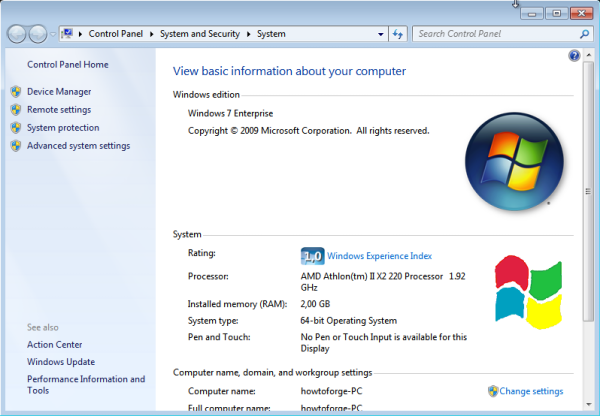
The system properties Window in Windows 7 has space for two Windows logos - one is the Windows logo that is shown by default on most systems and one is for manufacturers (computers by Dell and others will have their logo placed there). This manufacturer logo can be changed to an own picture using the registry.
- To start, edit the picture you want to use as logo. It has to be 120x120 pixel large and a bitmap file (.bmp, color range is up to you).
- Save the file into any directory now, I will choose C:\Windows\System32 for that but it can be any other. Name it oemlogo.bmp
- Open the registry by entering regedit into a Run... prompt. On the left column, navigate to the HKEY_LOCAL_MACHINE\Software\Microsoft\Windows\CurrentVersion\OEMInformation key.
- On the right column, if there is no value called Logo, create it by right-clicking the empty space and choosing New > String Value.
- Assign the full path of the picture to the Logo value (C:\Windows\System32\oemlogo.bmp).
- Close the registry and open the system properties window to view your beautiful new logo: