An RODC holds a read-only copy of the Active Directory database and doesn't allow any changes in AD data. It is mostly deployed in branch offices due to poor physical security. If some one gets access to the RODC, he won't be able to change the global data. If an intruder somehow manages to change the data on the RODC, it won't be replicated to write-able DCs due to unidirectional replication (from wrote-able to read-only DC).
In this guide, I am going to show you how to deploy an RODC in Windows Server 2016.
Prerequisites
Cross check the following prerequisites
- Administrator account has strong password.
- Static IP is configured.
- Firewall is turned off.
- Latest updates from Microsoft are installed.
- You have at least one writeable DC.
- DNS settings in TCP/IPv4 are pointing to DNS server of write-able DC.
Deploy a Read-Only Domain Controller in Windows Server 2016
To get started, open server manager dashboard and click on 'Add roles and features'. Then follow the wizard.
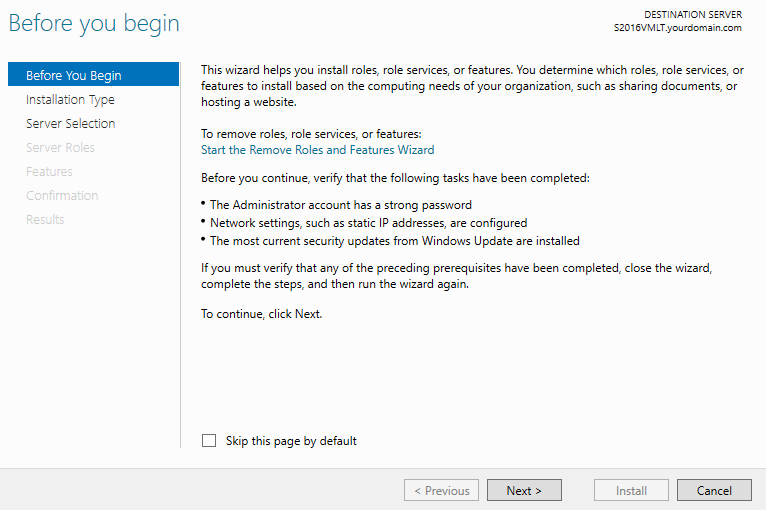
Step 1. Verify the tasks listed in the window and then click Next.
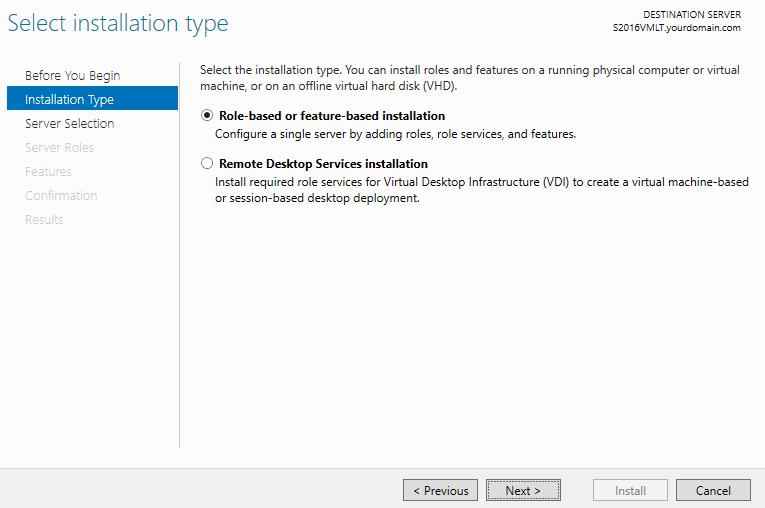
Step 2. Choose Role-based or feature-based installation and click Next.
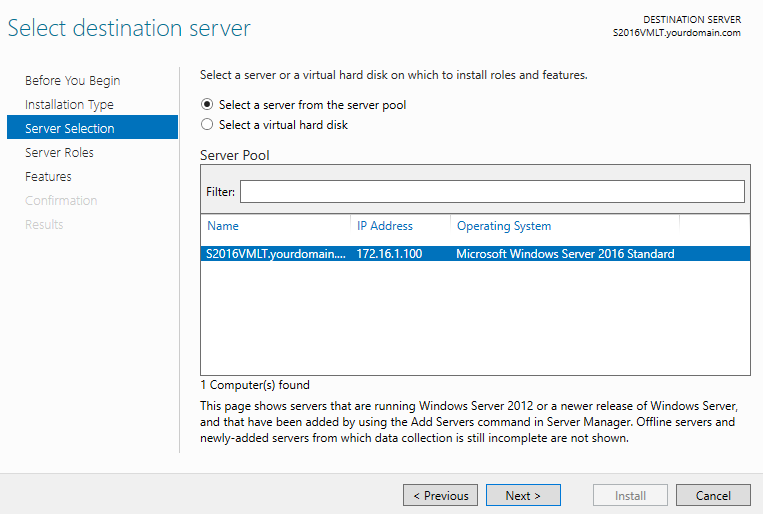
Step 3. Choose desired destination server from servers pool and click Next.
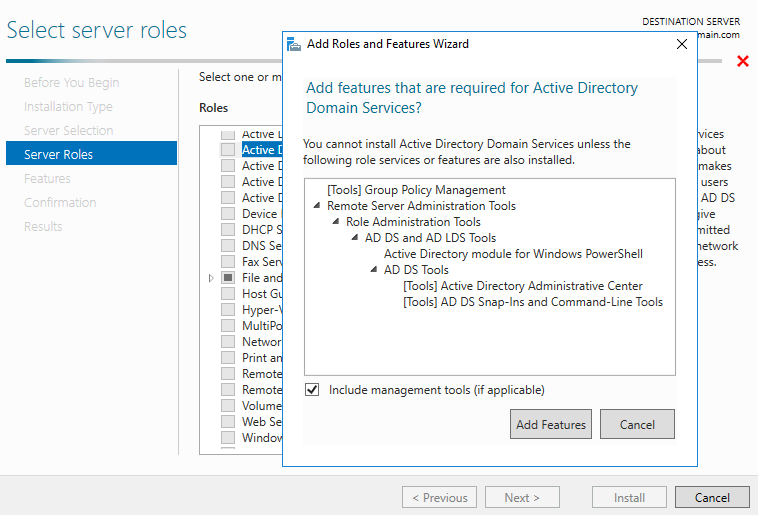
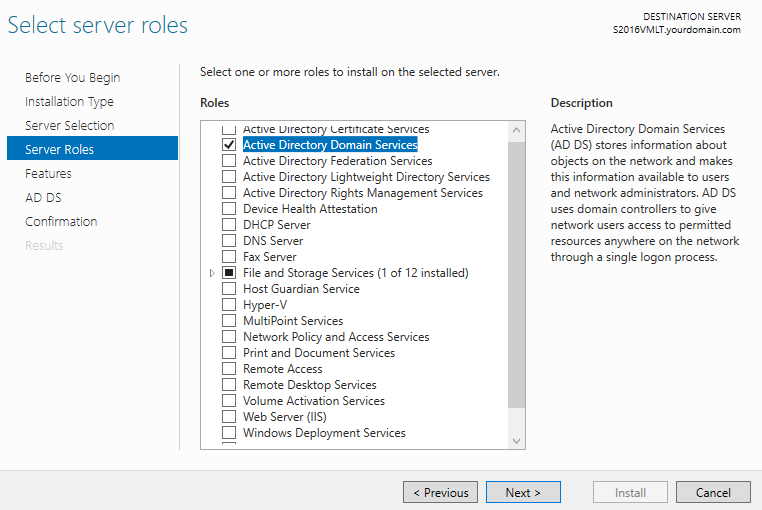
Step 4. Choose active directory domain services from server roles. As soon as you check the box a new window will appear, click Add Features.
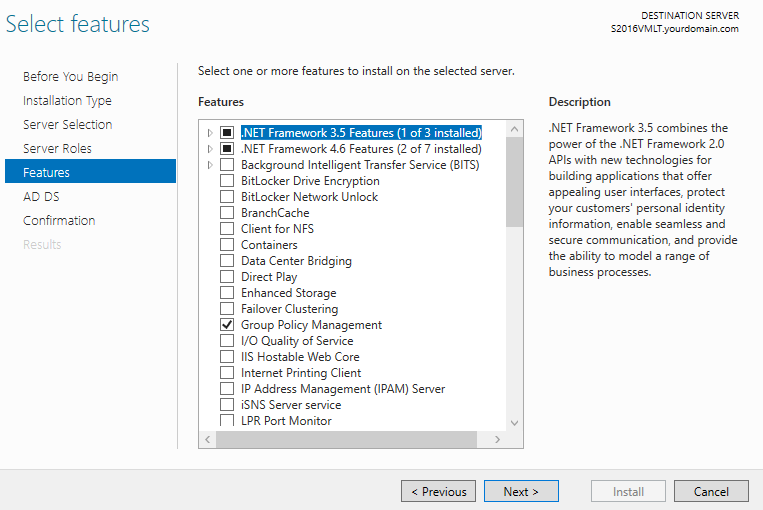
Step 5. Click Next.
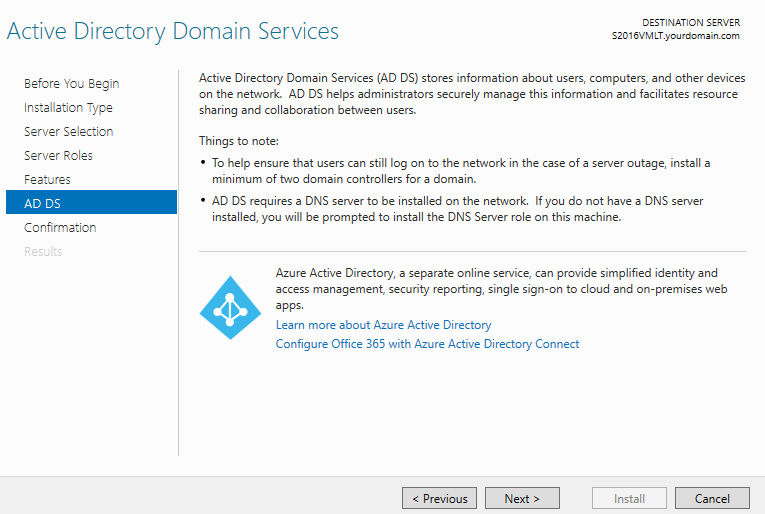
Step 6. Click Next.
Step 7. Click Next.
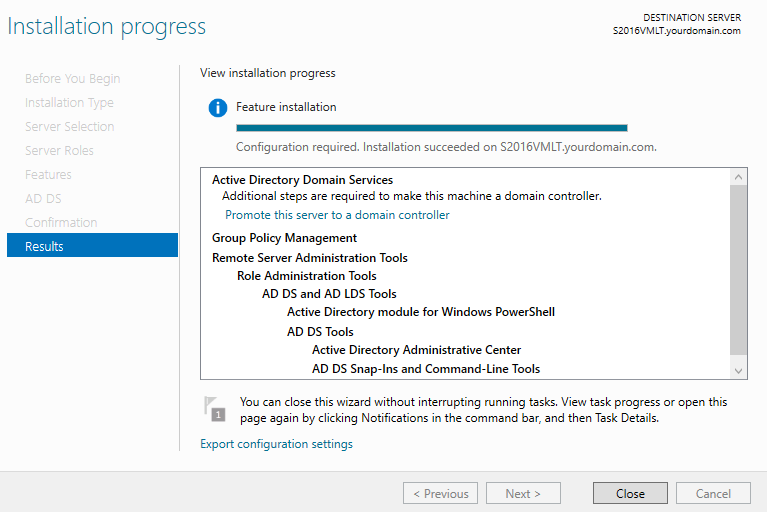
Step 8. Click Install and wait for an installation to finish. This may take several minutes to complete.
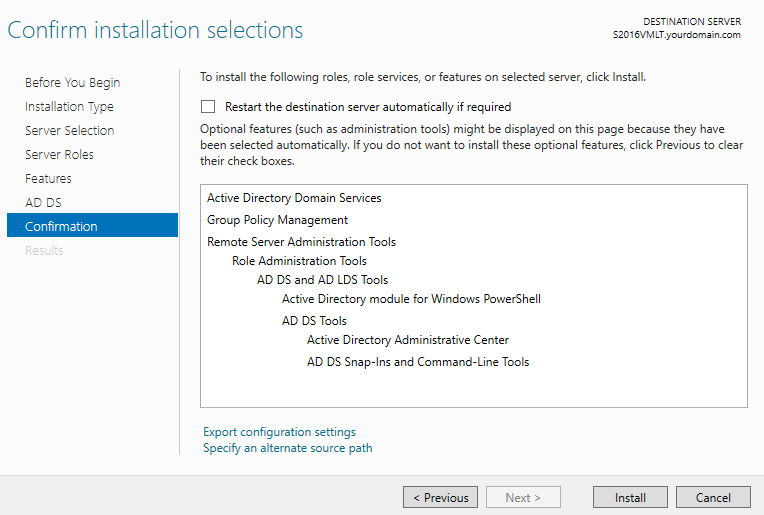
Step 9. Click Promote this server to a domain controller.
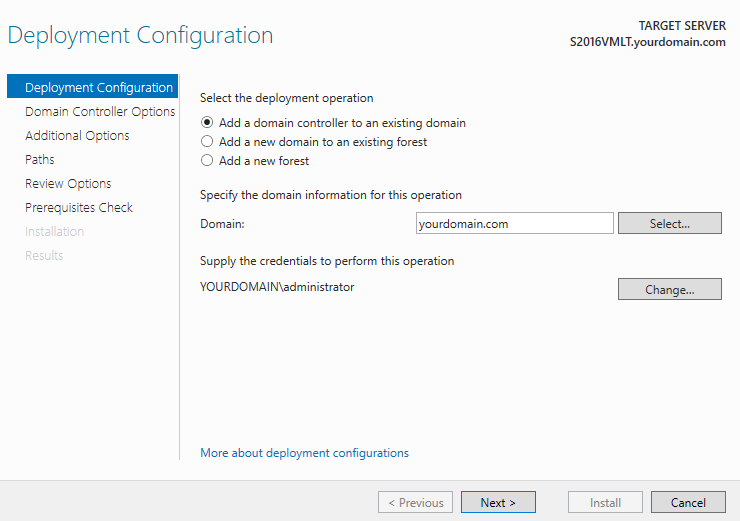
Step 10. Choose Add a domain controller to an existing domain. Provide the domain name and the appropriate credentials having permission to add a domain controller to an existing domain. Click Next.
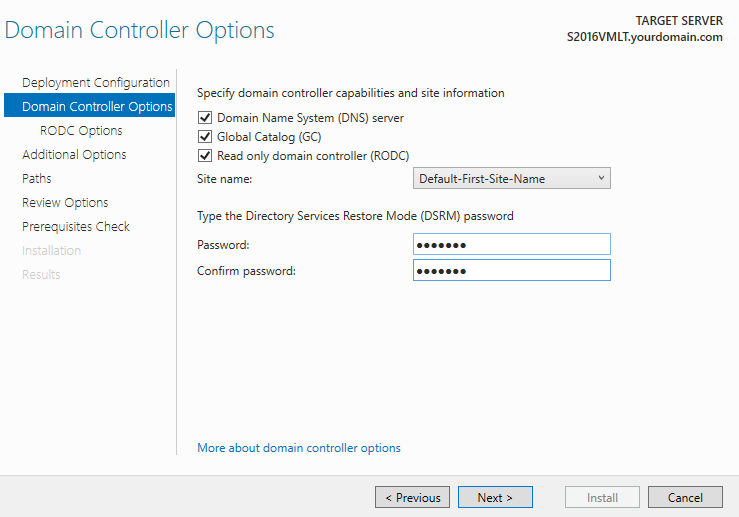
Step 11. Choose Read only domain controller (RODC) and provide the DSRM password. Click Next.
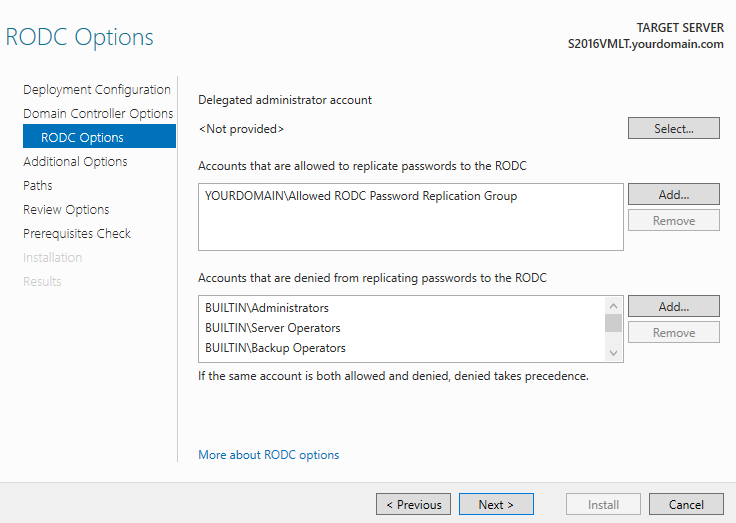
Step 12. Click Next.
Step 13. Click Next.
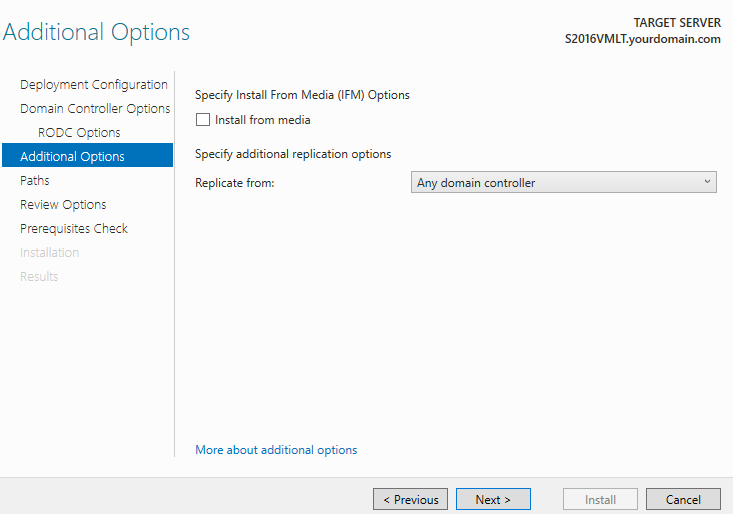
Step 14. Click Next.
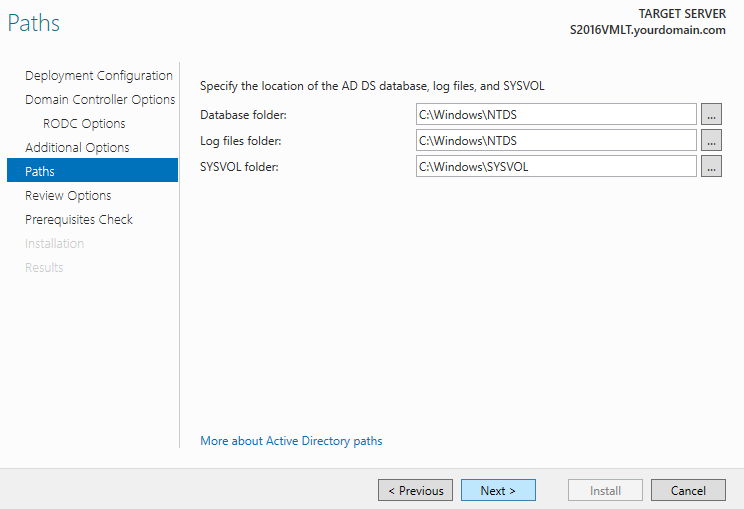
Step 15. Click Next.
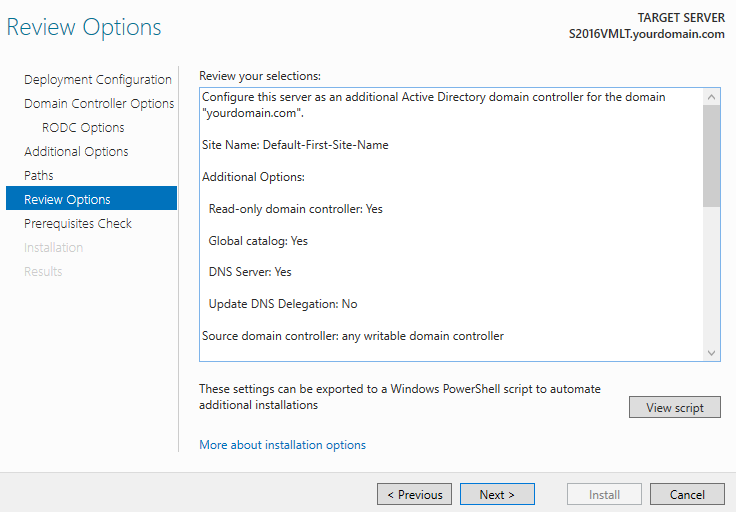
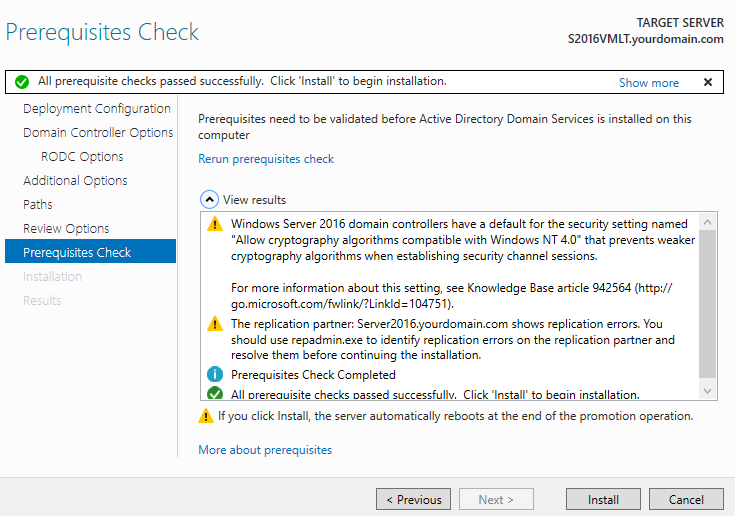
Step 16. Click Install and wait for configuration to finish. When configuration finishes, the server will be rebooted.
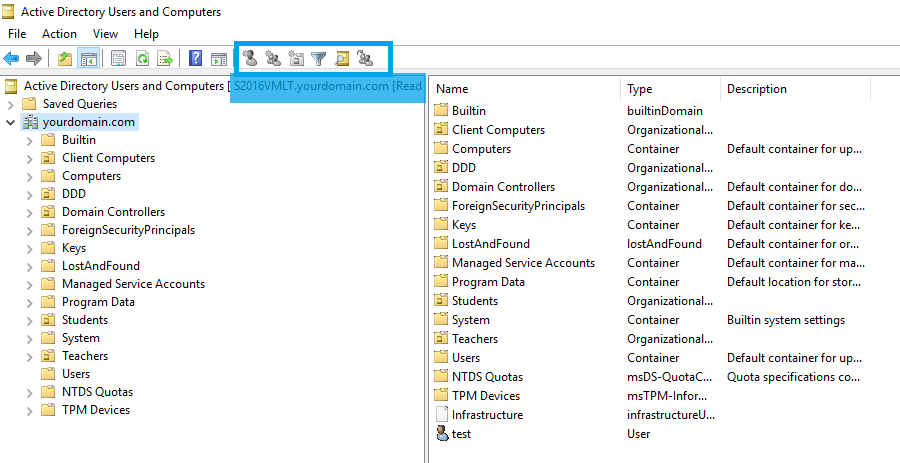
Step 17. Login to RODC with admin credentials. Open active directory user and computers (ADUC) console and make sure you are connected to Read Only DC and not to write-able DC. Notice the greyed out icons and try updating the AD data. You won't.