If you want to play videos of each format you need to have a good video player for that. Codecs are used in video conferencing, streaming media and video editing. K lite codec will let you play all popular video formats.
In this article, you will learn to install K lite codecs for Windows 10.
Install K Lite Codecs for Windows 10
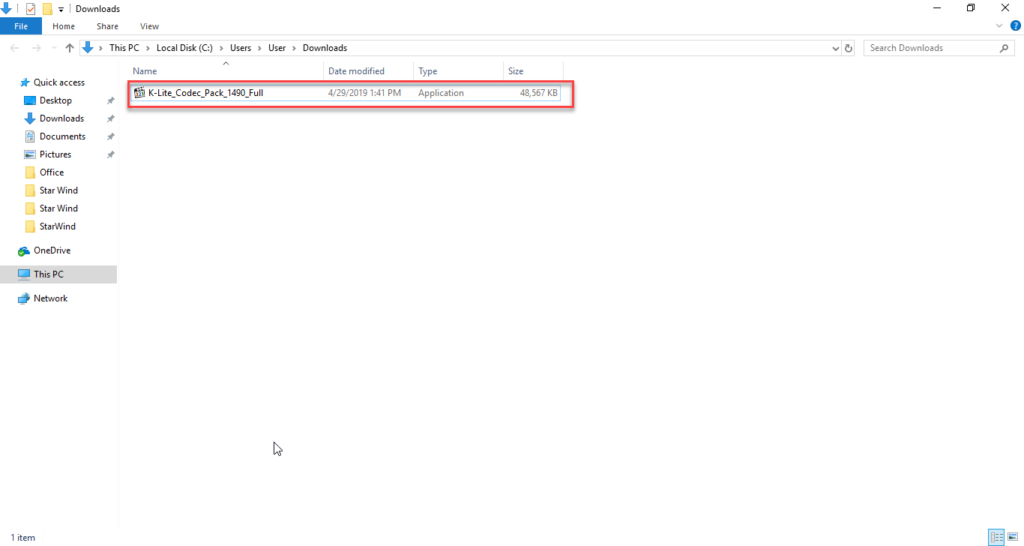
Download the K lite Codecs setup from internet. You can get the Free K-Lite Codec pack here:
https://www.codecguide.com/download_kl.htm
Open the setup as shown below:
Click on the setup of K lite codec and the following dialogue box will appear:
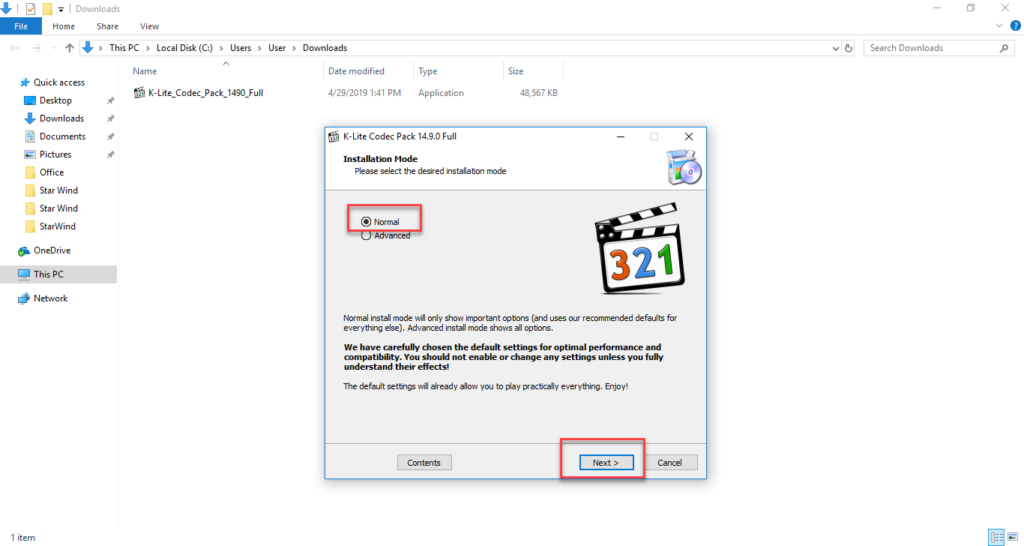
Select the installation mode Normal and click the Next button as shown in the above image.
Following options will appear:
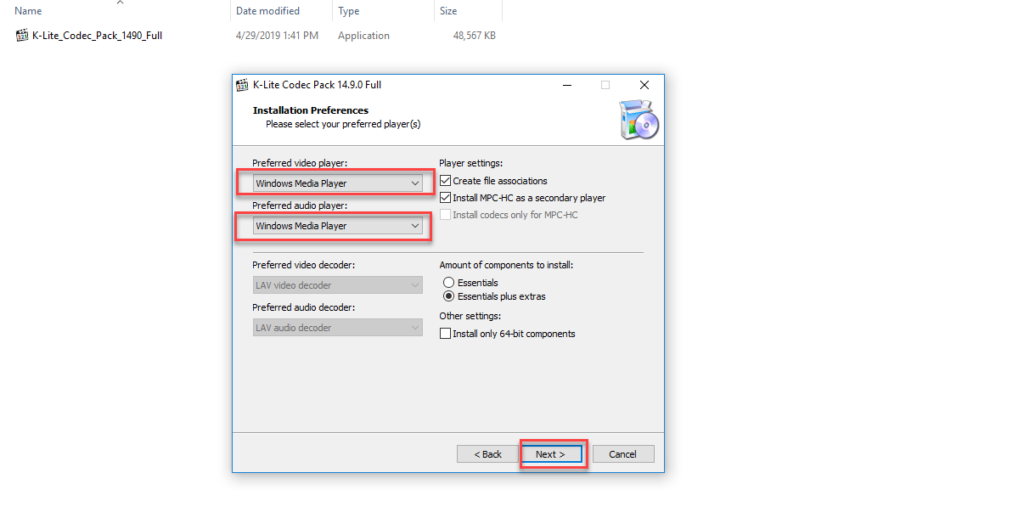
Now select Windows Media Player in Preferred video player and Preferred audio player. Rest of the settings on this dialogue box will be the same. Click the Next button and following dialogue box will appear:
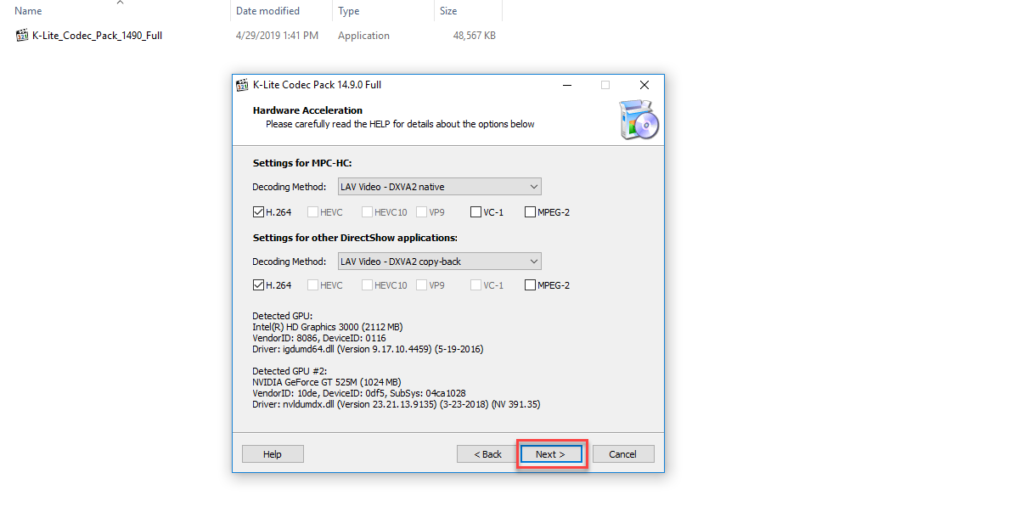
There is no need to change any setting here. Click the Next button and a dialogue box will appear with the following options:
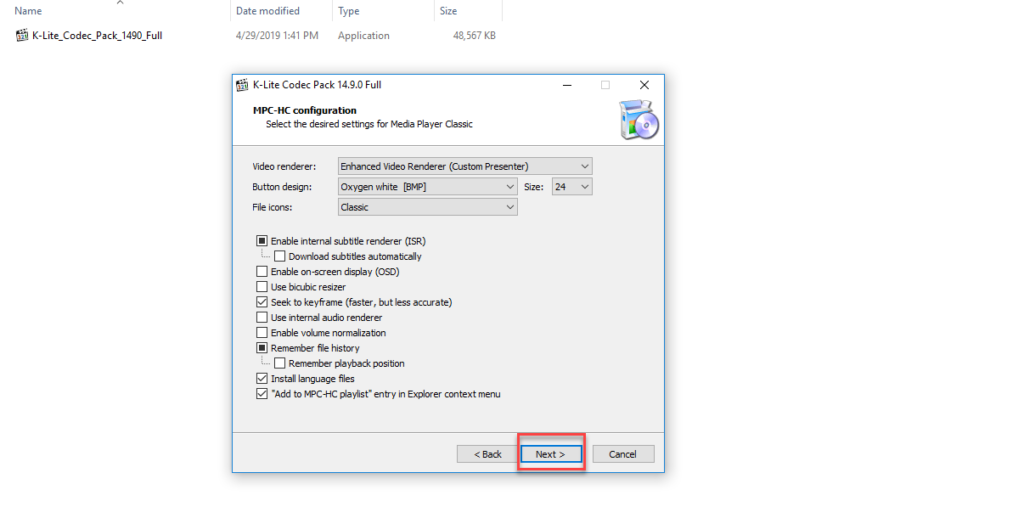
All settings will remain the same here as well. Click the Next button and following options will appear:
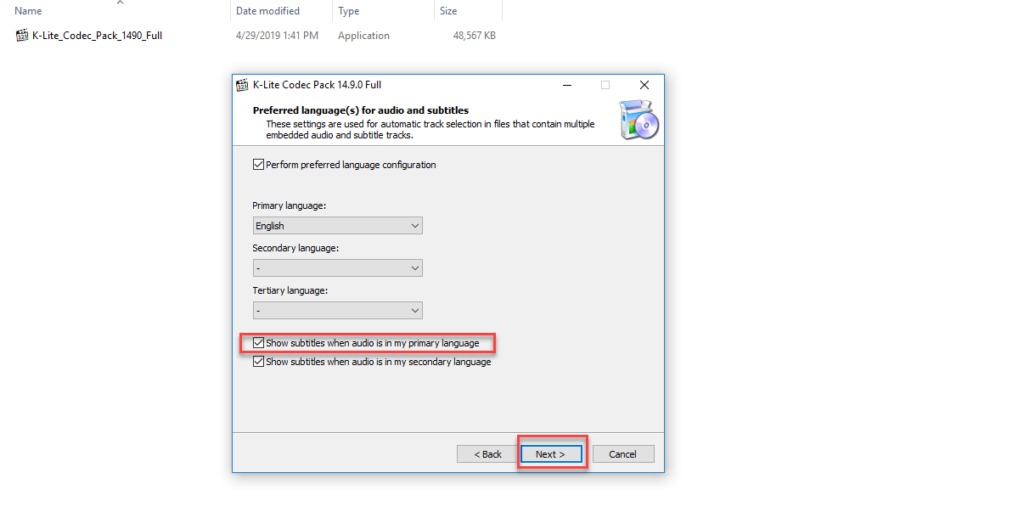
Check the box Show subtitles when audio is in my primary language. All other options will remain the same. Click the Next button and following dialogue box will appear:
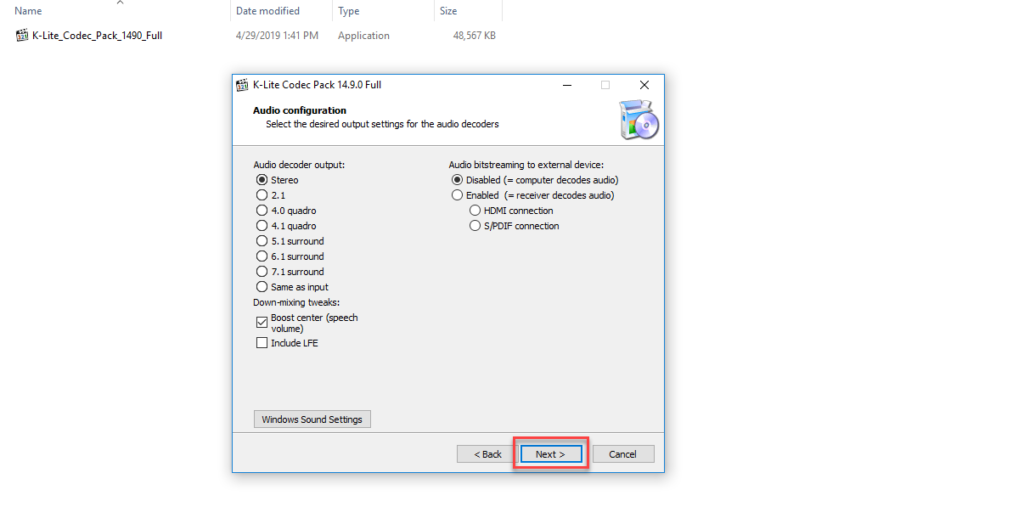
No need to change any setting and click the Next button. Following dialogue box will appear:
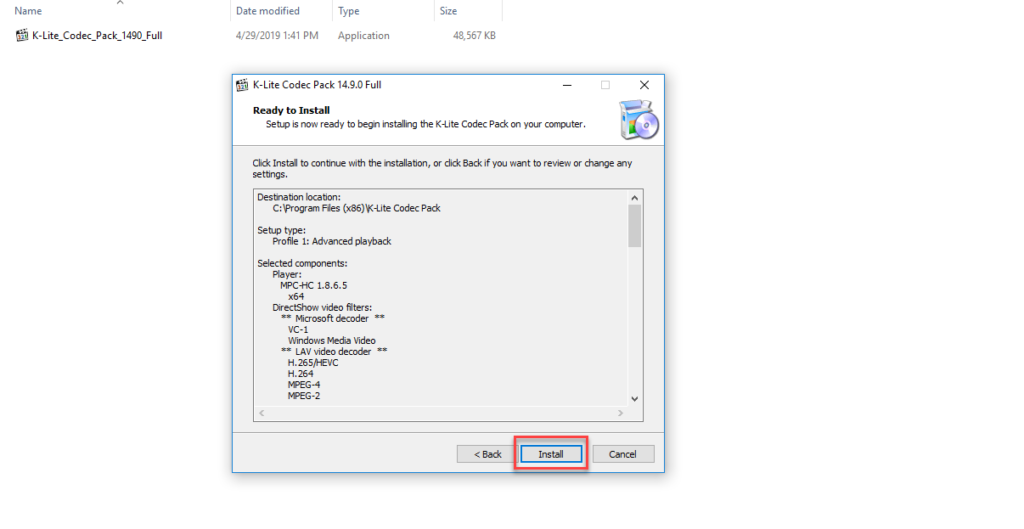
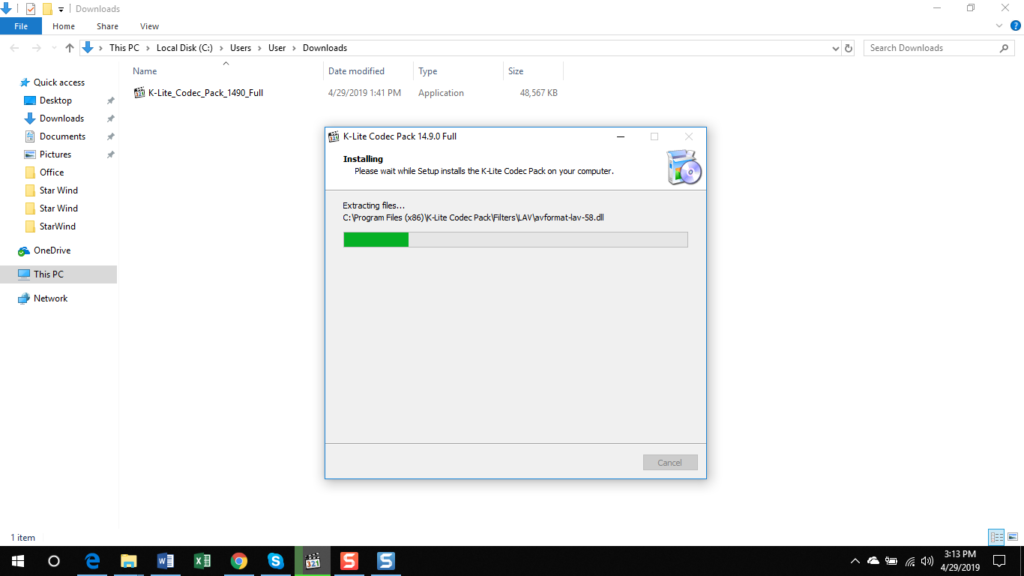
All settings selected in all previous dialogue boxes will appear in this dialogue box. You can verify that you have selected all the required settings, if not you can go back and choose as you want. If all is good to go, click the Install button. Your installation of K lite codec will show like this:
As installation will complete, a dialogue box with the Done message will appear as follows:
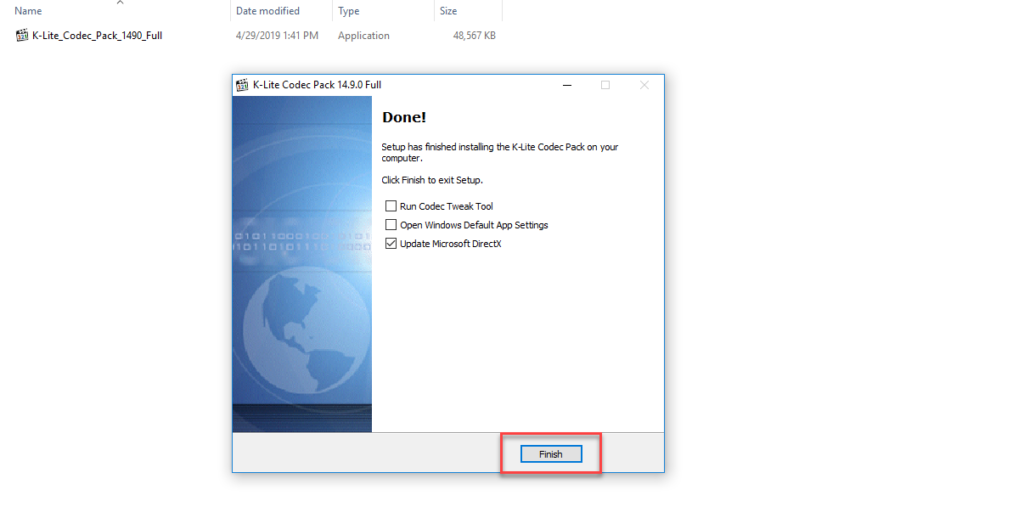
Click the Finish button to finish the setup and complete installation. As you will click Finish button it will take you to browser page:
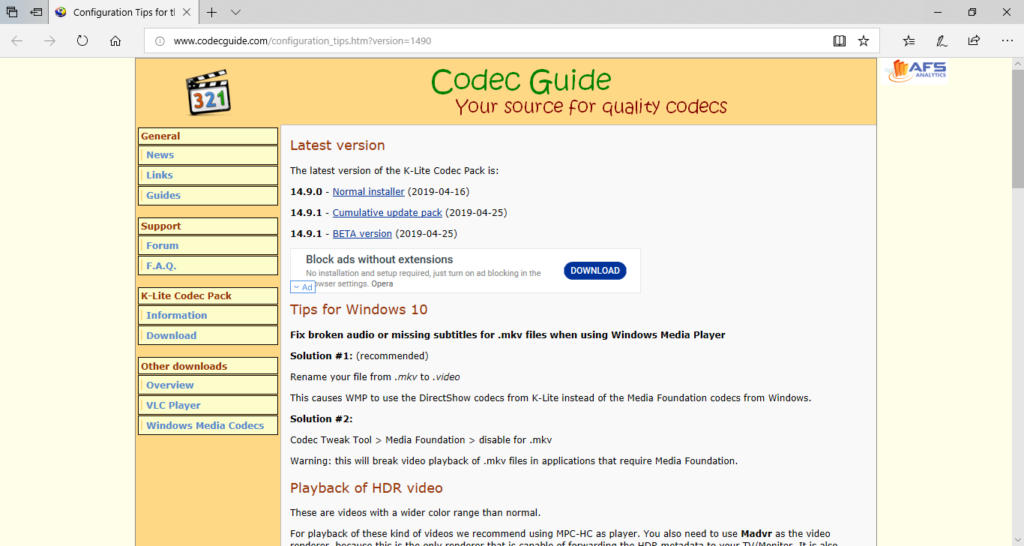
You can read tips and tricks on this page. With that following dialogue box will appear with downloading, initializing and copying files.
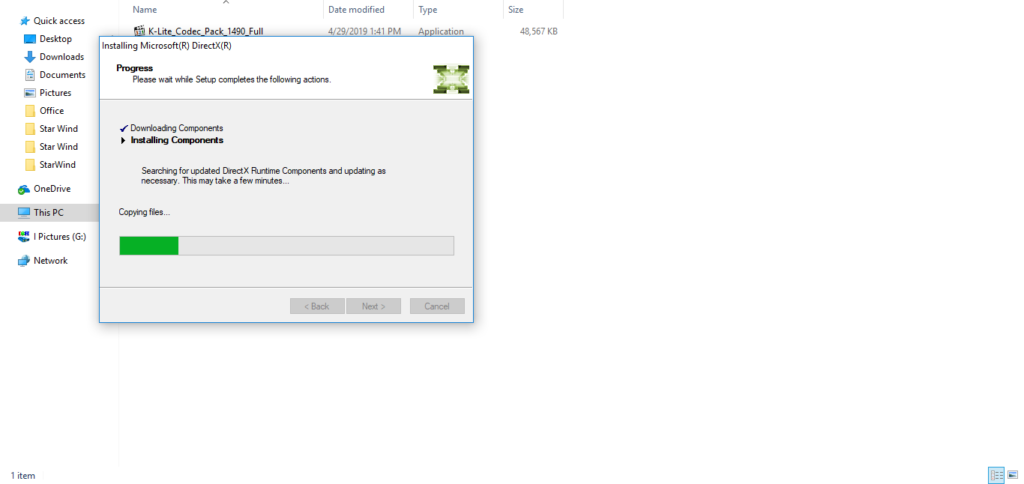
As all three steps will complete setup will close automatically. You can click the Start button and check the installed K lite codec as shown below:
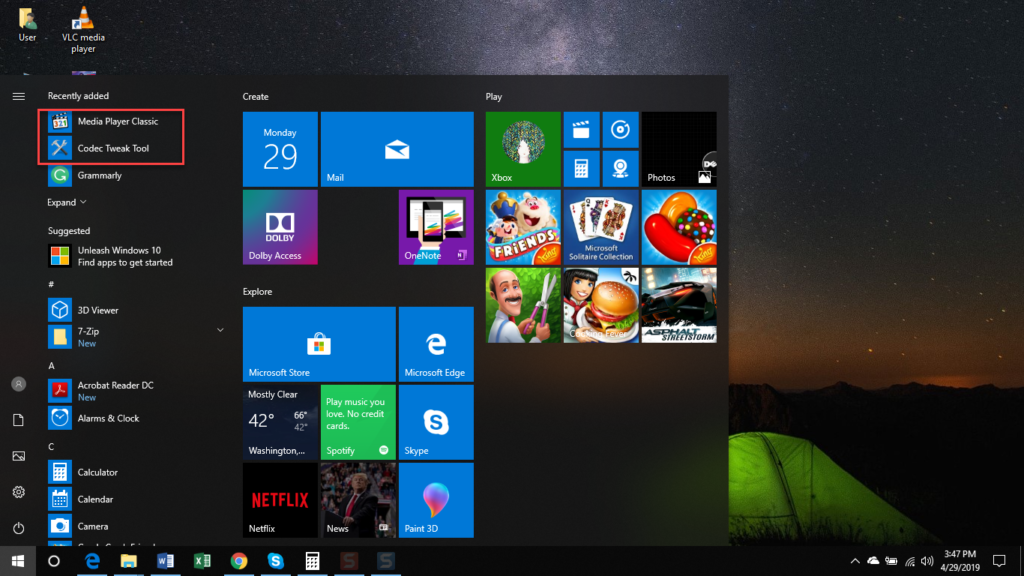
Now you will be having the option to open your every video with Media Player Classic.
Conclusion
By following this procedure, you will be able to install K lite codec for Windows 10. This is the way to have an additional player to play your all videos.