SID or Security Identifier is defined as a string value, which is associated with every single Windows user account. Just like the user account name, SID is also another parameter to recognize a user account in Windows 10. You can grant special privileges to certain user accounts or you can restrict the activities of certain user accounts with the help of their SIDs. In this article, we will explain to you some methods through which you can find the security identifier of any user on Windows 10.
Four ways to find the Security Identifier (SID) of a User in Windows 10
In order to find the security identifier of any user on Windows 10, you can make use of any of the four methods listed below:
Method # 1: Use the whoami command
In this method, we will tell you how you can find the SID of the current user through Command Prompt in Windows 10. For doing this, you will need to proceed as follows:
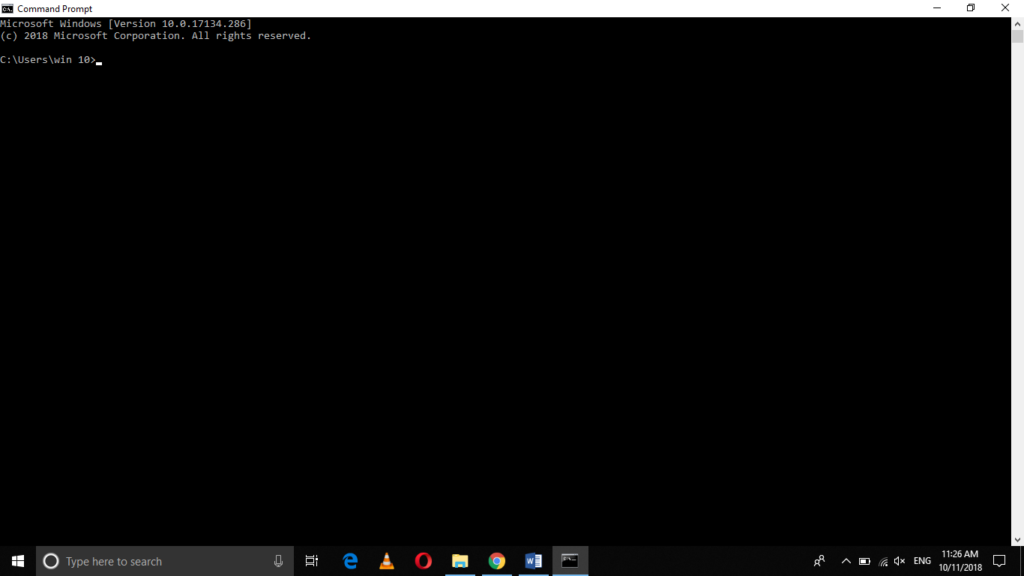
Type cmd in the search section of your taskbar and click on the search result to launch a new command prompt window. The newly opened Command Prompt window is shown in the following image:
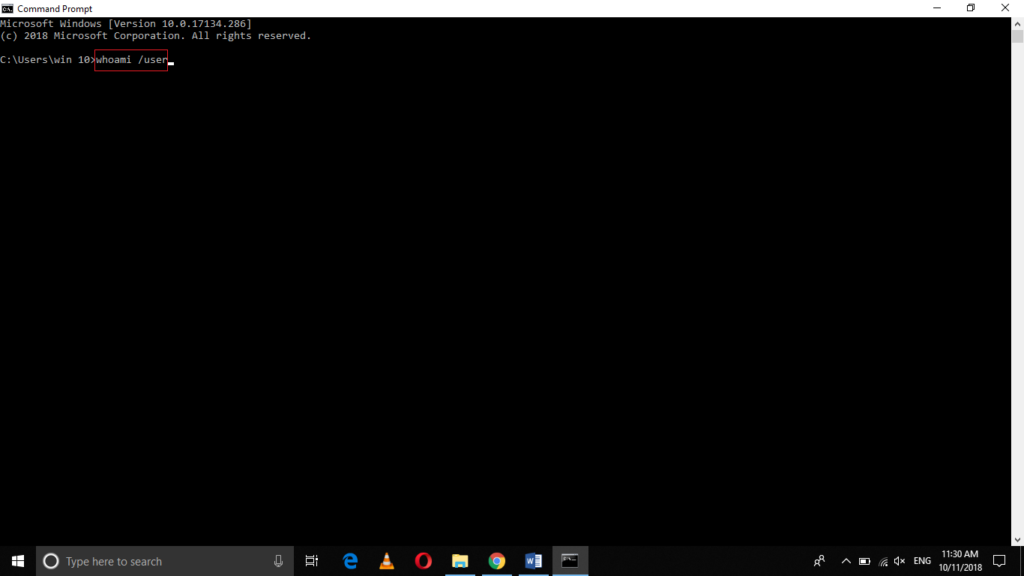
Type the command:
whoami /user
in your Command Prompt and then press enter. This command is highlighted in the image shown below:
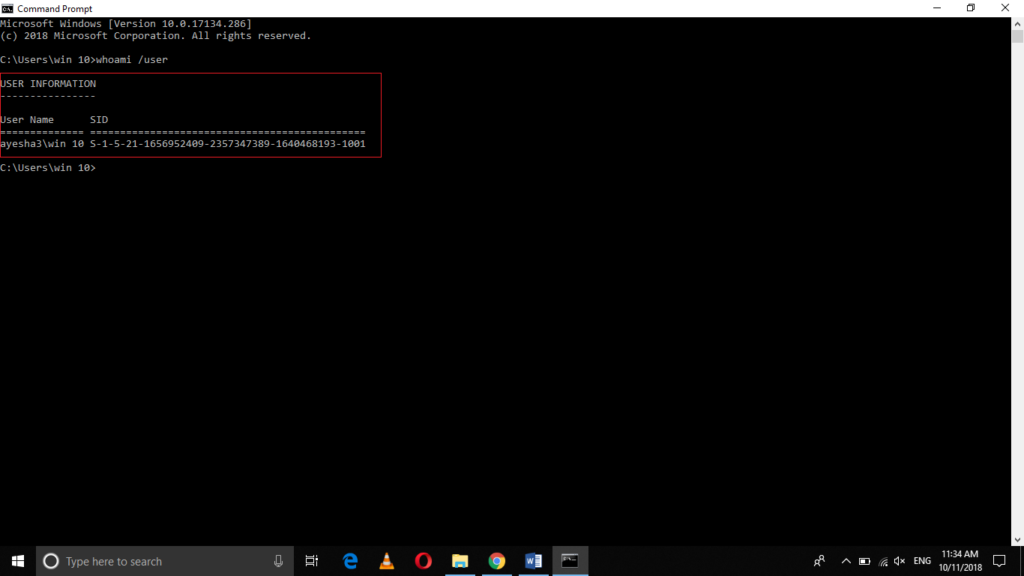
As soon as you will press enter, the SID along with the username will be displayed on the Command Prompt as shown in the following image:
Method # 2: Use the wmic command
In this method, we will tell you how you can find the SID of any specific user through Command Prompt in Windows 10. For doing this, you will need to perform the following steps:
Type cmd in the search section of your taskbar and click on the search result to launch a new command prompt window. The newly opened Command Prompt window is shown in the following image:

Type the command:
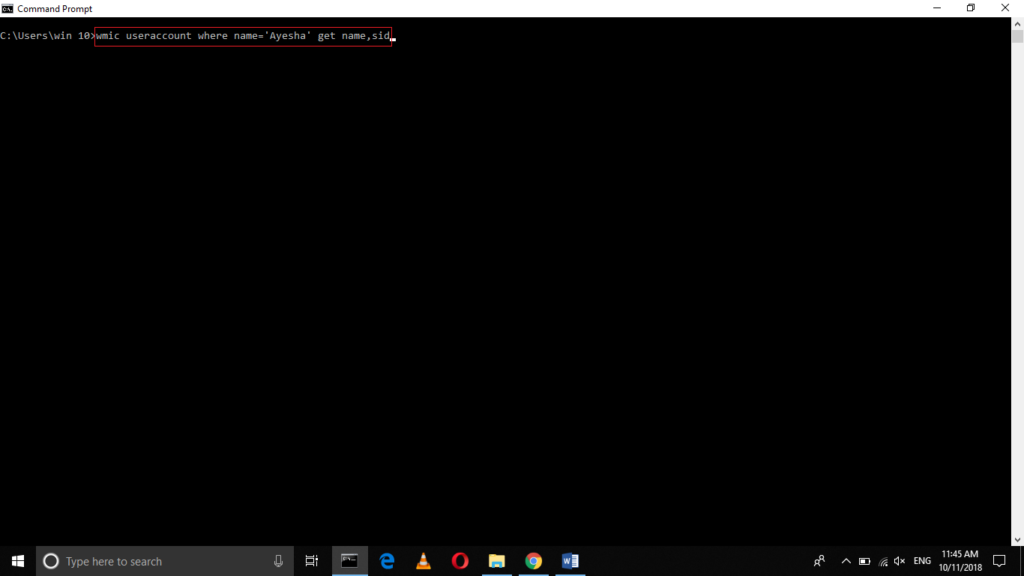
wmic useraccount where name=’XYZ’ get name,sid
and then press enter. Replace XYZ with the username of the specific user. This command is highlighted in the image shown below:
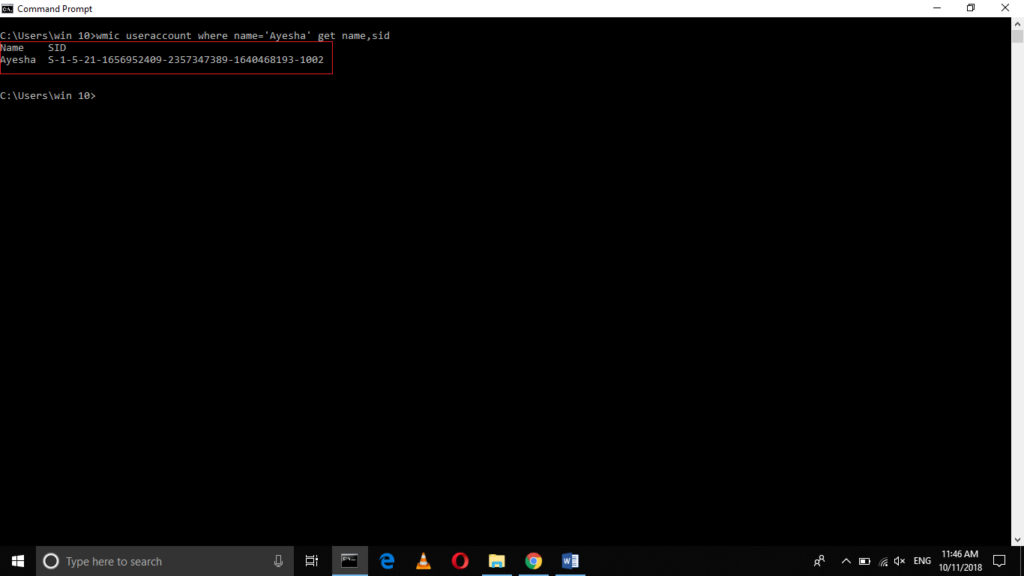
As soon as you will press enter, the SID of the specific user will be displayed on the Command Prompt as shown in the following image:
Method # 3: Get all user SID with wmic command
In this method, we will tell you how you can find the SIDs of all the user accounts through Command Prompt in Windows 10. For doing this, you will need to perform the following steps:
Type cmd in the search section of your taskbar and click on the search result to launch a new command prompt window. The newly opened Command Prompt window is shown in the following image:

Type the command:
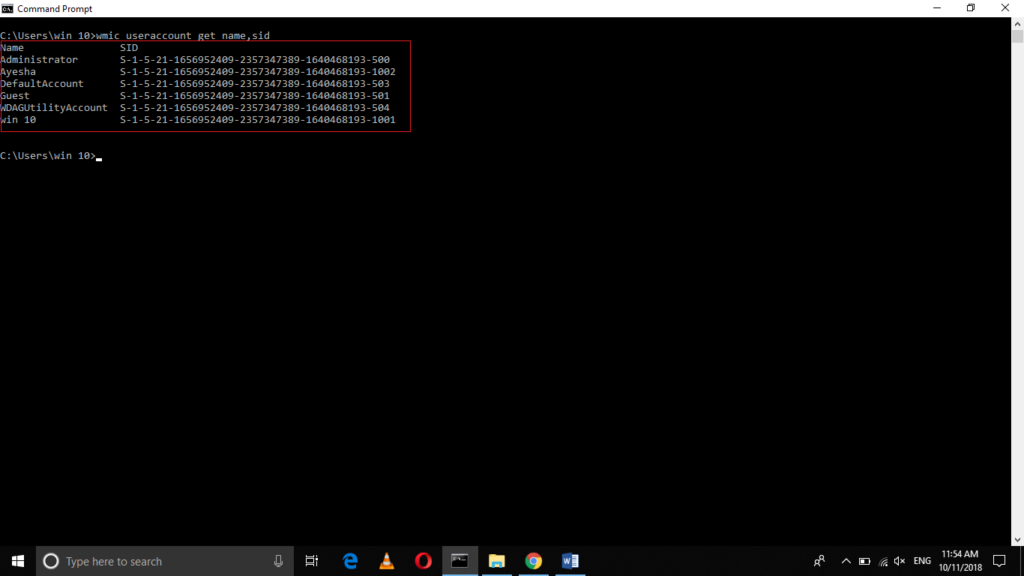
wmic useraccount get name,sid
in your Command Prompt and then press enter. This command is highlighted in the image shown below:

As soon as you will press enter, the SIDs of all the user accounts will be displayed on the Command Prompt as shown in the following image:
Method # 4: get user SID with PowerShell
In this method, we will tell you how you can find the SIDs of all the user accounts through the PowerShell in Windows 10. For doing this, you will need to perform the following steps:
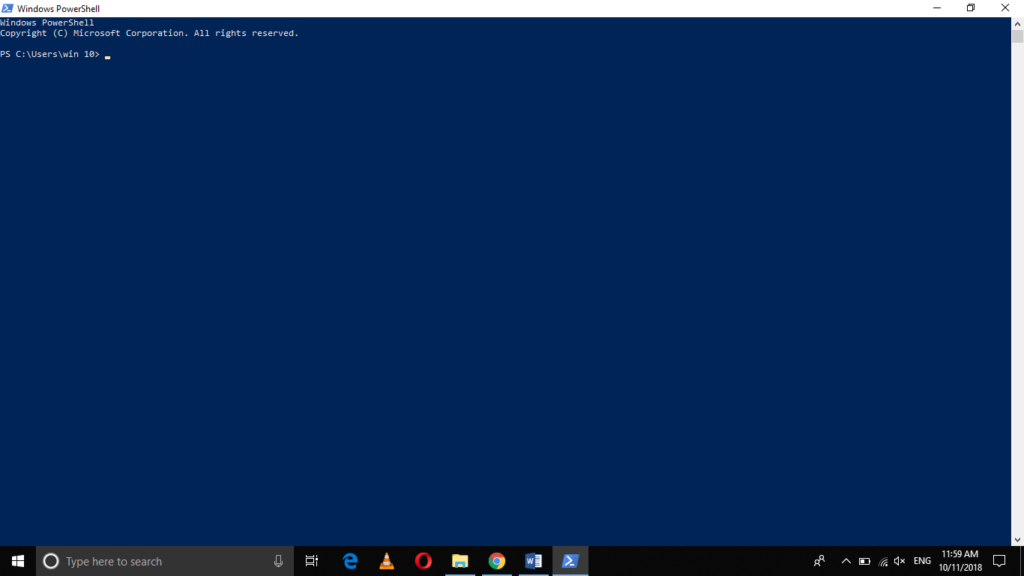
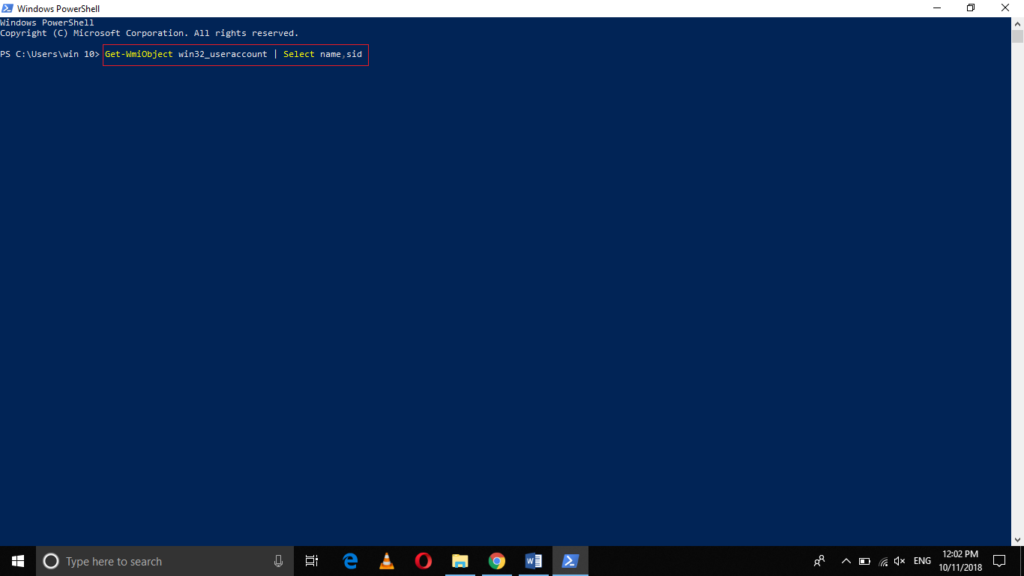
Type PowerShell in the search section of your taskbar and click on the search result in order to launch the PowerShell window. The newly opened PowerShell window is shown in the following image:
Type the command:
Get-WmiObject win32_useraccount | Select name,sid
in your PowerShell and then press enter. This command is highlighted in the image shown below:
As soon as you will press enter, the SIDs of all the user accounts will be displayed on your PowerShell as shown in the following image:

Conclusion
In this article, we explained four different methods to find the SID or the Security Identifier of any user account in Windows 10. All of these four methods are very easy and simple to use. They work perfectly fine in every situation. You just need to select the method of your choice and you can conveniently find the Security Identifier of any user account on Windows 10. Once you manage to find your desired SID, you can easily use it for giving access to certain files to that particular user account or you can restrict that user account from modifying your important files. It entirely depends on your own needs that how you want to use the SID of any account on Windows 10.