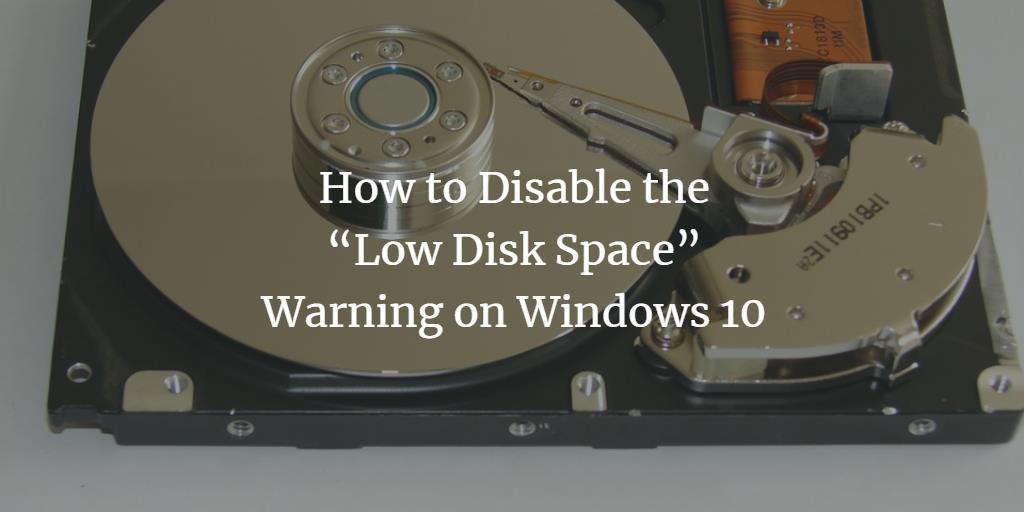
Microsoft is extremely diligent when it comes to user experience in their products. But sometimes they tend to overdo. Whenever your computer’s hard drive is almost full or running out of free space, a ‘Low Disk Space’ warning appears in the form of a little balloon notification.
Different versions of Windows have specific durations for low disk space warnings and their reminders. For example, Windows Vista has predefined disk space check per minute while for Windows 7, 8 and 10; they have it scheduled for every ten minutes with notification screen time of ten seconds. There are three levels of this warning pop-up:
- Level 1: ‘You are running out of disk space’
- Level 2: ‘You are running very low on disk space’
- Level 3: ‘You have run out of disk space’
Even though this warning pop-up is convenient when it appears for the first time but after a while, it becomes extremely annoying and is not as useful as it was before. To tone down the annoying factor you can disable this warning by making a few changes in the Windows registry.
Disabling the ‘Low Disk Space’ Warning
In order to disable the low disk space warning checks in Windows 10, you only need to follow the steps given below that are easy and can be implemented in less than 5 minutes:
Step 1: Open the Registry Editor.
- Click on Start Menu.
- Type ‘Run’ and press the ‘Enter’ key. A ‘Run’ dialog box will open.
- Type ‘regedit’ and click ‘Ok’. A ‘User Account Control’ dialog will appear. Give access to the app by clicking on ‘Yes’.
- A new window with the label Registry Editor will open.
Step 2: in the Registry Editor, locate the folder with the name ‘HKEY_CURRENT_USER’ under the option Computer and click on the expand symbol next to this folder in order view all the inner folders.
Step 3: Keep on expanding the folders till you reach the current window’s registry key. The path should be HKEY_CURRENT_USER\Software\Microsoft\Windows\CurrentVersion after expansion of the folders.
Step 4: Under CurrentVersion, click on the key named Policies. (If there is subkey called Explorer available then skip to step 6.)
Step 5: From the menu select Edit -> New -> Key. A new key with default name New Key #1 will be created. Change the name to ‘Explorer’ and hit the Enter key.
Step 6: Select Explorer and then click on Edit -> New -> DWORD (32-bit) Value.
Step 7: DWORD created will have New Value #1. Change the name to NoLowDiskSpaceChecks and press Enter.
Step 8: Right-click on this newly renamed DWORD and click on Modify. A pop-up with ‘Edit DWORD (32-bit) Value’ will open.
Step 9: In the pop-up, change the ‘0’ to ‘1’ in the Value data field.
Step 10: Select ‘Ok’ and close the Registry Editor.
Once you have followed these steps, your Windows 10 will stop giving you low disk space warnings but take great care during this process as changes are made directly in the registry and it is better to take a backup of your registry keys before editing anything.
