Windows 10 rapidly eliminates numerous icons from the notification zone to free up space on your taskbar. To see all of your notifications in the system tray, choose the up arrow to the left of your notification area icons. On Windows 10, you may instantly change whether an icon appears in the taskbar or the system tray. We'll walk you through the whole process of customizing and upgrading the system tray icons in Windows 10 in this post.
Customize and upgrade the system tray icons in Windows 10
To customize and upgrade the system tray icons in Windows 10, follow this procedure step by step:
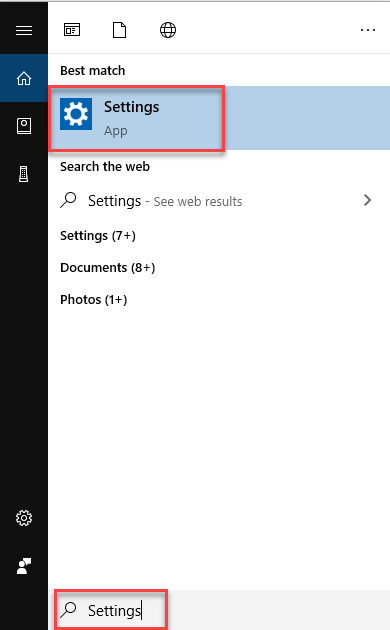
Click the Search button. Type Settings in the search bar and choose the Settings option as the following image is showing:
As you will select the Settings option, Windows Settings will appear like this:
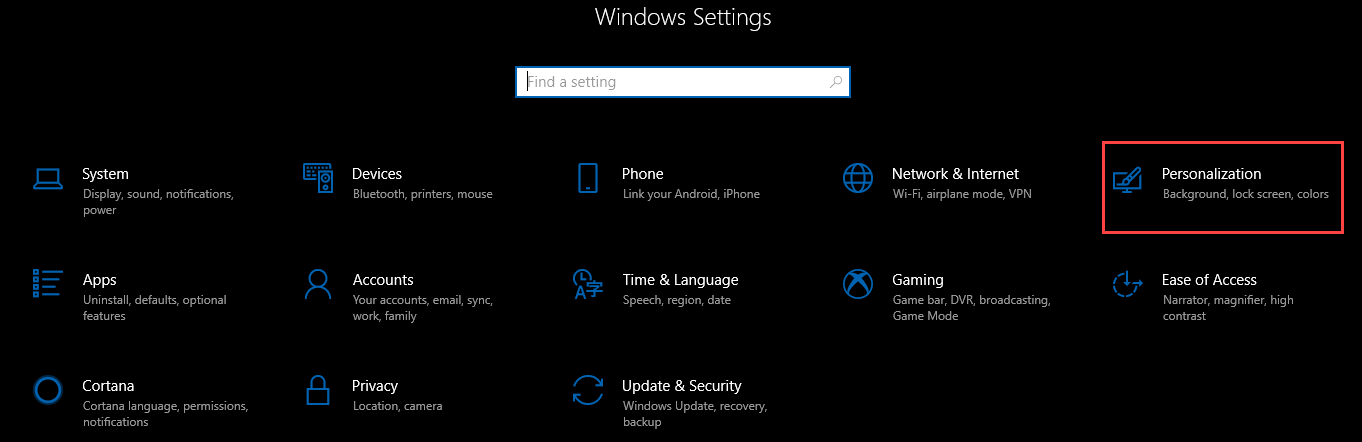
Now select the Personalization option from Windows Settings as highlighted in the above screen. As soon as you will select the Personalization option, the following screen will appear:
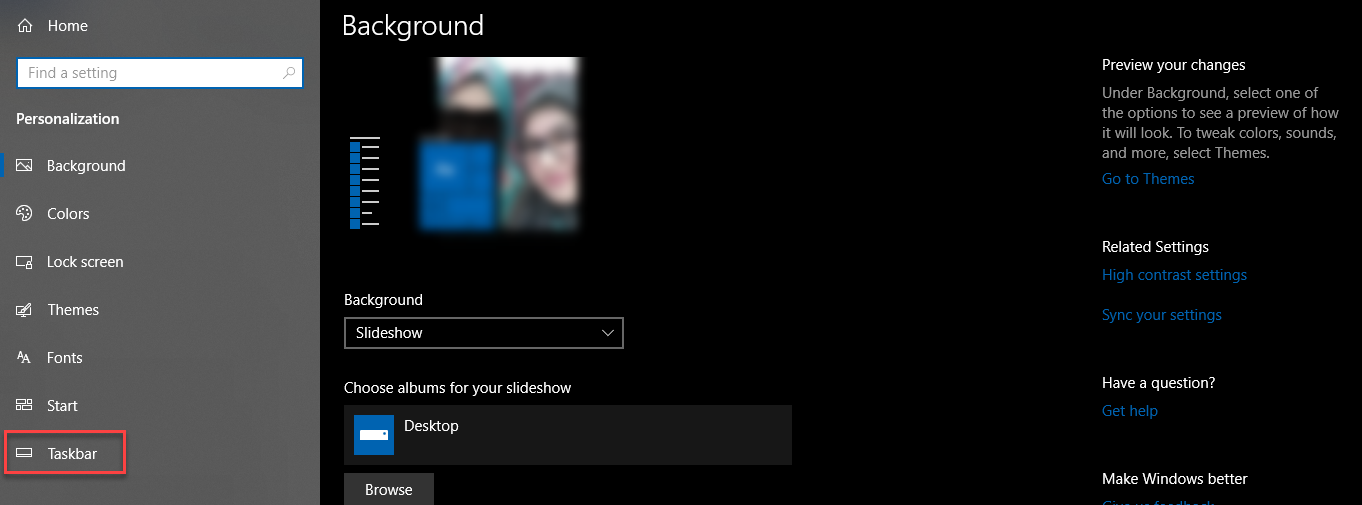
As you can see that the screen is divided into two parts. Select the Taskbar option from the left side of the screen as highlighted in the above image. After selecting the Taskbar option, scroll down the screen and the following option will display:
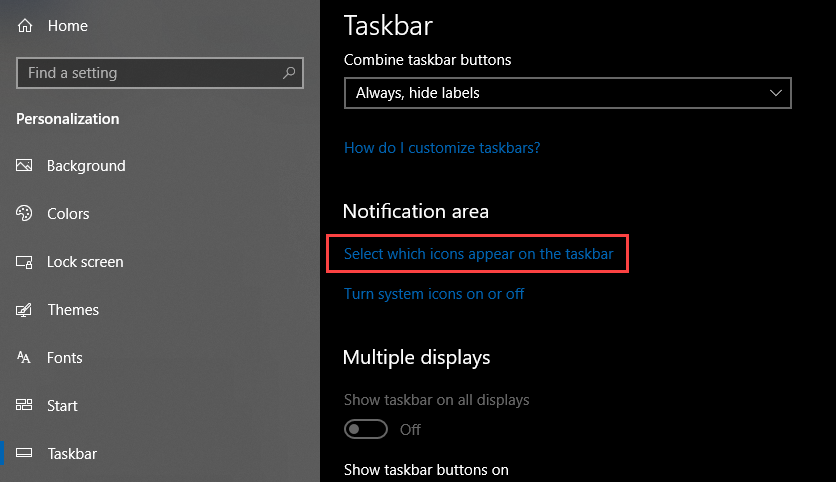
Now click the option named Select which icons appear on the taskbar under Notification area. As soon as you will select the mentioned option, the following screen will appear:
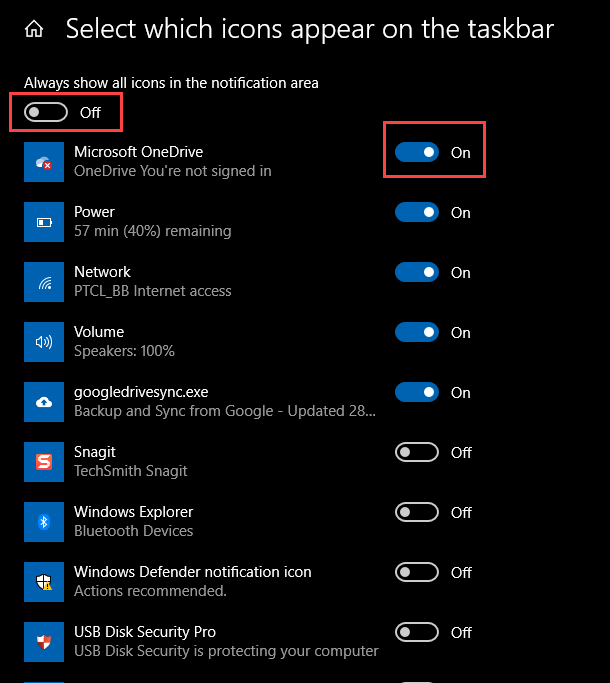
Now there are two options. If you want to show all the icons in the notification area, turn on the toggle button named Always show all icons in the notification area. If you want some specific icons to be displayed, turn on the specific toggle button. Only those icons will appear in the notification area which are on.
Conclusion
By following this procedure you will be able to customize and upgrade the system tray icons on Windows 10.
